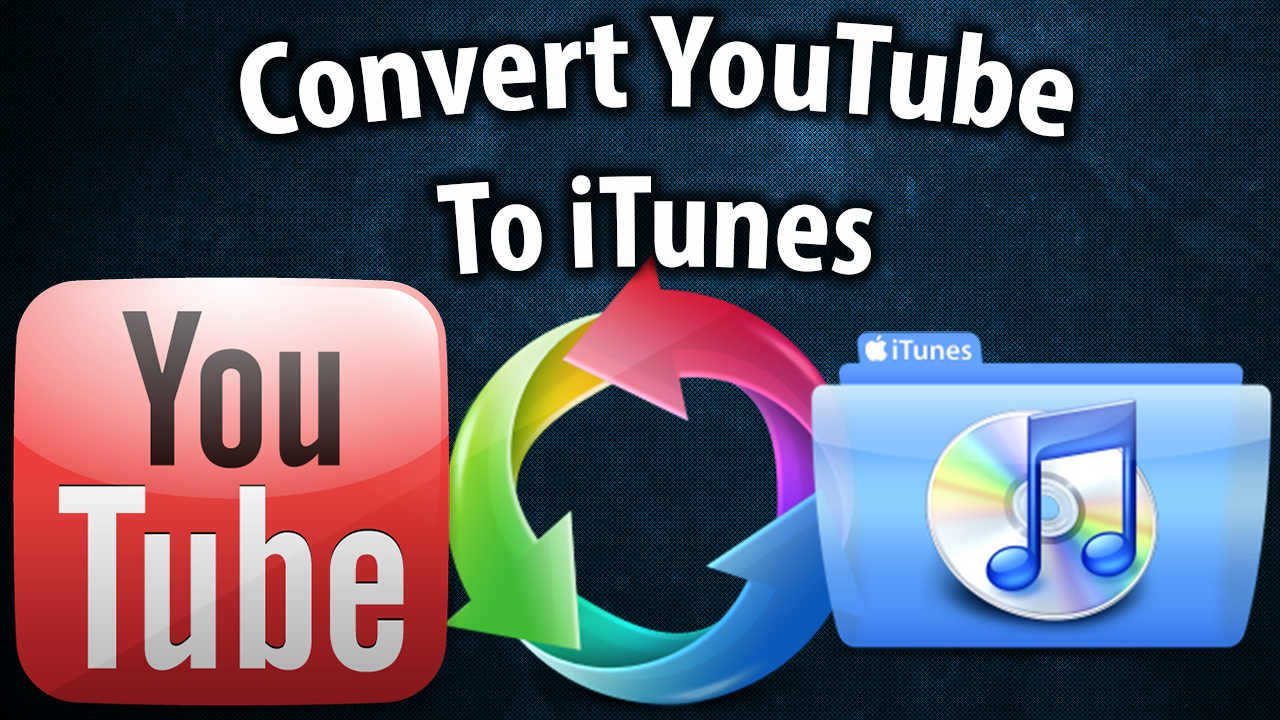
How to Convert YouTube to iTunes
Click here for a Windows Instant Download
Click here for a Mac Instant Download
Using MacX Video Converter Pro is the easiest way to convert YouTube to iTunes file formats. With this app you can download and convert YouTube videos and put them into iTunes and from there you can sync them onto a device such as an iPhone, iPad, or iPod.
This application is available for Mac & Windows users so if you click on a link above you can download it instantly to your system. It also converts many video files so you can convert an FLV file to an MP4/MP3, etc. You can convert nearly any video file, as well as download & convert YouTube videos to put them into iTunes.
First go to YouTube and find your video. Then copy the URL address of the YouTube video that you want to convert into an iTunes compatible file. Then click the YouTube button in MacX Video Converter Pro. Here you’ll paste the YouTube URL address into the text box then click OK. Choose the output folder where you want the YouTube video to be saved.
If you’re planning on leaving the YouTube file in iTunes all you have to do is click the Apple tab and choose the iTunes tab and then click Start. But if you plan on putting the YouTube file on a device after it’s in iTunes you can choose your device specifically on the corresponding tabs. This not only converts YouTube to iTunes, but it also converts YouTube to all kinds of formats. You can choose from all the different tabs available for specific devices. You can even convert the YouTube video to an MP3 file so you can have it as a song in your iTunes library. You can do that by using the Music tab. But for now I’ll just choose Apple and iTunes so I can put the YouTube video into iTunes directly and then click Start.
It will download, convert, and add the YouTube video into iTunes automatically for you. Once it’s finished downloading and converting you’ll see it pop up in your Explorer window. Then open iTunes and you’ll see the YouTube file in there. You can watch it in iTunes or sync it to a device such as an iPad, iPod, or iPhone by plugging in the USB cable and syncing iTunes with your device. That’s how easy it is to convert YouTube to iTunes files!
Built in 420+ video/audio codecs and advanced HD video decoding engine, MacX Video Converter Pro brings users an all-in-one video converting solution with top quality and efficiency. The is app owns powerful abilities to convert HD videos including MKV, M2TS, AVCHD, H.264/MPEG-4 AVC, and SD videos like AVI, MPEG, MP4, H.264, MOV, FLV, F4V, RM, RMVB, WebM, Google TV to Mac & Windows computers, iMovie, iTunes, iPhone 5, iPad Mini, iPad 4, iPod touch 5, iPod classic, Apple TV, PSP, etc.
With this video converter users can download website videos from YouTube, Vimeo, Metacafe etc. It also features unique ability to convert Multi-track HD videos in M2TS, MKV, AVCHD, HDTV BDAV and MPEG-TS formats, offering users the most convenient way to choose preferred audio language track, as well as create VOB files from videos to burn your favorite videos to DVD for a backup.
By Andy Slye