Videos by Andy Slye

Category: Mac (Page 5 of 10)

Mac OS X

Which Mac Should You Buy in 2015?

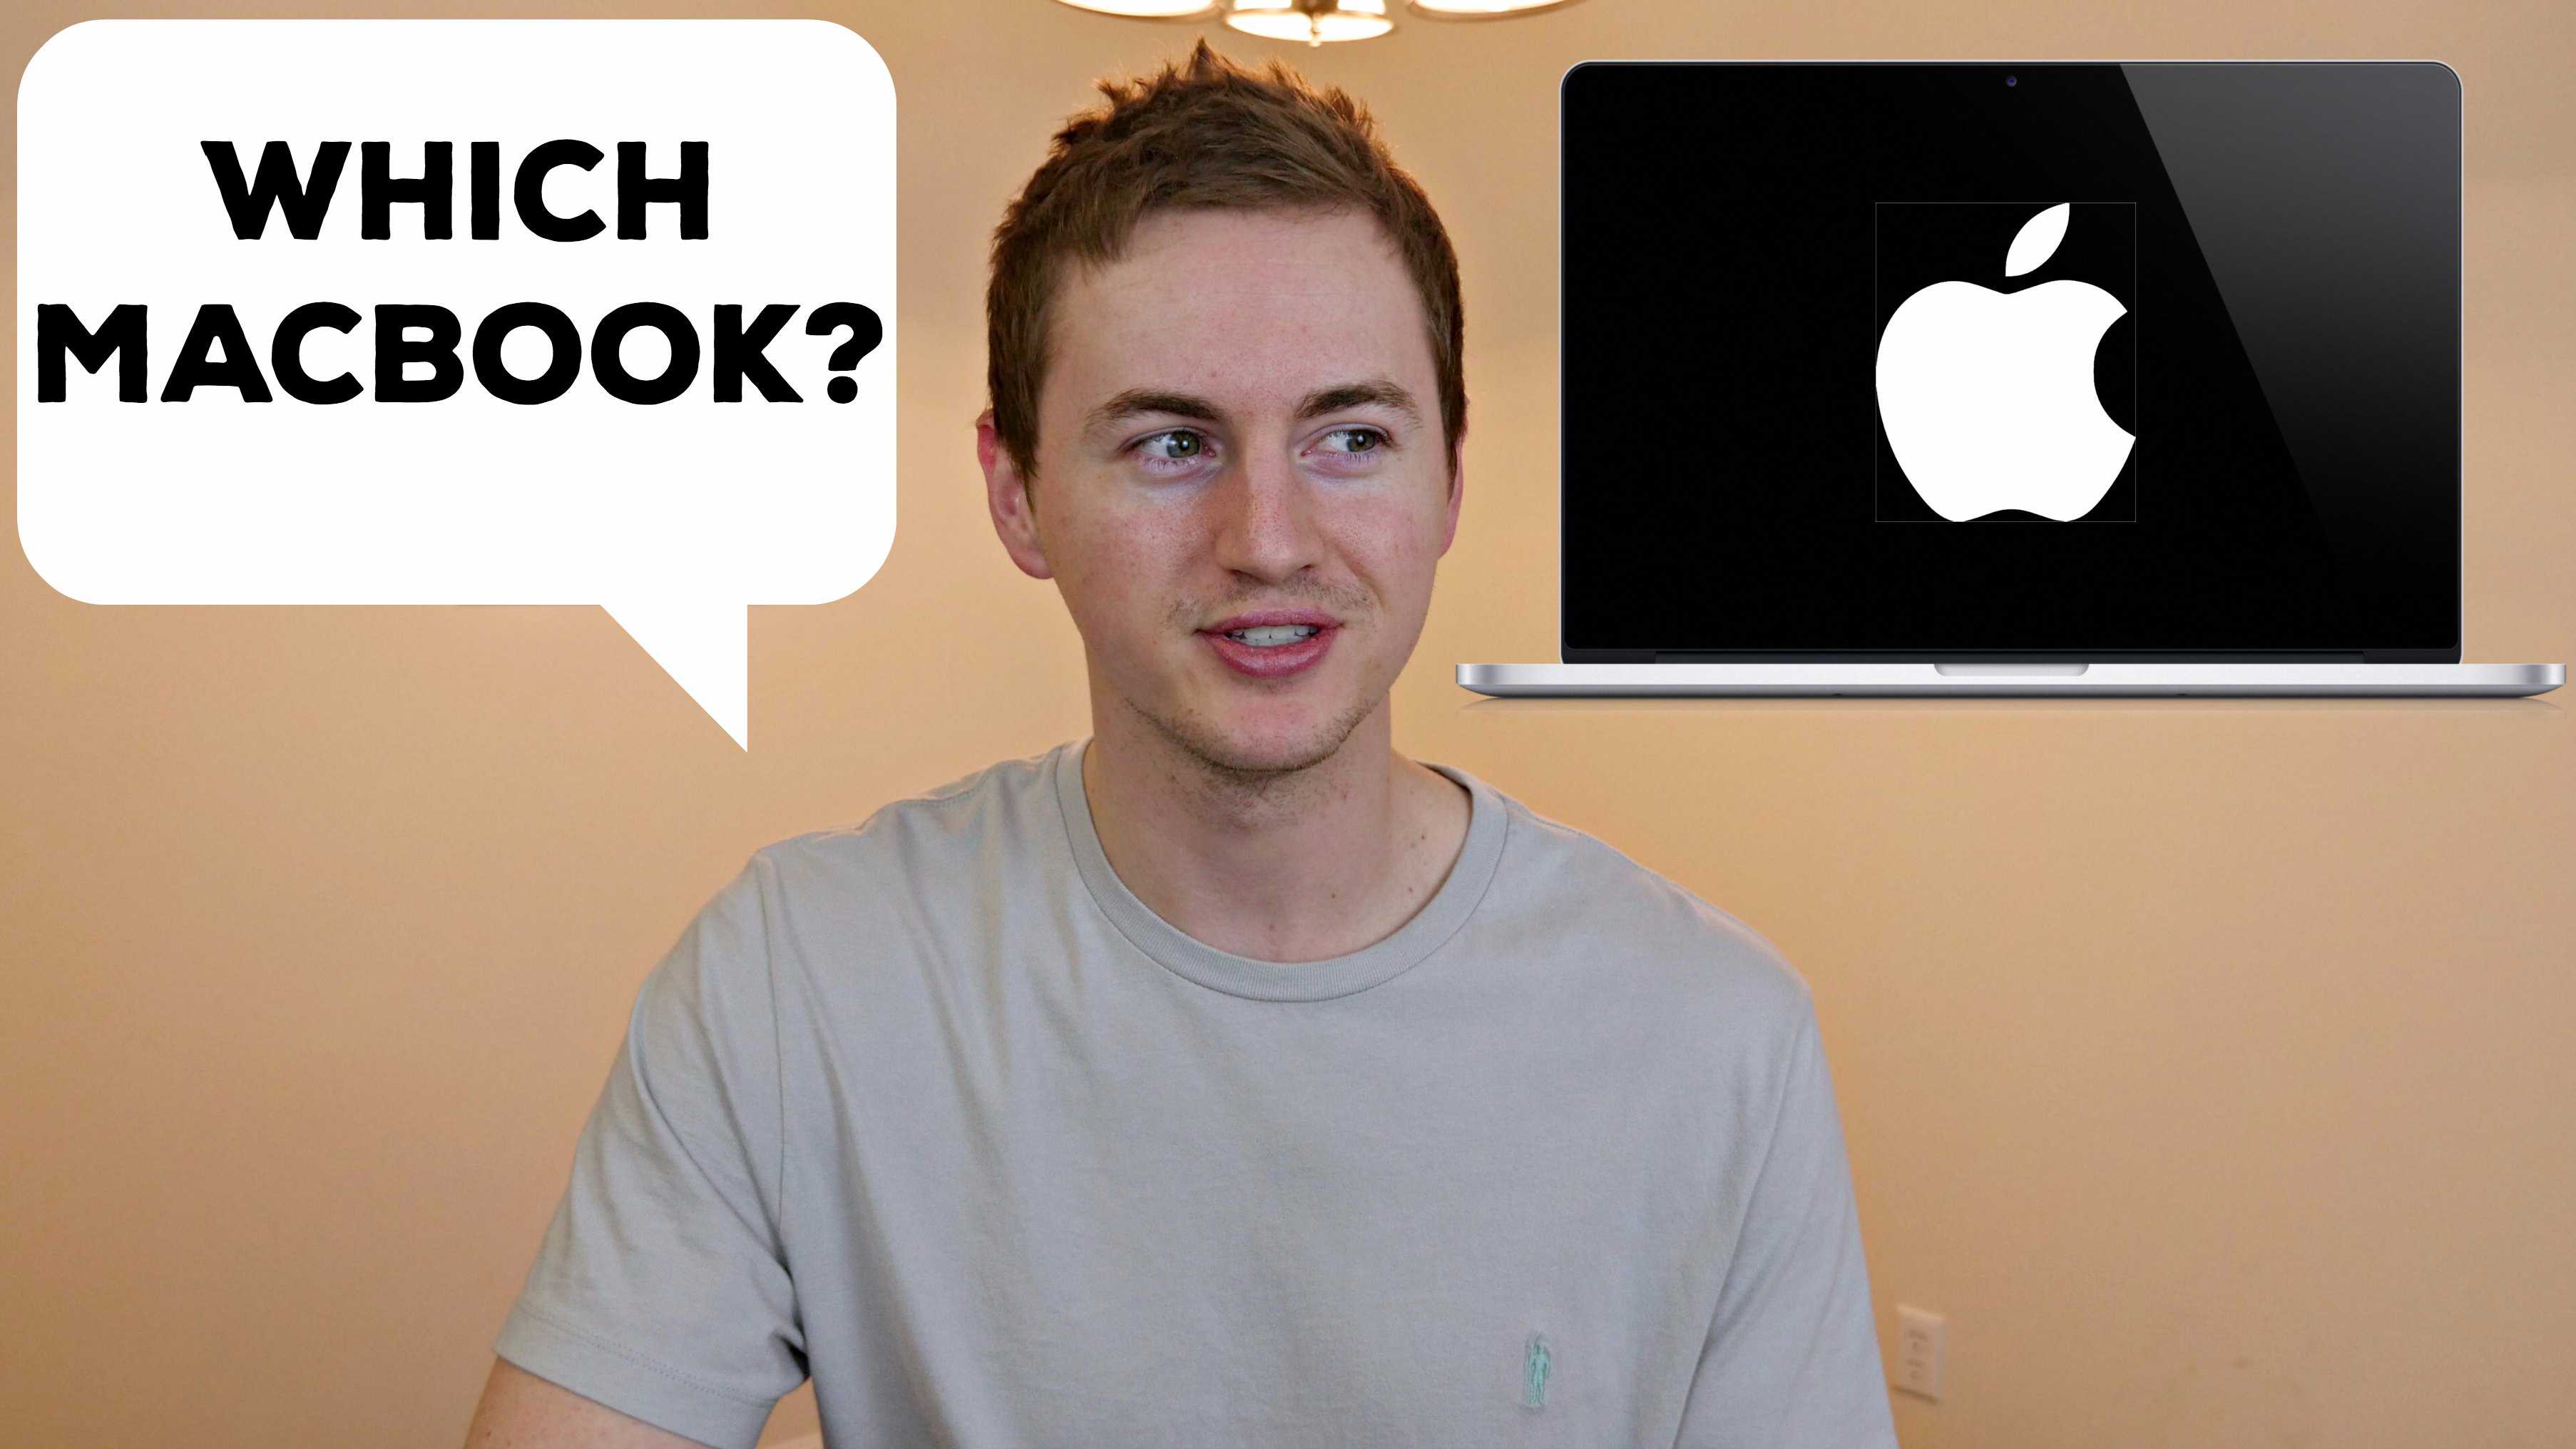
Which Mac should you buy? MacBook Buyer’s Guide 2015

Since I’m a Mac user and I’ve reviewed many Apple products I decided to make a Mac Buyer’s Guide video to help you decide which MacBook would be the best for you.

3 MacBook Models
MacBook, MacBook Air, and MacBook Pro

MacBook

  • Brand new; available in April 2015; Base model starts at $1299
  • 1st MacBook to be available in silver, gold, and space gray (like iPads and iPhones)
  • 12” IPS Retina display with 3 million pixels
  • Intel Core M mobile processor
  • 8GB of RAM and at least 256GB of flash storage

 The MacBook is for you if you

  • Love having the newest Apple features (Force Touch Trackpad and new butterfly mechanism keyboard)
  • Care about looks more than performance (sexy; Retina display; colors)
  • Want something ultra portable & mobile; Apple’s thinnest & lightest laptop (2 lbs & 9 hours battery life)
  • Running basic applications like web browsing, email, productivity software, and nothing too CPU intensive (has a mobile processor)
  • Don’t use USB drives or other external devices often such as SD cards, cameras, charging phone/tablet, connecting to a monitor (has only 1 USB-C port for charging/input/output)
  • Don’t Skype/FaceTime much and don’t need to record HD videos with the webcam (only 480p)
  • Want something that resembles an iPad
  • Most of your digital life is all wireless and on the cloud
  • Have the budget for it (expensive for what you get)

MacBook Air

  • Comes in 2 sizes: 11” starting at $899 and 13” starting at $999
  • Does not have an IPS Retina display
  • 4GB of RAM (can be upgraded to 8GB) and 128GB flash storage (can be upgraded to 256GB)
  • 5th-generation Intel Core i5 dual-core processor (can be upgraded to i7)

MacBook Air is for you if you

  • Want a small, lightweight and thin laptop
  • Are always on the go (great for students and travelers)
  • Don’t mind having a non-HD display
  • Care about battery life more than anything (13″ gets up to 12 hours; longest battery life of any Apple laptop)
  • Run typical everyday applications and even do some light photo/video editing
  • Still need access to Thunderbolt & USB ports and an HD webcam (720p)

MacBook Pro Retina

  • Comes in 2 sizes: 13″ starting at $1299 or 15″ starting at $1999
  • Both models have IPS Retina displays (13″ has over 4 million pixels; 15″ has over 5 million pixels)
  • 13″ comes with 8GB RAM (can be upgraded to 16); 15″ comes with 16GB RAM standard
  • 13″ has 128GB flash storage (can be upgraded to 256GB or 512GB); 15″ comes with 256GB flash storage (can be upgraded to 512GB)
  • 13″ comes with 5h-gen Core i5 dual-core processor (can be upgraded to i7)
  • 15″ comes with 4th-gen Core i7 quad-core processor

MacBook Pro is for you if you

  • Want the best performance and fastest speed out of all the Apple laptops
  • Run CPU-intensive or graphics-intensive applications such as gaming, HD video editing, 3D modeling, CAD, virtual machines, Photoshop
  • Don’t mind having a heavier laptop compared to the other MacBook models
  • Want a desktop replacement
  • Need as many ports as possible (HDMI, Thunderbolt, USB, SD)

13″ or 15?

Get the 13″ if you want long battery life, the new Force Touch Trackpad, and fastest read/write SSD speed.

Get the 15″ if you want the bigger display and the best processor/graphics performance.
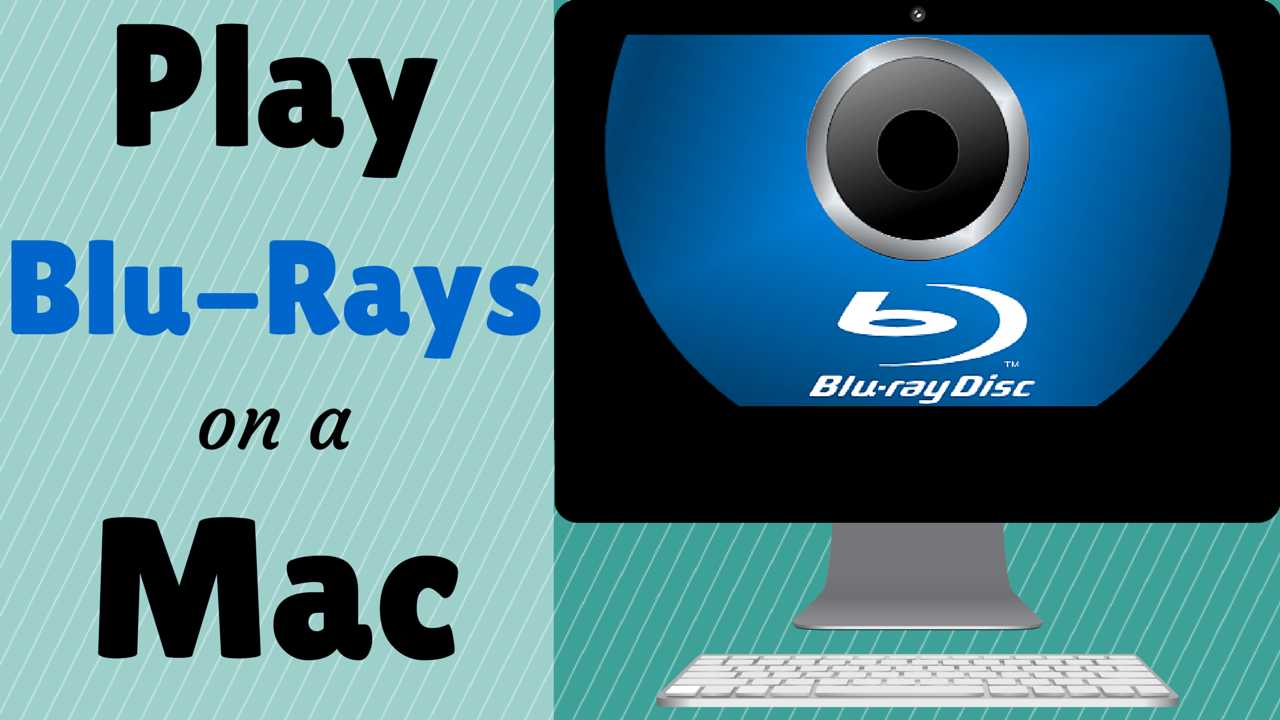
How to Play a Blu-ray on a Mac

In this quick tutorial I’m going to show you how to play a Blu-ray on a Mac. To do this you’ll need 2 things.

1. External Blu-ray Drive

Here’s the Blu-ray drive that I recommend. It’s a #1 best seller on Amazon from Samsung.

2. Mac Blu-ray Player

A Blu-ray player app is needed because Mac OS X does not come with a Blu-ray player by default. The MacGo Mac Blu-ray Player is the best Blu-ray Player for Mac by far. You can try it out for free, but you’ll want to get the full version to get rid of the free trial limitations.

Once you have the Blu-ray drive connected to your Mac and the Mac Blu-ray Player installed, insert your Blu-ray disc into the Blu-ray drive. Open the Blu-ray Player from your Applications folder. It may automatically start playing the Blu-ray disc. If not just click the “Open Disc” button then browse to the Blu-ray disc and select it.

That’s it. It should start playing your Blu-ray on your Mac. Now excuse me while I sit back and enjoy Guardians of the Galaxy in full 1080p HD. Just living the dream.

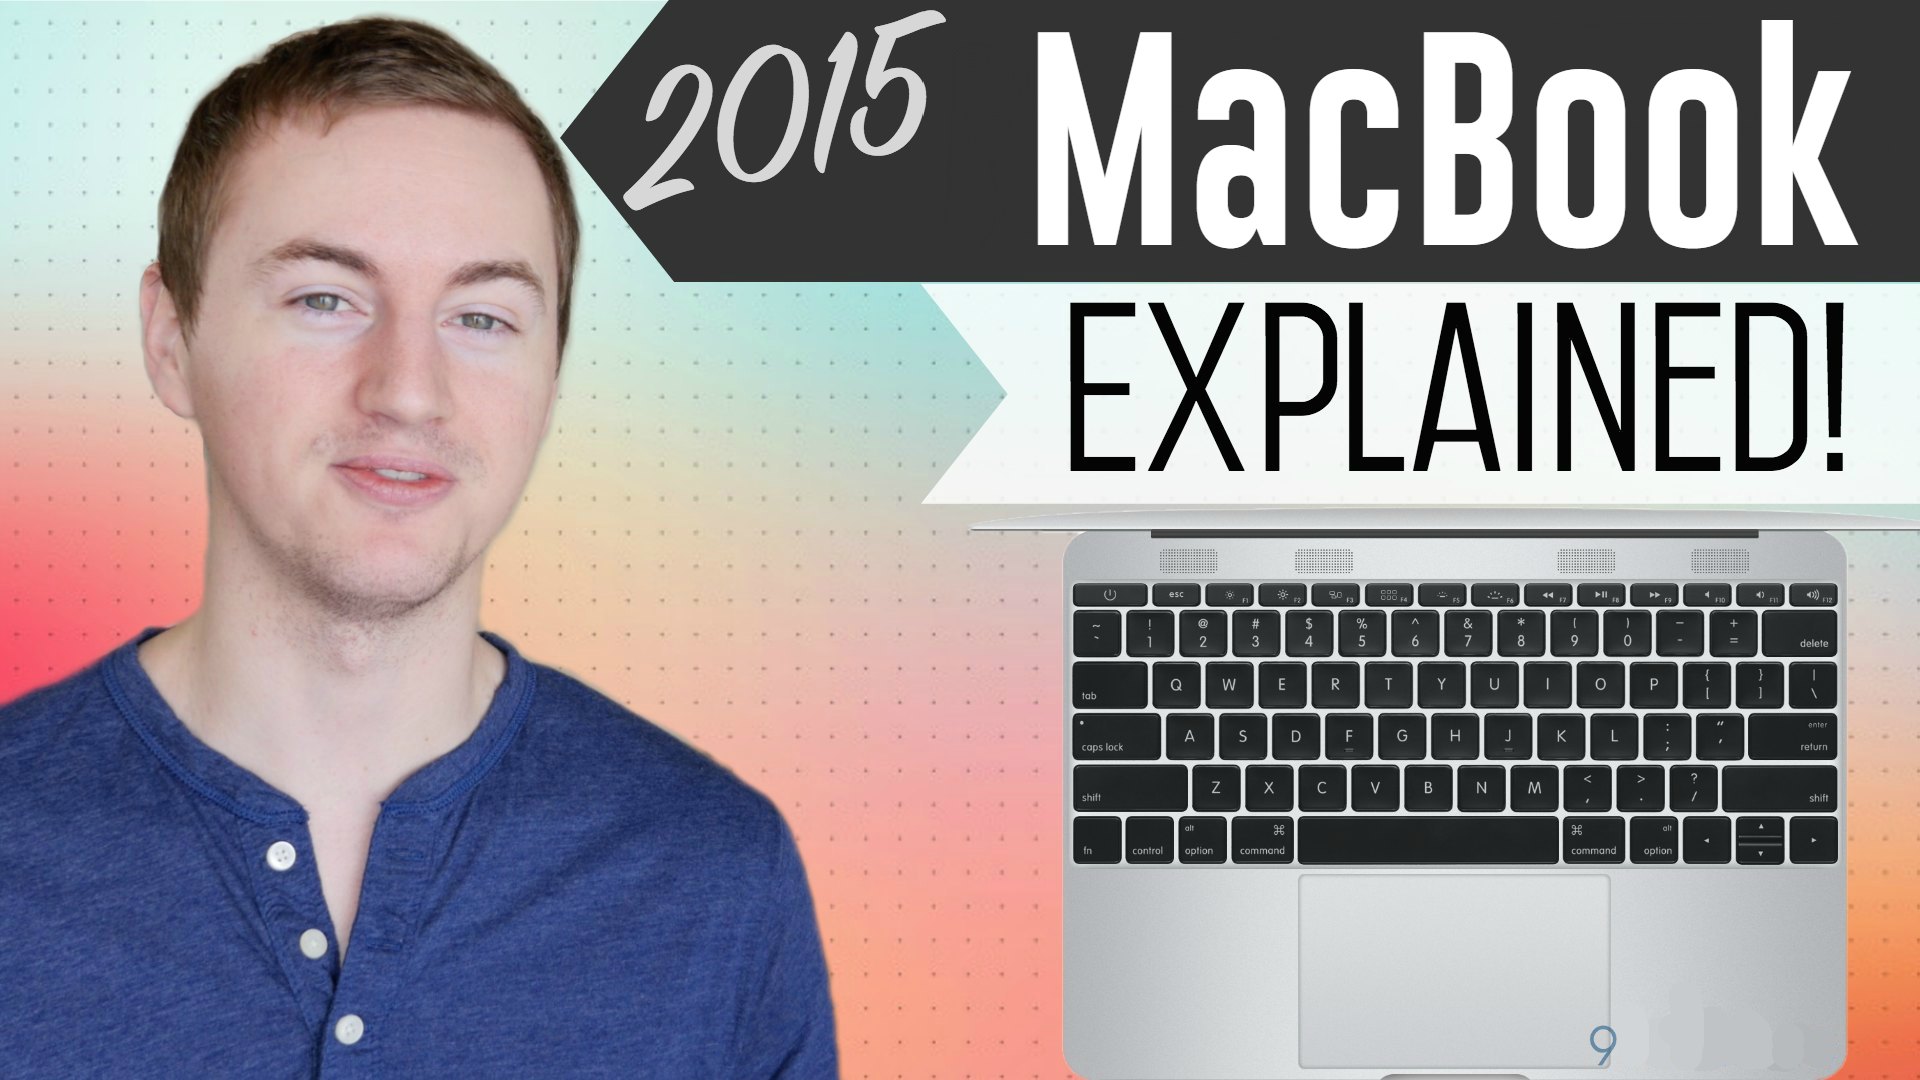
2015 MacBook Retina Rumors Explained

Subscribe on YouTube

Best prices on MacBook Airs

Video Transcript:

What’s up guys? Welcome to MyTechMethods. So there have been a lot of rumors about this new 2015 MacBook Air 12 inch retina that’s supposed to be coming out this year, and yesterday 9to5 Mac released some mockup photos according to their close Apple source. Again nothing has been confirmed by Apple. These are just rumors, but they’re usually right on this thing coming from their source. So we’re gonna go over the new design, everything you need to know about this new rumored 2015 MacBook Air. So remember these pictures I’m gonna show you, it’s not the final design. It’s just mockup photos that were designed by 9to5 Mac, but they designed it according to what they heard from their Apple source. So let’s go over this new rumored 2015 MacBook Air. So it is a 12 inch display. This is different from the 13 inch and 11 inch models that Apple has released in the past, and this new 12 inch MacBook Air is of course going to be smaller than the 13 inch but it’s also narrower than the current 11 inch. So Apple is trying their hardest to make this laptop the smallest and thinnest Apple laptop ever and they’re sacrificing a lot of features. So first of all the bezels around the display have been reduced on all sides so it’s an entire unibody redesign, along with the keyboard that goes from edge to edge leaving hardly any space on the left and right side of the keyboard. And Apple is also bunching up the keys making them closer together to each other, trying to make them more friendly. We all know D doesn’t get along with F. We’ve known that for years so hopefully they can reconcile their differences. So Apple is doing all this stuff just to make this thing smaller and thinner and the trackpad is also closer to the keyboard. There’s not much space between the trackpad and the bottom of the keyboard. And guess what? They took away the click feature on the trackpad. That’s a big no-no. I love my clickable trackpad. I click it all the time. I hardly do the tap to click so I’m not a big fan about that if that is true. So now looking at the MacBook Air when it’s closed, obviously it’s thinner than the current design but it still has that tapered design going from thin on the top to really thin on the bottom. And the speakers have been redesigned. There are four speaker grills above the keyboard, and those holes for the speakers act as the ventilation system for the internals because guess what? Apple took away the fans on the inside so there are no fans inside of this laptop, again to reduce the thickness and make it as compact as possible. Because some genius at Apple was like “Fans? Who needs fans. We got speakers. Holes, air, cooler, science.” The 2015 MacBook Air has the fewest number of ports ever on an Apple laptop. On the right side it’s just a headphone jack and the two microphones. On the left side it has one USB port. That USB port is a Type C port. That’s right. They took away all the standard USB ports, the SD card slot, the Thunderbolt port, and the MagSafe port. So what the heck dude like how are we gonna charge our laptop? Well this new USB type C port is able to handle charging and it’s able to handle displays so what I’m assuming is Apple’s gonna have to ship some type of hub or adapter along with this MacBook Air because you’ll be charging your MacBook Air through this USB Type C port and that’ll leave you with no other ports. So Apple’s gonna have to send something that gives you your SD card slot and your USB ports back. And since Space Gray is one of the most popular colors for iPads and iPhones there is a rumor that this new MacBook Air’s gonna come in a space gray version. So if you like space gray, I like space gray, we’ll see how that looks if that is true. And the rumored release date is mid 2015. So what do I think of this new design? I think it’s outrageous that Apple is sacrificing all these features and usability for just thinness, just to make it as thin and compact and small as possible. I mean the MacBook Air is already pretty small. It’s one of the smallest laptops out there and it’s one of the most portable laptops if you’ve seen my 2014 MacBook Air review, I’ll leave a link in the description. That is the best laptop for travelers and students in my opinion. Nobody’s thinking “Uh yeah I wish this MacBook Air was thinner and smaller and more lightweight. It’s just too heavy.” So the highlights of this new 2015 MacBook Air would obviously be the portability, the thinness, the small compact design, and the battery life. The battery life should be amazing since they have no fan inside and with the new Intel processors if they put those in there. I think that’s kind of a bogus trade-off right now. I wouldn’t want to give up all those features just for a smaller laptop. So I think this new 2015 MacBook Air is like Apple’s iPad version of their laptop models, leaving the MacBook Pro as the more powerful feature filled laptop. So heavily depending on the price and if it comes with that USB hub and how well that hub works, this MacBook Air may be a good purchase but right now I’m just not into it. So what do you think after seeing all these mockups and hearing about the new design? And again this is all rumors. Things could change. Nothing has been confirmed by Apple. We’ll have to wait and see, but let me know your thoughts about this in the comment section below. If you want to check out the full article by 9to5 Mac the link will be in the description as well. So thank you guys so much for watching. Make sure you subscribe to this channel if you want more tech videos and reviews, all that kind of stuff. And give this video a like. I will see you guys in the next video. Bye.

By Andy Slye

How to Record Your Screen on a Mac

Transcript:

What’s up guys? In this video I’m going to show you how to record your screen on your Mac for free. So to record your screen on your Mac it’s really easy. All you have to do is use QuickTime. QuickTime is already built into Mac OS X so open up QuickTime Player on your Mac and then go up to the QuickTime Player menu bar and do “File”, “New Screen Recording”. Okay and you’ll see this little box here and click this little down arrow. It’ll show you the microphone options so you can choose to record a microphone as well or just leave it on None if you don’t want to record any microphone. And then you have this option here. It says “Show mouse clicks in recording”. If you leave that checked it will do little halo effects when you click on your mouse during that recording so I’ll leave that checked so you guys can see how that looks. So once you’re done with those settings just hit the Record button, and it’ll say “Click to record the full screen” so all you have to do is just click once if you want to record your whole screen or if you want to just record a particular part of your screen click and drag and choose your part of the screen that you want to record. So we’re just going to click and record the whole screen for now. Okay so once you click it will start recording, and you can go in here and do your thing. Record what you need to record and then up here at the top right of your Mac click the Stop button. Okay and then it’ll bring up the video here and show you what you just recorded. And you can play it. So here’s the video and you can see during the mouse clicks it will give you that little halo effect showing you when you clicked the mouse, when you right-clicked or left-clicked. And if you want to save your Mac screen recording just go to “File”, “Save” and then we’ll just save this to the Downloads. Actually we’ll save this to the Desktop, and there you go. You now have your screen recording saved on your Desktop so you can do whatever you want with it. There it is right there. So that’s how to record your screen on your Mac for free using QuickTime Player. Hope this helped you out. If you liked this video make sure you give it a thumbs up and check out more of my Mac videos if you’re a Mac user. I’m assuming you’re a Mac user if you’re watching this video and subscribe if you haven’t already. Thank you so much for watching. Keep having fun out there, and I will talk to you later.

By Andy Slye

How to Backup Mac with Time Machine

Video Transcipt:

In this video I’m going to show you how to backup your Mac using Time Machine. So you’re watching this video right now because you’re serious about backing up your Mac so congratulations you’re in the right place. Everybody needs to be backing up their data and their computer because there is always a possibility of something like your hard drive crashing or God forbid like somebody stealing your Mac or you know just files getting accidentally deleted. So let’s go over how to backup your Mac. It’s super simple, and you won’t even have to think about it once you have it set up. So the first thing you need to do is make sure you have an external hard drive that is at least the same capacity as your Mac’s hard drive or preferably even larger. So I’m going to leave an Amazon link right in the description below to the best external hard drive. The one that I use is a Western Digital external hard drive. That’s what I use to back up my Mac, and it’s the best. This one I’ve never had a problem with so that link will be in the description below. So once you have an external hard drive the next thing you need to do is just plug it in and connect it to your Mac using the USB cable. And the hard drive will show up on the desktop right there on the right side. You can double-click on that to enter it or you can open up the Finder and find it there. Okay so my external hard drive is connected. The next thing we’re going to do is open up Time Machine so the easiest way is to just search Spotlight for Time Machine then click Setup Time Machine. Now we’re going to turn Time Machine on real quick. Once you turn Time Machine on you’ll see your external drive here in the list so select your external drive in the list then click Use Disk. You can also choose encrypt that backup, we’re not gonna do that right now. So here is Time Machine. This is what it looks like. Shows your external hard drive name, shows you how much space is available on your external drive, shows you when your oldest backup is, your latest backup, and the next backup. Okay then I want to check this box that says “Show Time Machine in menu bar”. So that means we got a little time machine icon in the menu bar up top. We’re going to go over that just a second. So click the options tab or the options button. And this is where you can add folders that you want to exclude from the backup. Okay so I’m not going to add any because I want to back up everything on my Mac hard drive so I’m going to leave that the way it is by default. And Time Machine will start the backup automatically or you can go up to Time Machine icon and choose “Back up now”. And when you click the Time Machine icon you can see the info if it’s backing up. You see mine is currently backing up right now. I can skip it. I can enter Time Machine, and I can open Time Machine preferences. The first initial backup will take a while. I have 400 some gigabytes and it took a couple hours, about 2 hours for mine. So once it’s done you can see the details. You can open up your external drive and go into the backups folder here and just see that what it backed up. And you can see that it backed up my whole entire Macintosh hard drive. That’s what we want is a successful backup and if you leave that hard drive connected it will back up automatically every hour and then you can actually just turn the backup external hard drive off and disconnect it and then connect it whenever you want to back up again. So let’s enter Time Machine. Now this is the Time Machine and it shows you all the recent backups you’ve done, all the backups that you have available. So if you ever want to go and recover a deleted file you can do this so at the bottom right you can choose the backup that you want to go to and click on it and then you go and browse for a file that you want to recover. And once you find one you can just click that Restore button at the bottom right and then you can exit out. And it’ll recover that deleted file so that’s just a quick overview over the Time Machine UI right there. So that’s all there is to it basically guys. That is very simple. Time Machine is awesome. Once you set it up for the first time you won’t need to mess with it again. So now you know how to backup your Mac. Hakuna Matata. No worries, you’re good to go. Thank you so much for watching guys if you like this video make sure you give it a thumbs-up and subscribe to this channel for more videos like this in the future.

By Andy Slye

« Older posts Newer posts »

© 2024 My Tech Methods

Theme by Anders NorenUp ↑