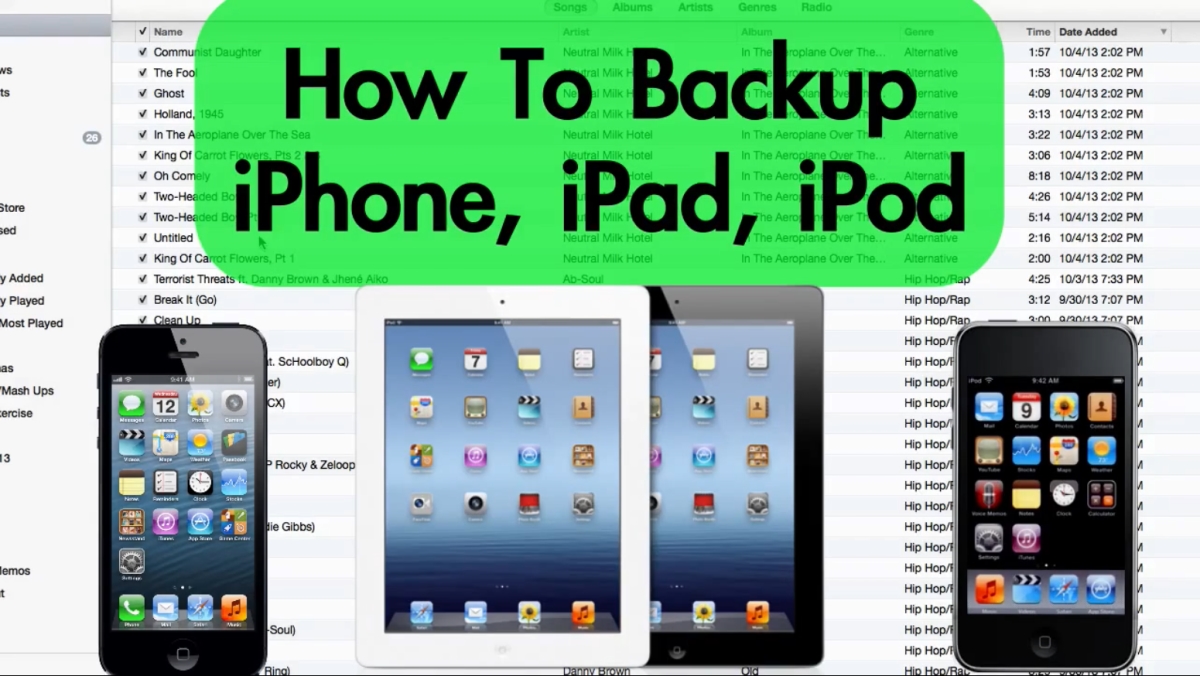
How to Backup iPhone, iPad, or iPod with iTunes (PC & Mac)
This video is going to show you how to backup your iPhone, iPad, or iPod to your computer using iTunes. This works on a Mac and a Windows PC. Backing up your iPhone, iPad, or iPod is an easy task, but I get a lot of questions about it so I figured I’d do a video for you guys. There are 2 main ways to backup your iPhone (or whichever iOS device you have). One way is to go on your iPhone itself, and go to Settings, iCloud, Backup. As long as you’re connected to a Wi-Fi network you can back up your iPhone to your iCloud account. The second way is what I do and what most people do, and that is to back up your iPhone to your computer using iTunes so I’m going to show you that today.
First, open iTunes then connect your iPhone to your computer using the USB cable. Most likely it’ll automatically backup your iPhone when you connect it so if you click on your iPhone in the devices list on the left hand side you can see when the most recent backup was on your computer. My iPhone automatically backs up whenever I connect it. If yours doesn’t do that you can manually back it up by clicking the “Back Up Now” button or you can go up to File, Devices, Back Up. Either way they both backup your iPhone to your computer.
If you want to view a list of recent backups just go to Preferences and go to Devices, and you can see all the backups that it has stored on your computer. If you want to see where these backups are stored on your computer just right-click and then choose Show in Finder if you’re on a Mac or Show in Explorer if you’re on a Windows PC. It will open up the folder where your iOS backups are stored.
What is all included in the iPhone backup when it backs up to your computer? Well pretty much everything that is not in iTunes is backed up. Now what I mean by that is your music, movies, TV shows, podcasts, books, apps, and ringtones are already in iTunes so those don’t get backed up to that backup folder. What does get backed up is your camera roll, your saved photos on your phone, your text messages, your iMessages, your contacts, your calendar, all your settings, app data, etc. All that data gets backed up during your iPhone backup. See the official iTunes backup details here.
If you want to restore an iPhone, iPad, or iPod to one of your backups all you have to do is connect that iOS device to your computer, open iTunes, and once it’s connected go to File, Devices, Restore from Backup. You can choose from your most recent backups to restore the device. So that’s how to backup your iPhone, iPod, or iPad to your Mac or Windows computer!
By Andy Slye