Ever wonder how to copy DVD movies to your Mac and convert them into high quality video files? This video will show you how to do exactly that! This is a quick video on how to rip a DVD on a Mac using Leawo DVD Ripper for Mac. Ripping a DVD is essentially copying a DVD movie onto your computer so you can have a digital copy of any DVD movie stored on your hard drive.
The first thing you want to do is click the video annotation link on the video or click the link at the top of this description, and that will start an instant download of the Leawo DVD Ripper program. It will download to your Downloads folder, and once it’s downloaded just double-click on the ZIP file. It will extract the installer file then double-click on the DMG file. Drag the Leawo Mac DVD Ripper app icon to your Applications folder. Open your Applications folder and go to Leawo DVD Ripper and click to open it up.
Next, insert your DVD movie into your Mac DVD drive. Once the DVD movie is mounted on your desktop, drag and drop it over into the Leawo DVD Ripper application then click OK. It will analyze your DVD and get ready to rip it. After it gets done analyzing the DVD it’ll show up in the queue, and it automatically selects the main movie file so if you just want to rip the full movie file just click OK. If you want to enter the name of the movie you can do so on this page. If you want to change the file format that the movie’s going to be in once it’s ripped onto your Mac, just click the device or file icon. If the DVD is going on a certain device you can select from many types of devices such as an iPod Touch, iPhone, iPad, Android, etc. If you plan on keeping it on your Mac, I suggest choosing HD Video or Common Video then choose the MP4 option.
Now you’re ready to rip the DVD onto your Mac so just hit the Start Convert button, and the DVD ripping process will begin. If you want the application to automatically open the folder where the movie file is located in, you can select Open Output Folder after conversion. The DVD rip will be complete shortly, and the movie file will soon be saved in your Movies folder on your Mac.
That was the short and sweet tutorial on Leawo DVD Ripper for the Mac. Again this application can rip or copy any DVD to your Mac. It’s a useful app to have if you own any DVD video discs, and it’s definitely worth it so check it out.
Click here to get Parallels for Mac
Click here to get Windows on Amazon
In this video I’ll be showing you how to run Windows on your Mac using Parallels. This is a virtualization program for your Mac and allows you to run Windows virtually so you can run both operating systems at the same time. You don’t have to boot into a separate hard drive or anything like that. So the first thing you want to do is click the links above to get Parallels and a valid Windows install disc.
So once you have Parallels installed you’re going to open it and choose to install Windows from a DVD or image file. If you have a Windows install disc you can insert it into your Mac DVD drive or choose a Windows installation ISO file. Enter the product key for Windows (or skip and activate later). Choose how you want the virtual Windows machine to behave. You can have it run Windows applications without opening up the Windows desktop, or you can have it all in one single virtual program. Choose a name for the virtual machine. Parallels will load the disc or image file, and it will start the Windows set up. Next choose your language, choose Install Now. Select I accept then Next. Choose Custom (Advanced). Choose Disk 0 then click Next.
Here’s an overview of the Parallels virtual machine settings. You can allocate a certain amount of memory to give the virtual machine while it’s running. Also you can allocate the number of CPU cores for the virtual machine, the total size of the virtual hard drive. It’s actually expandable so it expands as it needs to. The Options tab has all kinds of different categories that you can change. Startup and Shutdown, Optimization, Security, Backup, Sharing, Applications, Coherence, Full-Screen, Modality, and Advanced. The Hardware tab shows the hardware your Mac is sharing with the virtual machine: DVD drive, hard drive, network, USB, Bluetooth, iSight camera, etc.
Windows will perform a restart automatically after it gets done installing the first main files then it will complete the installation. Finish setting up Windows by entering a username, password, product key, time zone, recommended settings, and network settings.
When Windows installation is complete you’ll be in the Windows desktop. As you can see it’s running virtually on the Mac so it’s just like Windows in its own application. The mouse integration is seamless as well as the network. It’s bridging the network from the Mac so it already has Internet access. Parallels really makes this an easy setup, and everything is automatically set up through Parallels. It all does it in the background for you. That’s why I think Parallels is the best application that you can use when you want to run Windows on a Mac. Not to mention you can pretty much use all your Mac hardware in the Windows virtual machine. So as you can see you can do anything like you’re running a normal Windows machine, but it’s on a Mac. That is how to install and run Windows on a Mac using Parallels. It’s the absolute best way to do it.
Using MacX Video Converter Pro is the easiest way to convert YouTube to iTunes file formats. With this app you can download and convert YouTube videos and put them into iTunes and from there you can sync them onto a device such as an iPhone, iPad, or iPod.
This application is available for Mac & Windows users so if you click on a link above you can download it instantly to your system. It also converts many video files so you can convert an FLV file to an MP4/MP3, etc. You can convert nearly any video file, as well as download & convert YouTube videos to put them into iTunes.
First go to YouTube and find your video. Then copy the URL address of the YouTube video that you want to convert into an iTunes compatible file. Then click the YouTube button in MacX Video Converter Pro. Here you’ll paste the YouTube URL address into the text box then click OK. Choose the output folder where you want the YouTube video to be saved.
If you’re planning on leaving the YouTube file in iTunes all you have to do is click the Apple tab and choose the iTunes tab and then click Start. But if you plan on putting the YouTube file on a device after it’s in iTunes you can choose your device specifically on the corresponding tabs. This not only converts YouTube to iTunes, but it also converts YouTube to all kinds of formats. You can choose from all the different tabs available for specific devices. You can even convert the YouTube video to an MP3 file so you can have it as a song in your iTunes library. You can do that by using the Music tab. But for now I’ll just choose Apple and iTunes so I can put the YouTube video into iTunes directly and then click Start.
It will download, convert, and add the YouTube video into iTunes automatically for you. Once it’s finished downloading and converting you’ll see it pop up in your Explorer window. Then open iTunes and you’ll see the YouTube file in there. You can watch it in iTunes or sync it to a device such as an iPad, iPod, or iPhone by plugging in the USB cable and syncing iTunes with your device. That’s how easy it is to convert YouTube to iTunes files!
Built in 420+ video/audio codecs and advanced HD video decoding engine, MacX Video Converter Pro brings users an all-in-one video converting solution with top quality and efficiency. The is app owns powerful abilities to convert HD videos including MKV, M2TS, AVCHD, H.264/MPEG-4 AVC, and SD videos like AVI, MPEG, MP4, H.264, MOV, FLV, F4V, RM, RMVB, WebM, Google TV to Mac & Windows computers, iMovie, iTunes, iPhone 5, iPad Mini, iPad 4, iPod touch 5, iPod classic, Apple TV, PSP, etc.
With this video converter users can download website videos from YouTube, Vimeo, Metacafe etc. It also features unique ability to convert Multi-track HD videos in M2TS, MKV, AVCHD, HDTV BDAV and MPEG-TS formats, offering users the most convenient way to choose preferred audio language track, as well as create VOB files from videos to burn your favorite videos to DVD for a backup.
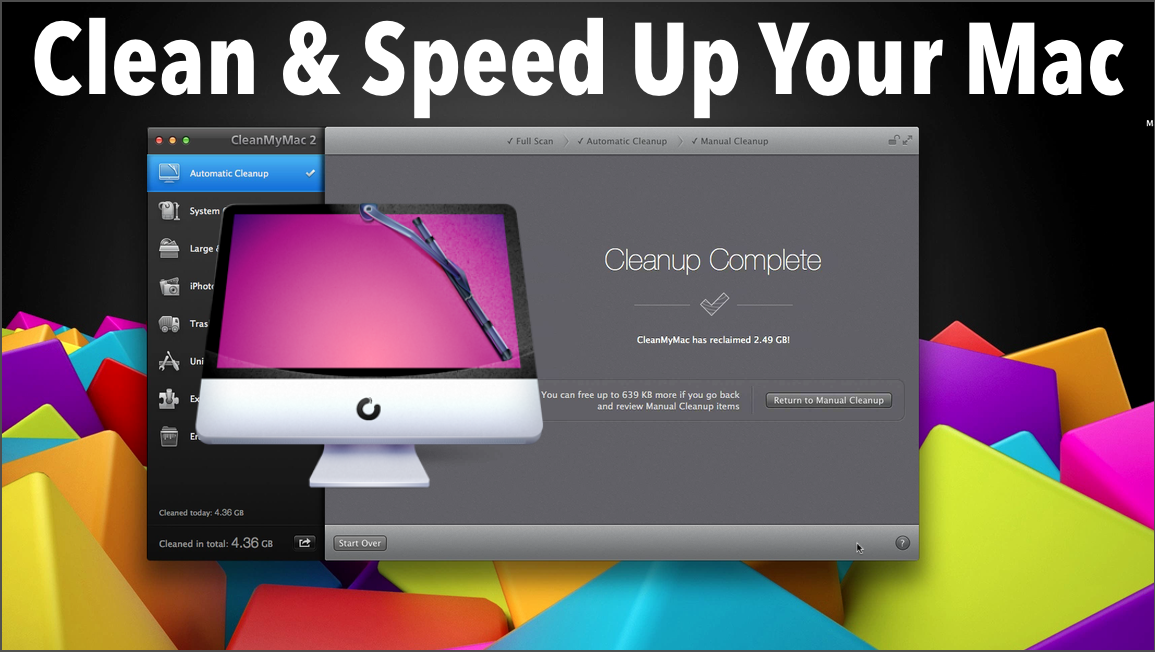
Okay so this is going to be a quick overview on how to use Clean My Mac 2 to clean up your Mac and speed it up, make it faster, and get more hard drive space. So at any time during this video if you click on the annotation on the top of this video it’ll take you to Clean My Mac’s website where you can download it. Or you can click the link in the description below, and that will take you to the site as well.
So once you’ve downloaded and installed Clean My Mac 2 it will take you to this opening screen here. Now what I love about Clean My Mac is it does exactly what its name says. It cleans up your Mac and it does it in a very simple and powerful way. And the design is very, very beautiful. It’s got a very elegant design. They really made this app look pleasing to the eye.
Now the Automatic Cleanup represents a complete cleanup guide which incorporates all other modules of Clean My Mac. Automatic Cleanup is the most efficient and rapid cleanup, and it’s divided into three main steps. The Full Scan will look through all possible areas on your Mac and automatically identify all the items that it can safely get rid of. The full scan involves System Cleanup, iPhoto Cleanup, Trash Cleanup, and Large and Old Files. There’s also an inbuilt Ignore List so you don’t have to worry that Clean My Mac will select anything for removal that it shouldn’t. All important items will not be listed in the scan results at all.
Now after the full scan is over you’re presented with a brief results list which includes items suggested for automatic cleanup. Clicking the Clean button at this point will remove all the stuff that clutters your Mac. For instance, removed items will not include any of your personal or vital system files. What you get after Automatic Cleanup is a faster Mac with a significant amount of additional free space on it with literally no effort from you at all.
And right after Automatic Cleanup you’re presented with the Manual Cleanup steps you should take to free up even more space. When you’re done with Manual Cleanup you can click the Summarize Cleanup button to see your overall results so that you clearly know how much space was saved.
The System Cleanup section helps you take care of all the unneeded items generated by your system and applications. After you start a scan, Clean My Mac will use an algorithm to determine what files can be safely removed automatically so you shouldn’t worry about system stability. What you get after the scan is a visual representation of items that can be instantly removed with no harm. In order to review the particular stuff you’re about to remove just click the Detailed Results button, and you can see all the items that it’s about to remove. Clicking the main Clean button will remove all the unneeded items and free up a significant amount of space.
Large and Old Files helps you locate, review, and remove large files and folders that you haven’t opened for months and probably don’t need any more. The default location is your home folder, but you can select any location to analyze such as internal or external drives, network folders, or any other places where files are stored. Now once you’ve selected all the places that you want to scan just hit the Scan button to analyze the files. After the scan is over you’ll be presented with a list of all the large and old files that you have. Now what I really love about Clean My Mac is the customization. For instance here you can customize the filter by setting the minimum size of displayed items and the time they were last accessed. So now you can select the unwanted files and click Remove to finalize the process and clean up your hard drive
iPhoto Cleanup is a powerful space saving feature for those who have large iPhoto libraries. This feature looks through your iPhoto library to locate unneeded original copies of images kept by iPhoto after you’ve edited them. You can start scanning your default Library or select a different library to analyze. After the scan is over, Clean My Mac will show you the results and allowing you to automatically remove items that are completely safe to get rid of. These may include rotated and fixed redeye original copies. Then you can decide what items you want to remove and click the Clean button and it’ll finalize the process. After the cleanup is over you get the same iPhoto library but it weighs a lot less.
Trash Cleanup helps to empty all system trash folders of your internal and external drives including iPhoto trash. Now here there’s no need to initiate any scans. Clean My Mac automatically locates all trash folders and presents you with a list of them from the very start. You can use the main Empty button right away and permanently remove all the stuff you had in all the listed trash folders. Or you can click on a trash folder and go through the items to remove its contents. Then after you decide on all the items that you want to remove permanently just click the Empty button. And again you’ll be left with more free space on your hard drive.
The Uninstaller provides easy and complete application removal from your Mac. It presents you with a list of all the applications that are installed on your Mac even if they are not in the main applications folder. The applications list represents all supported applications that are installed in your default applications folder or anywhere else on your Mac. If you wish to uninstall an application just select it. You’ll see the main app file itself and all of its related items. Now the Leftovers section provides you with a list of items on your system that earlier belonged to applications that you’ve already trashed. Basically the files that are no longer used by any of your apps and only waste space. The Unsupported section will list all the applications that are present on your system but cannot be used with it. Now once you’ve selected all the items that you wish to remove you’ll just click the main Uninstall button at the bottom.
The Extensions Manager allows you to remove or disable your widgets. Apart from your ordinary applications there are quite a lot of other software components on your system that can be generally described as extensions, and they’re all listed here. After you’ve reviewed the list you can click the Disable button next to virtually any item to isolate it from your system, or you can select items for complete removal using the corresponding checkboxes. After you’ve looked through the sections and selected the unwanted items you can go ahead and use the main Remove button at the bottom to completely remove them and clean up your system.
The Eraser lets you quickly dispose of any unwanted files from your Mac without going to the trash first. If you have any file or folder that you wish to permanently remove just click the Select Files button and add the unwanted items to Eraser. Now when you’re all set you can just click the main Erase button and it’ll get rid of all the unwanted items.
So that’s my overview on how to use Clean My Mac 2 to clean up your Mac and speed it up, make it a lot faster, and gain a lot more hard drive space. This is a highly recommended application for your Mac. It’s won a Reader’s Choice award for the best Mac system utility application two years in a row. So if you don’t have it go get it right now. Click the link at the top of this video or in the description below. It’s a must-have if you’re a Mac user. So if you enjoyed this video give it a thumbs up, and leave a comment in the comment section below and let me know how much free space you’ve gained after using Clean My Mac. And make sure you subscribe to my channel so you’re notified when I upload more helpful videos like this in the future. I will see you all next time.
WinX DVD Ripper Platinum, in my opinion, is the best and easiest way to copy DVD movies to your computer on Windows, especially if you’re planning to put the videos on a smart phone or tablet (iPad, iPod, iPhone, Kindle, Galaxy Note/Tab, Nexus 4/7/10, etc.) It’s very easy to use. It’s super fast. It can copy a DVD to your computer in just a few mouse clicks. It’ll save you a ton of time because there’s no need for additional converter programs and you don’t have to configure any settings. It will automatically transfer the DVD in the best video quality that is compatible with your computer or device so it fits perfectly on the screen. And it comes with free lifetime updates so you know you’re always able to copy the latest movies when they come out.
Next you’ll load your movie disc into your DVD drive and open WinX DVD Ripper Platinum. Then click the DVD button in the top left the program and then click OK. Now here’s the cool part, on the Output Profile window you can select from nearly any device that you’re going to put the movie on. You can choose anything from Apple device, Android tablets, Android smartphones, or just PC general video for when you just want to save the DVD movie on your computer.
After making your selection, the main movie file is automatically checked for you so the only thing you have to do is choose where you’d like the DVD to be copied to. Now all you have to do is click Run and the DVD will be copied to your computer.
Once the transfer is complete your folder will open up and you’ll see your movie file right there. If you’re planning on putting it into iTunes all you have to do is open up iTunes then drag-and-drop the video file into iTunes and then sync your device. If you plan on putting it on an Android tablet or smart phone, just sync the device to your computer via the USB cable then copy it via Windows Explorer.
That is how you use WinX DVD Ripper Platinum to copy any DVD movie to your computer!