Videos by Andy Slye

Tag: os x

MacX Video Converter Pro 4: Review & Tutorial

How to Convert MP4, MOV, MP3, M4A, MKV, FLV & More on Mac: MacX Video Converter Pro

Click here for a free trial download of MacX Video Converter Pro

This is a brief overview and tutorial video over the new version of MacX Video Converter Pro. This is a premium application for the Mac from www.macxdvd.com. If you’re a Mac user and you’re looking to convert video files to to other video file formats or to audio file formats, if you want to record your Mac screen, if you want to create photo slideshows, then this program is for you. You can try it out for free if you click on the link at the top of this video description. That will start an instant download so you can install it and try it out for free. If you like it you can register for the full version later. If you don’t like it you can delete it, but I’m pretty sure you’re going to like this application.

MacX Video Converter Pro 4.0 Features

Let’s quickly look at the main features: HD video converter, fast speed, high quality, records your iSight camera, records your Mac screen so you can make a screencast, or you can remove DRM from videos. It has a photo slideshow maker. You can edit the video and audio files that you’re going to convert. You can trim them, crop them, even add watermarks, and obviously you can convert any video file to an iPhone, iPad, or iPod compatible format. So without further ado let’s open this app up and play with it. Are you excited as I am?

Here’s the home screen of Mac X Video Converter Pro 4.0. On the top menu you can choose from any of the features that we just went over: the video converter, photo slideshow, download YouTube videos, record your iSight, record your Mac screen, and the trash icon clears out all the jobs that are in your queue. Click the first button to add the videos that you want to convert. Let’s say I have an FLV file that I want to convert on my desktop. I’ll just choose that. Now here’s the output profile window. This is where you choose the file format that you want to convert your video to. I have an FLV video, and let’s say I want to convert it to MP3. I can choose “To Music” MP3 recommended. If I want to convert it to an iPhone video file format I can choose Apple device then iPhone video and choose my iPhone model (same with iPad & iPod). You can convert MP4, MP3, FLV, AVI, WMV, MPEG, MPG, MOV, etc. You can do all kinds of stuff, even convert videos to a compatible format for a Microsoft device, Android tablet, Android smartphone, YouTube video, etc.

So let’s just say I want to convert this FLV file to an MP4 video file so I can put it into iTunes. I’ll just choose Mac general video. MP4 video is automatically selected, the recommended option then click Done. The video is now in the queue ready to be converted. If you click Edit you can see all the editing options that you have. You can adjust the volume, subtitles, trim it down. You can adjust the start and end time. You can crop and expand it, and you can even add a text or image watermark. That’s pretty cool. Click Done.

If you have multiple videos that you want to convert you can add more in the queue. Let’s say I want to convert the FLV file to an MP3 file. I can add it again and click the Settings button and change it to MP3. Alright so now I’m converting FLV to MP4 and FLV to MP3. So I’ll just hit Run, and the conversions will start.

When the conversions are complete the window will pop up and it will have your final converted videos in a folder on your Mac. I can add those into iTunes now and put those on my iPhone, iPod, or iPad. You can do that with other devices as well. That’s the main feature of Mac X Video Converter Pro, but it does have extra features as well like we went over earlier. You can make a photo slideshow, download YouTube videos, record your iSight camera, and record your Mac screen. So as you can see this is a very powerful and useful application. If you’re a Mac user and you want to be able to convert any video file, edit and trim converted videos, record your Mac screen, and do all kinds of other cool stuff then this is definitely an app to have. Again the link is at the top of this description. You can click that, and it’ll start an instant download where you can download and try it out for free!

By Andy Slye
How To Speed Up Your Mac & Clean Up Your Mac

Download CleanMyMac2 to clean & speed up your Mac!

Video Transcript:

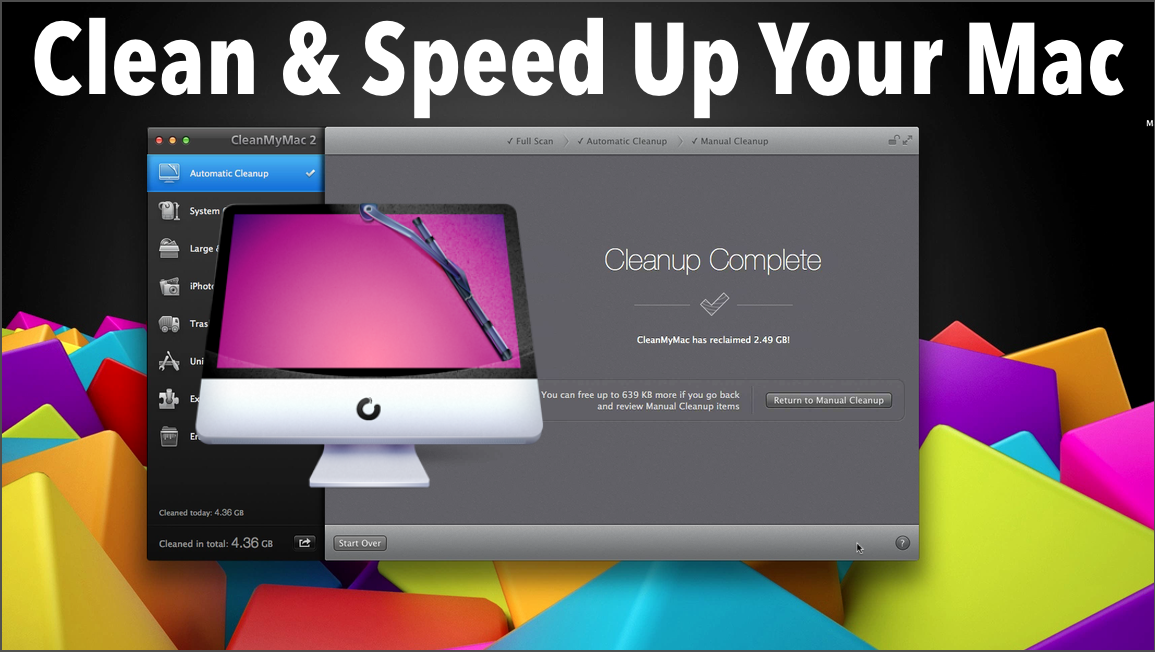
In this video I’ll be showing you how to clean up your Mac and speed up your Mac using a great application called Clean My Mac 2.

Okay so this is going to be a quick overview on how to use Clean My Mac 2 to clean up your Mac and speed it up, make it faster, and get more hard drive space. So at any time during this video if you click on the annotation on the top of this video it’ll take you to Clean My Mac’s website where you can download it. Or you can click the link in the description below, and that will take you to the site as well.

So once you’ve downloaded and installed Clean My Mac 2 it will take you to this opening screen here. Now what I love about Clean My Mac is it does exactly what its name says. It cleans up your Mac and it does it in a very simple and powerful way. And the design is very, very beautiful. It’s got a very elegant design. They really made this app look pleasing to the eye.

Now the Automatic Cleanup represents a complete cleanup guide which incorporates all other modules of Clean My Mac. Automatic Cleanup is the most efficient and rapid cleanup, and it’s divided into three main steps. The Full Scan will look through all possible areas on your Mac and automatically identify all the items that it can safely get rid of. The full scan involves System Cleanup, iPhoto Cleanup, Trash Cleanup, and Large and Old Files. There’s also an inbuilt Ignore List so you don’t have to worry that Clean My Mac will select anything for removal that it shouldn’t. All important items will not be listed in the scan results at all.

Now after the full scan is over you’re presented with a brief results list which includes items suggested for automatic cleanup. Clicking the Clean button at this point will remove all the stuff that clutters your Mac. For instance, removed items will not include any of your personal or vital system files. What you get after Automatic Cleanup is a faster Mac with a significant amount of additional free space on it with literally no effort from you at all.

And right after Automatic Cleanup you’re presented with the Manual Cleanup steps you should take to free up even more space. When you’re done with Manual Cleanup you can click the Summarize Cleanup button to see your overall results so that you clearly know how much space was saved.

The System Cleanup section helps you take care of all the unneeded items generated by your system and applications. After you start a scan, Clean My Mac will use an algorithm to determine what files can be safely removed automatically so you shouldn’t worry about system stability. What you get after the scan is a visual representation of items that can be instantly removed with no harm. In order to review the particular stuff you’re about to remove just click the Detailed Results button, and you can see all the items that it’s about to remove. Clicking the main Clean button will remove all the unneeded items and free up a significant amount of space.

Large and Old Files helps you locate, review, and remove large files and folders that you haven’t opened for months and probably don’t need any more. The default location is your home folder, but you can select any location to analyze such as internal or external drives, network folders, or any other places where files are stored. Now once you’ve selected all the places that you want to scan just hit the Scan button to analyze the files. After the scan is over you’ll be presented with a list of all the large and old files that you have. Now what I really love about Clean My Mac is the customization. For instance here you can customize the filter by setting the minimum size of displayed items and the time they were last accessed. So now you can select the unwanted files and click Remove to finalize the process and clean up your hard drive

iPhoto Cleanup is a powerful space saving feature for those who have large iPhoto libraries. This feature looks through your iPhoto library to locate unneeded original copies of images kept by iPhoto after you’ve edited them. You can start scanning your default Library or select a different library to analyze. After the scan is over, Clean My Mac will show you the results and allowing you to automatically remove items that are completely safe to get rid of. These may include rotated and fixed redeye original copies. Then you can decide what items you want to remove and click the Clean button and it’ll finalize the process. After the cleanup is over you get the same iPhoto library but it weighs a lot less.

Trash Cleanup helps to empty all system trash folders of your internal and external drives including iPhoto trash. Now here there’s no need to initiate any scans. Clean My Mac automatically locates all trash folders and presents you with a list of them from the very start. You can use the main Empty button right away and permanently remove all the stuff you had in all the listed trash folders. Or you can click on a trash folder and go through the items to remove its contents. Then after you decide on all the items that you want to remove permanently just click the Empty button. And again you’ll be left with more free space on your hard drive.

The Uninstaller provides easy and complete application removal from your Mac. It presents you with a list of all the applications that are installed on your Mac even if they are not in the main applications folder. The applications list represents all supported applications that are installed in your default applications folder or anywhere else on your Mac. If you wish to uninstall an application just select it. You’ll see the main app file itself and all of its related items. Now the Leftovers section provides you with a list of items on your system that earlier belonged to applications that you’ve already trashed. Basically the files that are no longer used by any of your apps and only waste space. The Unsupported section will list all the applications that are present on your system but cannot be used with it. Now once you’ve selected all the items that you wish to remove you’ll just click the main Uninstall button at the bottom.

The Extensions Manager allows you to remove or disable your widgets. Apart from your ordinary applications there are quite a lot of other software components on your system that can be generally described as extensions, and they’re all listed here. After you’ve reviewed the list you can click the Disable button next to virtually any item to isolate it from your system, or you can select items for complete removal using the corresponding checkboxes. After you’ve looked through the sections and selected the unwanted items you can go ahead and use the main Remove button at the bottom to completely remove them and clean up your system.

The Eraser lets you quickly dispose of any unwanted files from your Mac without going to the trash first. If you have any file or folder that you wish to permanently remove just click the Select Files button and add the unwanted items to Eraser. Now when you’re all set you can just click the main Erase button and it’ll get rid of all the unwanted items.

So that’s my overview on how to use Clean My Mac 2 to clean up your Mac and speed it up, make it a lot faster, and gain a lot more hard drive space. This is a highly recommended application for your Mac. It’s won a Reader’s Choice award for the best Mac system utility application two years in a row. So if you don’t have it go get it right now. Click the link at the top of this video or in the description below. It’s a must-have if you’re a Mac user. So if you enjoyed this video give it a thumbs up, and leave a comment in the comment section below and let me know how much free space you’ve gained after using Clean My Mac. And make sure you subscribe to my channel so you’re notified when I upload more helpful videos like this in the future. I will see you all next time.

How To Copy Any DVD To iPad, iPod, iPhone

Copy a DVD to iPad, iPod, iPhone – The Easy Way!

Click here to download MacX DVD Ripper Pro
Visit the MacX Website

Video Transcript:

In this video I’ll be showing you step-by-step how to copy any DVD movie to your iPhone, iPod or iPad using a great Mac application called MacX DVD Ripper Pro.

MacX DVD Ripper Pro, in my opinion, is the best and easiest way to rip or copy DVD movies to your Mac if you’re planning to put those movies on your iOS device later. It’s very simple to use. It can copy a DVD in just a few clicks. It’s extremely fast and saves you a ton of time because there’s no need for additional converter programs and you don’t have to configure any settings. It will automatically copy the DVD in the best video quality that is compatible with your device so it fits perfectly on the screen. And it comes with free lifetime updates so you know you’re always able to copy the latest movies when they come out.

First you’ll want to download MacX DVD Ripper Pro

Next you’ll load your movie disc into your DVD drive and open MacX DVD Ripper Pro. Once it’s opened you’ll click the DVD button in the top left and choose OK. Once the output profile window pops up you’ll select Apple device then choose iPhone, iPad or iPod depending on what device you have. Then select the model of your device and click Done.

It will automatically select the main movie file for you. Then you can select the folder where you’d like the movie to be copied to. So you can click Browse then click Run and it will start to copy the DVD.

Once it’s finished the window will pop up with your video in it. Now you’ll just open up iTunes and browse to the folder and drag and drop the video file into iTunes. And when it’s done copying you’ll sync your iPad, iPod or iPhone with iTunes via the USB cable.

Now once your device shows up in iTunes you’ll click on it then click the Movies section. Then select sync movies, click apply, and your iOS device will sync & copy the DVD movie. And now when you open up the Videos app on your device your movie will be in there. Easy! That’s my review on MacX DVD Ripper Pro from MacXDVD.com. Hope you enjoyed!

© 2023 My Tech Methods

Theme by Anders NorenUp ↑