Videos by Andy Slye

Tag: mp3

How to Convert YouTube to iTunes Files – The Easy Way!

How to Convert YouTube to iTunes

Click here for a Windows Instant Download
Click here for a Mac Instant Download

Using MacX Video Converter Pro is the easiest way to convert YouTube to iTunes file formats. With this app you can download and convert YouTube videos and put them into iTunes and from there you can sync them onto a device such as an iPhone, iPad, or iPod.

This application is available for Mac & Windows users so if you click on a link above you can download it instantly to your system. It also converts many video files so you can convert an FLV file to an MP4/MP3, etc. You can convert nearly any video file, as well as download & convert YouTube videos to put them into iTunes.

First go to YouTube and find your video. Then copy the URL address of the YouTube video that you want to convert into an iTunes compatible file. Then click the YouTube button in MacX Video Converter Pro. Here you’ll paste the YouTube URL address into the text box then click OK. Choose the output folder where you want the YouTube video to be saved.

If you’re planning on leaving the YouTube file in iTunes all you have to do is click the Apple tab and choose the iTunes tab and then click Start. But if you plan on putting the YouTube file on a device after it’s in iTunes you can choose your device specifically on the corresponding tabs. This not only converts YouTube to iTunes, but it also converts YouTube to all kinds of formats. You can choose from all the different tabs available for specific devices. You can even convert the YouTube video to an MP3 file so you can have it as a song in your iTunes library. You can do that by using the Music tab. But for now I’ll just choose Apple and iTunes so I can put the YouTube video into iTunes directly and then click Start.

It will download, convert, and add the YouTube video into iTunes automatically for you. Once it’s finished downloading and converting you’ll see it pop up in your Explorer window. Then open iTunes and you’ll see the YouTube file in there. You can watch it in iTunes or sync it to a device such as an iPad, iPod, or iPhone by plugging in the USB cable and syncing iTunes with your device. That’s how easy it is to convert YouTube to iTunes files!

Built in 420+ video/audio codecs and advanced HD video decoding engine, MacX Video Converter Pro brings users an all-in-one video converting solution with top quality and efficiency. The is app owns powerful abilities to convert HD videos including MKV, M2TS, AVCHD, H.264/MPEG-4 AVC, and SD videos like AVI, MPEG, MP4, H.264, MOV, FLV, F4V, RM, RMVB, WebM, Google TV to Mac & Windows computers, iMovie, iTunes, iPhone 5, iPad Mini, iPad 4, iPod touch 5, iPod classic, Apple TV, PSP, etc.

With this video converter users can download website videos from YouTube, Vimeo, Metacafe etc. It also features unique ability to convert Multi-track HD videos in M2TS, MKV, AVCHD, HDTV BDAV and MPEG-TS formats, offering users the most convenient way to choose preferred audio language track, as well as create VOB files from videos to burn your favorite videos to DVD for a backup.

By Andy Slye
Convert Nearly Any Audio & Video File for Free (Mac)

Video Transcript:

Hey everyone what’s up? This is Andy from MyTechMethods back with another video. Today I just want to quickly show you how to use Smart Converter. It’s a free app that will convert audio files and video files. This is a really great program. Thereís a free version and thereís a paid version. Today Iím just gonna go over the free version. It’s done everything that I needed it to do so far so I’ve just stuck with the free.

Now this does require 10.7 or later on your Mac, that’s Lion or Mountain Lion so make sure you have that. Go up here to your Apple icon, click About This Mac and it will show you what version you have. If you have anything above 10.7 or 10.8 here you’ll be good. If you have those two, any of those two versions you can go to the Mac app store and then you can search Smart Converter and this will pop up and just install it. Mine ís already installed so I’ll close out of here.

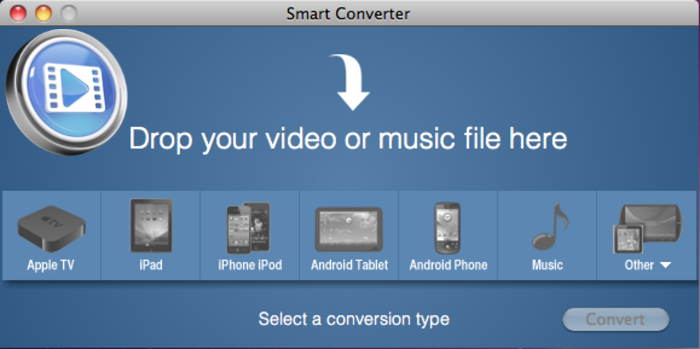
Okay so let’s open Smart Converter from our dock. So this is what you see when Smart Converter opens. It has a bunch of presets that you can select from depending on what you’re converting your file for so if you’re converting anything to MP3 or audio format youíll select music, if you’re converting something from one video format to another video format you want to select which format you want depending on what you’re going to put it on so if you want to put the video on an iPhone or iPod of course you’re going to select that. Select any of these presets or you can select other and just choose Custom on here.

Usually I just use this app just to convert video files to MP3 so say if I got this music video over here, the video file. Just drag it over to the Smart Converter box, drop it. I’ll select music and then I’ll hit convert and what it does it converts the video to MP3 opens my iTunes automatically sends it to it and if you want to see where the file ends up if you’re converting a video that’s not automatically going into iTunes click the show file button. It’ll bring up your finder and this will have your exported video or audio file whichever one you converted in Smart Converter folder and you can copy and paste it wherever you want to, wherever you want to put it.

So there it is, super quick, super easy and best of all it’s free. If you enjoyed this tutorial, if it helped you out please help me out by clicking the Like button below this video and subscribe if you want more videos like this. I’ll talk to you guys soon. Thanks, bye.

FM Transmitter Tip: No More Static!

Here’s the link to buy the Griffin iTrip FM Transmitter from Amazon (Huge Discount + Free Shipping)

Video Transcript:

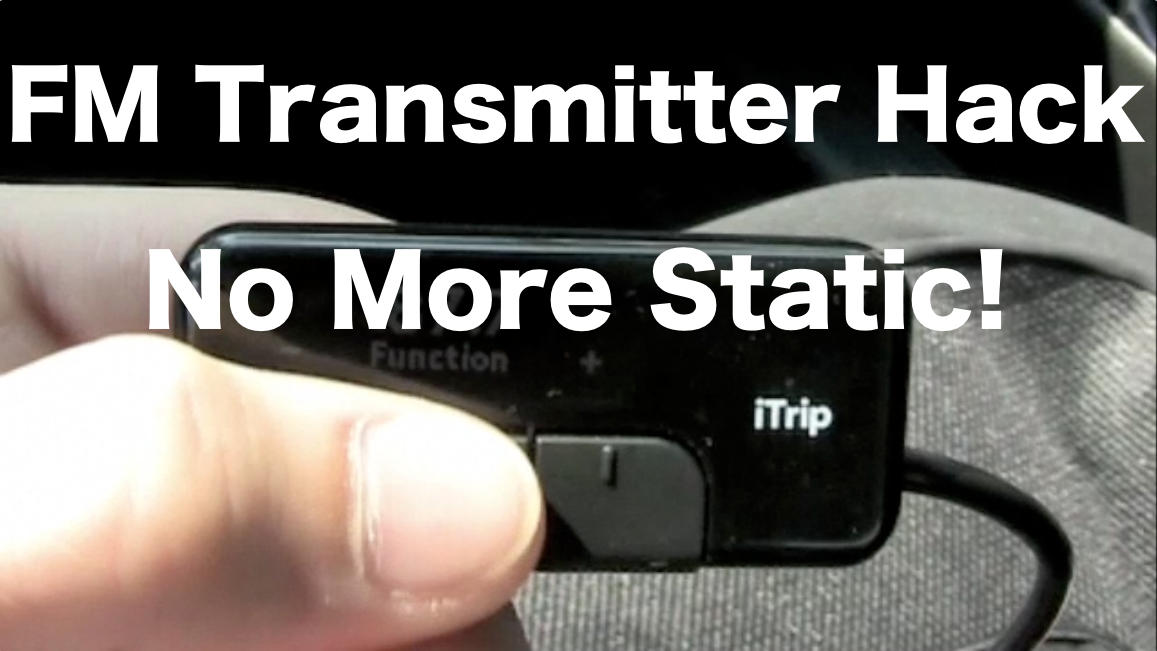
Alright what’s up? Today I’m just going to show you guys just a little hack, I guess you could say, that you can do with your FM transmitters that you have in your car with your for your iPod or whatever MP3 player you have. If your car stereo can go down, I’ll show you, can go down past below 88.1. Mine only goes to 87.7 and 87.9, that’s two. Well, these, anything  below 88.1 is below US frequencies, and nothing in the U.S. will be on these frequencies so if your car can go down to 87.7 or 87.9 for example. I leave mine on 87.7 and your FM transmitter, if you can set it to international mode. For example on this Griffin iTrip I have right here I can set it to international mode by going to Function and going to Mode and holding down the middle button for about ten seconds and the Griffin, you’ll see the Griffin logo pop up or drop down depending on which mode you just switched to. Now I set mine on international mode right now and I can go down to however far I want to, I think all the way down to 79 I think. So this is all below US frequencies too. So I just set mine to 87.7 and now I’ll show you guys. I’ll turn the volume all the way up. If you can hear that’s really loud. The only reason youíre hearing that is because I got the stereo turned up all the way. Now I’ll start playing some music on my iPod through the, this is through the FM transmitter right now on international mode. Ok so as you can see there’s no static or anything, and it’ll be like that wherever you go. It’ll stay like that. You wonít have to change stations or your channels. You don’t have to mess with your fm transmitter anymore. So that’s a cool little thing if your car can do that and your transmitter both have those capabilities. I suggest you do that. You won’t have to mess with it anymore and you’ll have crystal clear audio wherever you are. If you guys enjoyed that please subscribe and I’ll see you guys later.

© 2024 My Tech Methods

Theme by Anders NorenUp ↑