Videos by Andy Slye

Tag: dvd

How to Convert DVD to MP4 (PC & Mac)

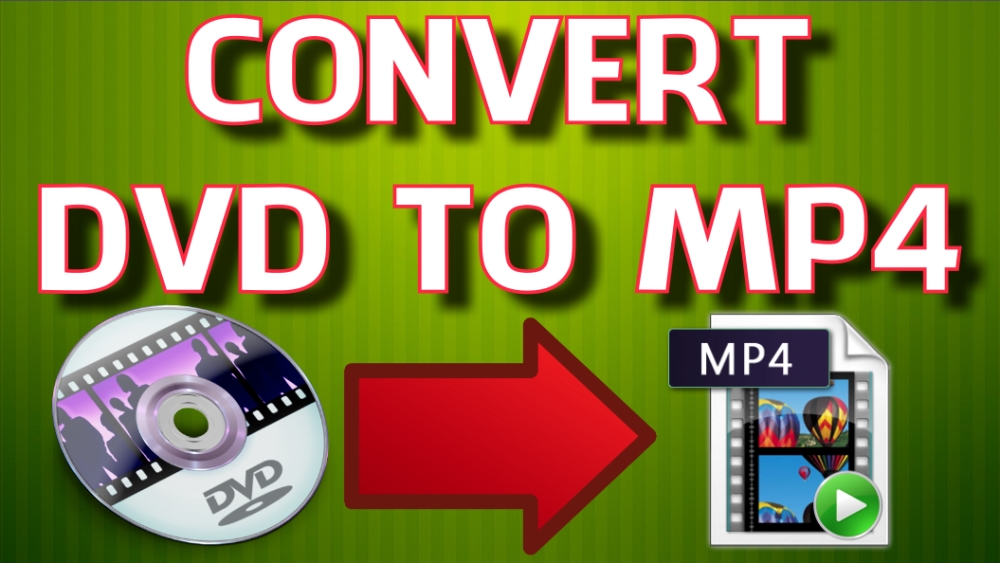
How to Convert DVD to MP4 (PC & Mac) – The Easy Way

Windows users: click here for a free trial download for Windows
Mac users: click here for a free trial download for Mac

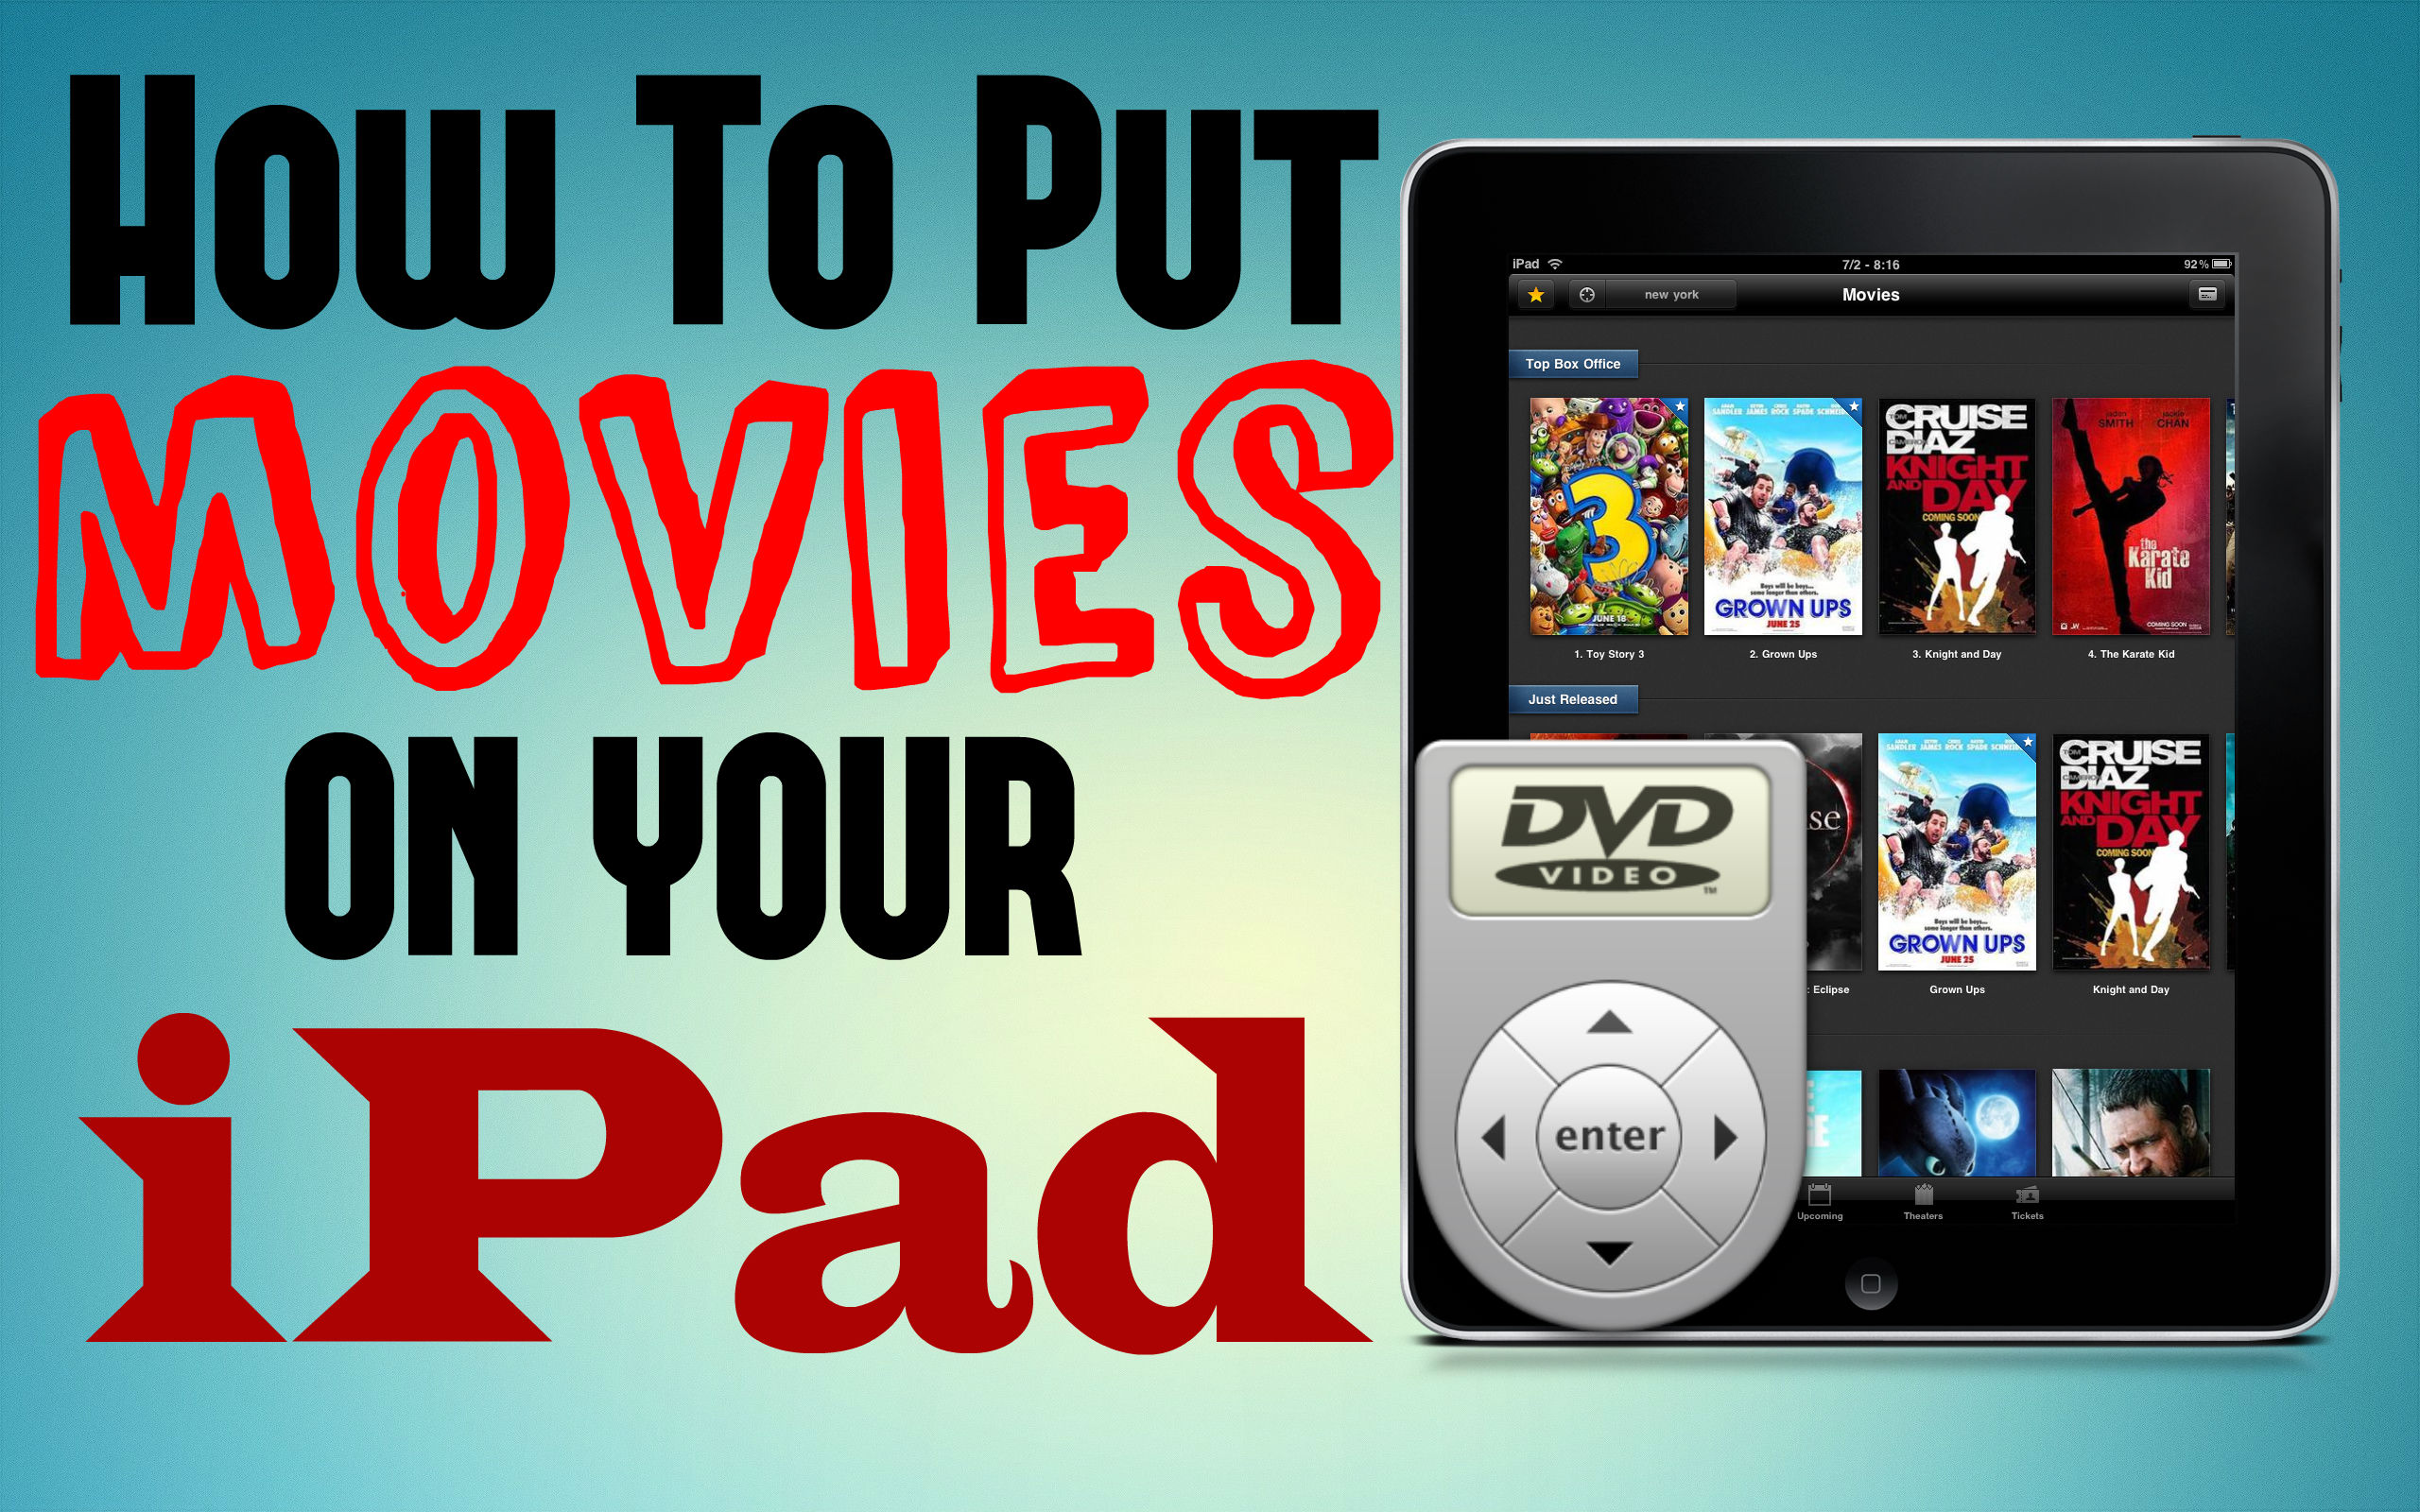
In this video I will be showing you how to convert a DVD to MP4 so you can put all your favorite DVD movies onto your smartphone or tablet such as your iPhone, iPod, iPad, Android smartphone or tablet, or any other device that is compatible with the MP4 video file format. It’s very easy to do with the program that I will be showing you how to use today, and it’s compatible with Mac and Windows computers.

First, click the link at the beginning of this video description. I have links to both the Windows and Mac downloads for this software above. Once you click that link it will start an instant download of the free trial version of this program. It’s 100% safe & secure. The free trial version will copy the first 5 minutes of the DVD just to show you that it works, and if you want to copy the whole DVD (and unlimited DVDs) you can purchase a full license from the program itself.

Once it’s downloaded you’re just going to click on it right from your browser or go to wherever you downloaded it to (usually it’s your Downloads folder) then just double-click on the file and click “Run”. It will install the program. You can try it out for free, but if you want to copy the whole DVD like I said earlier you can go ahead and click the Buy Now button and get this application at a special discount.

Next, insert the DVD movie into your DVD drive that you want to convert to MP4 then click the DVD Disc button in the top left corner of the application’s home screen. On the next pop-up you’ll see your DVD that’s inserted into your CD/DVD drive right now, just click OK. It’ll load the DVD. The output profile window will pop up. Choose PC (or Mac) General Video then choose the MP4 video file format recommended option. Click OK. On the next window you’ll see that the application has automatically selected the main movie file: Title 1. Yours may be a different title, but it automatically selects the main movie file so you can copy it off the DVD and convert it to an MP4.

Next, go down to the destination folder option. You can browse and change it to a different folder if you want to copy to a different folder. You can choose whatever folder that you want. Keep in mind that that’s the folder that your MP4 file will end up in. Now we’re ready to convert the DVD to MP4. Just go to the bottom-right and click the blue Run button. You can see that the conversion process has started, and it’s copying the DVD onto our computer in the MP4 file format.

When the job is complete you’ll see the window pop up with your video file in it. Your DVD has now been converted to an MP4 video. Now you can add it to iTunes or sync it to your smartphone or tablet or just keep it on your computer and play it on your computer now that it is an MP4 video. That’s how easy it is, folks. That’s how to convert a DVD to MP4. You’ll be able to copy any DVD movie, no matter what it is, with this program here. It’s high quality, it’s fast, it’s easy, and it’s highly recommended by me.

By Andy Slye

How to Put Movies on iPad – Copy/Sync DVD Movies

How to Put Movies on an iPad

Mac users: click here to download MacX DVD Ripper Pro

Windows users: click here to download WinX DVD Ripper Platinum

This tutorial will show you how to put movies on your iPad. I’ll show you how to load that bad boy up with a bunch of movies so you can watch them on your iPad wherever you are. Basically there are two main ways to put movies on an iPad. The first way is through iTunes itself by buying them on the iTunes Store. The second way (which I’ll be showing you today) is copying movies from DVDs and putting them into iTunes then syncing them onto your iPad.

To do this you’ll be using DVD ripping software from a company called Digiarty. They have some of the best DVD Rippers for Mac & Windows so whatever operating system you’re on, click the link (links are at the top of this description). Download & install that program. For Mac it’s going to be Mac X DVD Ripper Pro. For Windows it’s going to be Win X DVD Ripper Platinum, but they both work exactly the same so you can follow along no matter what operating system you’re on.

After you’ve downloaded & installed it on your computer, open it up and you’ll see the application’s home screen. Next, insert the DVD movie into your DVD drive on your computer then click the DVD button in the top left of the program. It should display the name of the DVD movie in your drive then click OK. On the Output Profile window, go down to Apple Device and choose iPad Video, then choose your iPad model. Always choose the Recommended option for your device. Recommended just means the application has automatically selected the best quality options for your specific device. Click Done. The main movie file is already detected & selected so the only thing left to do is click Run, and the movie be copied to your Desktop folder in the iPad format. Bonus tip: if you want the movie file to be automatically imported into iTunes when it’s copied onto your computer click “Browse” then go into your music folder, iTunes folder, iTunes Media, then Automatically Add to iTunes and click Open. That way the movie file will be copied to that folder and automatically added to iTunes.

When the copy is complete you’ll see the folder pop up. If you chose to put it in the Automatically Add to iTunes folder you’ll see that this folder’s empty because it automatically added it to iTunes so just open up iTunes, go to the Movies section, and you’ll see it in there automatically. If you didn’t choose to put it in the Automatically Add to iTunes folder, just go to the folder where you copied it to (probably your Desktop) then drag and drop the video file into iTunes.

Now to actually put the movie on your iPad you’ll need to sync your iPad to your computer via the USB cable. Once your iPad shows up in iTunes, click it then click the Movies section and then select Sync Movies. If you want to add all the movies that are in your Movies section you can check “Automatically include all movies” and it will sync all the movies to your device. If you want to manually select certain movies, select each movie and click Apply. Now your movies will sync onto your iPad. That’s how to put movies on your iPad, by far the easiest and fastest way in my opinion to do that. This application can copy any DVD movie no matter what it is, and it can copy unlimited DVD movies so it’s definitely a must-have.

How To Copy Any DVD To Your Computer

Download Win X DVD Ripper Platinum

In this video I’ll be showing you exactly how to copy any DVD movie to your computer so you can make a backup of the DVD or put it on a portable device.

WinX DVD Ripper Platinum, in my opinion, is the best and easiest way to copy DVD movies to your computer on Windows, especially if you’re planning to put the videos on a smart phone or tablet (iPad, iPod, iPhone, Kindle, Galaxy Note/Tab, Nexus 4/7/10, etc.) It’s very easy to use. It’s super fast. It can copy a DVD to your computer in just a few mouse clicks. It’ll save you a ton of time because there’s no need for additional converter programs and you don’t have to configure any settings. It will automatically transfer the DVD in the best video quality that is compatible with your computer or device so it fits perfectly on the screen. And it comes with free lifetime updates so you know you’re always able to copy the latest movies when they come out.

The first step is to download Win X DVD Ripper Platinum. (Mac users: see how to copy DVD movies to Mac)

Next you’ll load your movie disc into your DVD drive and open WinX DVD Ripper Platinum. Then click the DVD button in the top left the program and then click OK. Now here’s the cool part, on the Output Profile window you can select from nearly any device that you’re going to put the movie on. You can choose anything from Apple device, Android tablets, Android smartphones, or just PC general video for when you just want to save the DVD movie on your computer.

After making your selection, the main movie file is automatically checked for you so the only thing you have to do is choose where you’d like the DVD to be copied to. Now all you have to do is click Run and the DVD will be copied to your computer.

Once the transfer is complete your folder will open up and you’ll see your movie file right there. If you’re planning on putting it into iTunes all you have to do is open up iTunes then drag-and-drop the video file into iTunes and then sync your device. If you plan on putting it on an Android tablet or smart phone, just sync the device to your computer via the USB cable then copy it via Windows Explorer.

That is how you use WinX DVD Ripper Platinum to copy any DVD movie to your computer!

How To Copy Any DVD To iTunes (Mac X DVD Ripper Pro)

Video Transcript:

Hey everybody what’s up? This is a quick video on how to copy any DVD to iTunes so you can put them on any device – your iPhone, iPad, iPod, Android tablet, Android smart phone, or just keep them in iTunes. This is a fantastic piece of software that I’m using. It’s called MacX DVD Ripper Pro. And if you click the annotated link at the top of this video it will take you to their site where you can download it and buy it at a discounted price. I highly recommend it. It’s very awesome. You’ll get your use out of it so go ahead and do that right now.

Once you have it downloaded and installed, start it up. It’ll bring you to this main screen here and most people are just going to load the DVD disc so if you click this DVD button it’ll load your DVD disc that is in your DVD drive right now. Or you can click this Load DVD folder if you already have a folder on your computer. Or if you have the ISO image you can click this ISO button. Most people are, like I said, are going to be using the DVD button so click that.

And here the Source DVD disc window pops up. It’ll show you what’s loaded into your drive right now. It’ll show the main title of the movie here in this box. You’ll just hit OK. Alright and here it is. It’ll pop up the output profile window and here is where you can select what output format that you want your movie to be in depending on what device you’re going to put it on. So I can choose anything from an Apple device, iPhone, iPod, iPad, all kinds of stuff, Android tablet to Android smart phone, and even YouTube video and PC General, all kinds of stuff. So right now I’m just going to choose iPhone. It gives you these recommended settings which is really awesome because you won’t have to go in here and change any of the settings. It’s already chosen for you. It gives you the best quality option and it gives you, even gives you the option to choose older models which is pretty cool. So I’m just going to leave mine on iPhone 5. Click Done.

And here it is. It automatically detects the main movie title. It’s got a check right here. You can see how it’s the longest. This is the duration so it’s an hour and six. That’s the main movie. If you just want to copy the main movie it automatically selects it for you and you just hit Run. But if you want to select any of the extras, if the DVD has any extras you can go ahead and select any of these here. You can select them all if you want to and you can go ahead and click Run.

That’s pretty easy. That’s as simple as it is. I will show you what the settings look like if you want to go in here and change some of these. Basically the default audio language we’ll just leave that at English obviously. And then you can choose this Open Output Folder that’s by default. And you can actually check this Add MP4 files to iTunes library after conversion. What this does is it automatically adds the video movie to your iTunes so you don’t have to do it manually after it’s converted, after it’s copied to your Mac. And you can actually choose this Shut down computer after conversion if you’d like. And here you can choose the default location of where the backed up copy of the DVD video goes onto your computer. I just have mine set to the desktop by default. You can change it to whatever you’d like. So now, yeah we’ll just hit Run and let it copy the DVD to your Mac.

And there it is folks, simple as that. The output folder will pop up. Your movie will be there. If you want to put it into iTunes, just open up iTunes and you can drag and drop this movie in there and then once it loads there it is. And you can load that onto your iPhone, your iPod, iPad by syncing up your iDevice to your computer via the USB cable and it’ll sync onto your device. So go get that program now it’s called MacX DVD Ripper Pro and again the link is on the top of this video, and the link is also in the info section below this video so you can click on it there too. So go get that, highly recommended program by me. And as always if you enjoyed this, if it helped you out please subscribe to my channel. Leave a comment and let me know if it helped you out or if you have any suggestions. And give this video a like, a thumbs-up. That’s it for today folks. I will talk to you guys and girls later. Bye.

© 2023 My Tech Methods

Theme by Anders NorenUp ↑