Videos by Andy Slye

Category: Windows (Page 3 of 5)

Windows

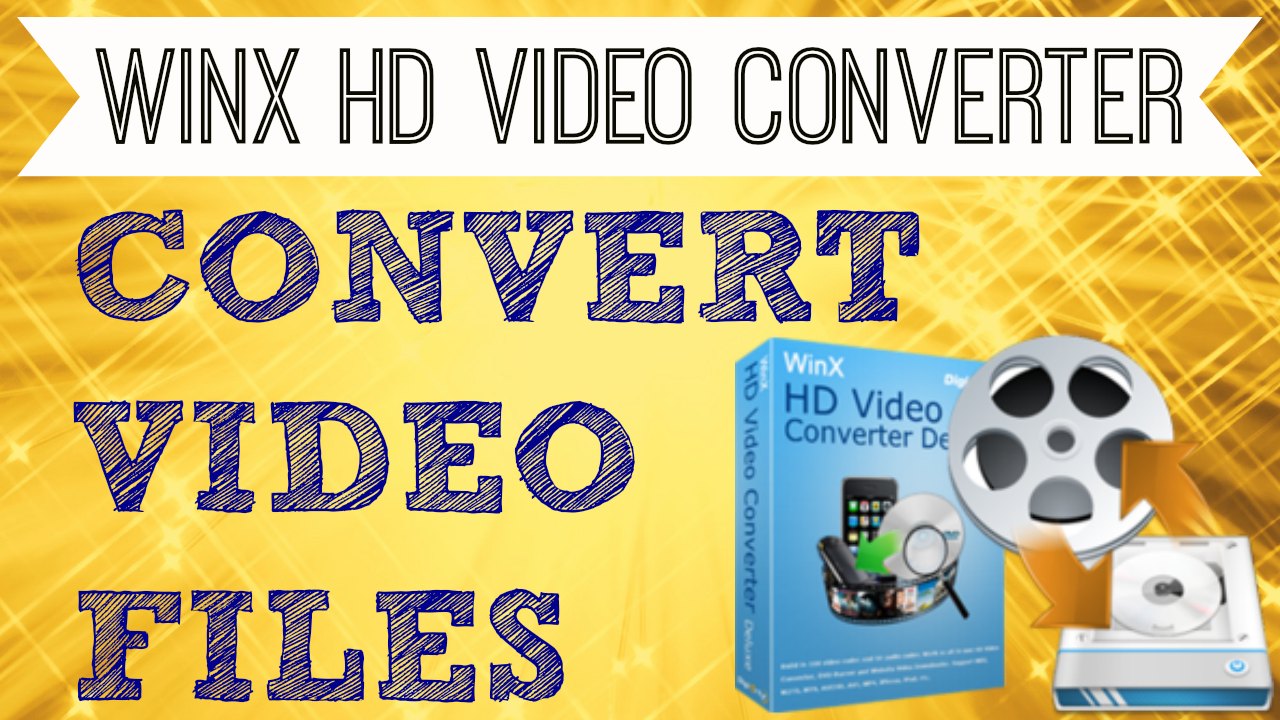
How to Convert MP4 to MP3, AVI, FLV, MOV, WMV – WinX HD Video Converter Tutorial

Click to download WinX HD Video Converter Deluxe

This video is going to show you how to convert nearly any video file on your Windows computer. So if you want to convert MP4 to MP3 or MP4 to AVI or vice versa. Pretty much any video file that you want to convert this program will do it. This is WinX HD Video Converter Deluxe. This is one of my favorite video converting applications for Windows, and if you click the free download icon on your screen or the link in the description that will start an instant download of this program where you can try it out for free. The free version lets you convert videos up to 5 minutes in length. If you have longer videos than that you can go ahead and register for the full program at a special discount price.

Once you’ve clicked the link to download it, go ahead and install it on your computer then start WinX HD Video Converter Deluxe. This is the home screen right here, and I’m going to show you how to use it. To convert a video just go up to the top left and click the video icon. Okay it’ll bring up a browser window and just browse to whatever video that you want to convert. I got mine right here. This is a video I did. This is an MP4 video, and I want to convert this MP4 to MP3 so I’ll go ahead and select it and click “Open”.

It will load it into the program here. Here you can select from the output profile so you can convert the video to all kinds of different formats as you can see here. If you click on PC General video it gives you all the options here: MP4, AVI, WMV, all that good stuff. And you can even convert it to music which I’m going to do. I’m going to convert the MP4 to MP3 so I’ll choose Music then click the MP3 recommended option here. Then click OK. Here it is in my queue. It’s ready to be converted. So I have the MP4 ready to go to MP3 and down at the bottom you’ll see the destination folder, and this is the folder that the MP3 file will end up in after I convert it.

If you have more video files to convert you can repeat the same process and add more jobs to the queue and it will do it all in one batch. But for now I’m just going to do this one, and once you’re ready just go ahead and click this Run button. Okay now the conversion process has started. It’s really quick. It’s really fast. Okay now it’s done. I’ll click OK, and it automatically brings up the output folder where my converted file is. Here you can see that my video has been converted to this file if I double click on it, it is an MP3 file so if I double-click it will bring it up in iTunes because it is an MP3. And it will start playing and there you go. My MP4 video is now an MP3.

Again this program can convert almost any video file format. It also has some extra features as well. You can actually, has a YouTube downloader that you can download YouTube videos. It has a photo slideshow maker which is pretty cool. So it’s not just a video converting application, it has all these other cool features as well. Definitely a recommended application by me. Enjoy!

By Andy Slye
How To Clean Up iTunes Library – Fix All Songs Automatically!

In this video I’ll show you how to clean up your iTunes library. We all know how hard it is to keep your iTunes library organized with all the correct song, artist, and genre information especially when you have hundreds and even thousands of songs in your iTunes music library. It’s nearly impossible to do that manually. That’s why you need an application like Neat Music to clean up your iTunes library. This program uses intelligent music recognition to complete missing artist, track, album, and genre information for your songs. It corrects “untitled” or “unknown” track info. It adds missing album artwork, groups scattered album songs, and organizes all your music for your iPhone, iPad, or iPod.

First, click the link at top of this description. That link will take you directly to the free download page for Neat Music, which works on Windows PC computers. You can try this application out for free. It’ll fix up to 100 songs in your iTunes library with the free version. If you have more than 100 songs in your iTunes you can buy the unlimited version at a special discounted price so you can fix your entire iTunes library. Once you download it, install it on your computer. Then open up iTunes and open up the Neat Music application.

It gives you a preview of your iTunes library at the bottom. As you can see if I go back to my iTunes I have these songs that I have no information for. I have no idea what the song name, artist name, album, genre, year, etc. There’s no album artwork either so it would take me forever to do this manually, but with Neat Music it does it automatically for me.

With Neat Music you can select all the songs in your library and click the Identity button. That will identify all the song info. It’s very fast and only takes about one second per song to get the information. Once it’s done you’ll see this red icon for success, and you can click on each song and it gives you a little preview of what info it has found for that song. To save that information in your iTunes just select the songs and click the Save button. It’ll import all the information into your iTunes, cleaning it up automatically with all the correct track names, artist names, album names, etc.

Neat Music also gives you the ability to get all the album artwork. Click the Get Album Art tab at the top, and it gives a list of albums in your library. Select all the albums then click Get Album Art. It gives you the standard album artwork. It also gives you high quality versions. I usually just go with the standard so double click that and it’ll import it into iTunes. Go back into iTunes, and you’ll see now it has all the correct song information, the correct album information, the album artwork – everything. It did it within just a few seconds. That is how to clean up your iTunes library automatically, quickly, and easily. That’s with the program called Neat Music. You can download the free trial version with the link at the top of this description. Enjoy!

By Andy Slye

How to Convert DVD to MP4 (PC & Mac)

How to Convert DVD to MP4 (PC & Mac) – The Easy Way

Windows users: click here for a free trial download for Windows
Mac users: click here for a free trial download for Mac

In this video I will be showing you how to convert a DVD to MP4 so you can put all your favorite DVD movies onto your smartphone or tablet such as your iPhone, iPod, iPad, Android smartphone or tablet, or any other device that is compatible with the MP4 video file format. It’s very easy to do with the program that I will be showing you how to use today, and it’s compatible with Mac and Windows computers.

First, click the link at the beginning of this video description. I have links to both the Windows and Mac downloads for this software above. Once you click that link it will start an instant download of the free trial version of this program. It’s 100% safe & secure. The free trial version will copy the first 5 minutes of the DVD just to show you that it works, and if you want to copy the whole DVD (and unlimited DVDs) you can purchase a full license from the program itself.

Once it’s downloaded you’re just going to click on it right from your browser or go to wherever you downloaded it to (usually it’s your Downloads folder) then just double-click on the file and click “Run”. It will install the program. You can try it out for free, but if you want to copy the whole DVD like I said earlier you can go ahead and click the Buy Now button and get this application at a special discount.

Next, insert the DVD movie into your DVD drive that you want to convert to MP4 then click the DVD Disc button in the top left corner of the application’s home screen. On the next pop-up you’ll see your DVD that’s inserted into your CD/DVD drive right now, just click OK. It’ll load the DVD. The output profile window will pop up. Choose PC (or Mac) General Video then choose the MP4 video file format recommended option. Click OK. On the next window you’ll see that the application has automatically selected the main movie file: Title 1. Yours may be a different title, but it automatically selects the main movie file so you can copy it off the DVD and convert it to an MP4.

Next, go down to the destination folder option. You can browse and change it to a different folder if you want to copy to a different folder. You can choose whatever folder that you want. Keep in mind that that’s the folder that your MP4 file will end up in. Now we’re ready to convert the DVD to MP4. Just go to the bottom-right and click the blue Run button. You can see that the conversion process has started, and it’s copying the DVD onto our computer in the MP4 file format.

When the job is complete you’ll see the window pop up with your video file in it. Your DVD has now been converted to an MP4 video. Now you can add it to iTunes or sync it to your smartphone or tablet or just keep it on your computer and play it on your computer now that it is an MP4 video. That’s how easy it is, folks. That’s how to convert a DVD to MP4. You’ll be able to copy any DVD movie, no matter what it is, with this program here. It’s high quality, it’s fast, it’s easy, and it’s highly recommended by me.

By Andy Slye

Ninite: Install & Update Multiple Programs at Once (Windows)

Ninite: Install & Update Multiple Programs at Once (Windows)

This video is going to be a brief tutorial and overview of one of my favorite free web apps called Ninite. Ninite is a website that allows you to install or update multiple applications at once on your Windows computer. It’s totally automated, and this website is a lifesaver if you’re constantly updating or installing apps for new computers that just have a clean install of Windows.It’s very handy if you always install the same programs over and over again. You know what applications you’re going to install so this helps you install all those applications at once, and it saves you a ton of time.

Ninite is pretty straightforward. You select the programs that you want to install (or update). You click “Get Installer” and just run that installer file, and it will install all the applications that you have selected. Not only does it install new programs, but if you keep the installer file you can update all the applications that you just installed with this file. Ninite offers some of the most popular applications from different categories such as utilities, browsers, security, storage, etc.

Once you select all your applications that you want, click the “Get Installer” button. It will download the installer file to your Downloads folder then you can just run it from there. It automatically installs or updates those applications that you selected. If you click “Show Details” it will show you what stage it’s doing. It’s totally automated and can be left unattended. In fact you can just minimize the Ninite window and go do other stuff (like cook some blueberry pancakes — yummy!) and Ninite will automatically install everything for you.

That was a brief overview of one of my favorite free web apps, www.Ninite.com. Here are some of the main features: The programs that Ninite offers are always up-to-date so it’s a good way to keep your computer more secure. When it installs and updates the programs that you select, it automatically says No to toolbars and other junkware. It not only installs, but it updates multiple programs too. Ninite automatically selects the correct 32-bit or 64-bit version to install on your PC.

If you’re a Windows user I definitely recommend bookmarking this website. I’d also suggest going to Ninite right now and choosing all the applications that you have installed on your PC (and maybe applications that you don’t have but you want to install) and download that installer file. Keep that installer file on your computer and run it about once a month so you can keep all those applications up to date just by running that one installer file. It’ll save you a ton of time, and again it will keep your computer more secure.

By Andy Slye

How to Transfer Text Messages from iPhone to Computer (PC & Mac)

How to Transfer Text Messages from iPhone to Computer (PC & Mac)

Windows Free Download (Trial Version)
Mac Free Download (Trial Version)

In this video you’ll learn how to transfer text messages from your iPhone to your computer. If you ever need to copy or backup your iPhone SMS text messages (or even iMessages) to your computer, whether it’s a PC or a Mac, you can do that with a useful app called BackupTrans iPhone SMS Backup & Restore. Click the link for your operating system at the top of this description. That link will start an instant download of the BackupTrans program so you can try it out and transfer your text messages from your iPhone to your computer. This application is 100% safe to use.

Once you have this application downloaded, run the setup file to install the program on your computer then open it up. Connect your iPhone to your computer using the USB cable. It’ll recognize your iPhone. Then you have 3 things to do before you can transfer text messages from the iPhone to your computer. First if you have your iPhone protected with a passcode you need to enter your passcode on your iPhone so it’s unlocked. Then make sure you turn off iCloud Backup on your iPhone and disable iPhone backup encryption iTunes. Once you’ve done those things click OK. After it finishes backing up your iPhone you can see all your iPhone text messages that you can transfer to your Mac or PC.

If you click the arrow next to your iPhone device in the left-side column it gives you a list of all your SMS conversations that you can back up. If you want to transfer text messages from a certain conversation with a person just click on that person’s name to choose that conversation and then choose the text messages that you want to copy to your computer. Once your texts are selected, you can go up to the top menu and choose “Backup SMS to local database” or “Export SMS to file”. Then give your file a name and choose the file type that you want to save it as. If you want to save it as a Word document you can. You now see it has successfully exported the text messages to the computer.

Browse to the folder, and you should be able to open the document that has the text messages in it. That’s how easy it is to transfer text messages from your iPhone to your computer. It works with Windows PC and Mac. Again the links are at the top of this description. Download that application and give it a try.

By Andy Slye

« Older posts Newer posts »

© 2024 My Tech Methods

Theme by Anders NorenUp ↑