Videos by Andy Slye

Category: Mac (Page 6 of 10)

Mac OS X

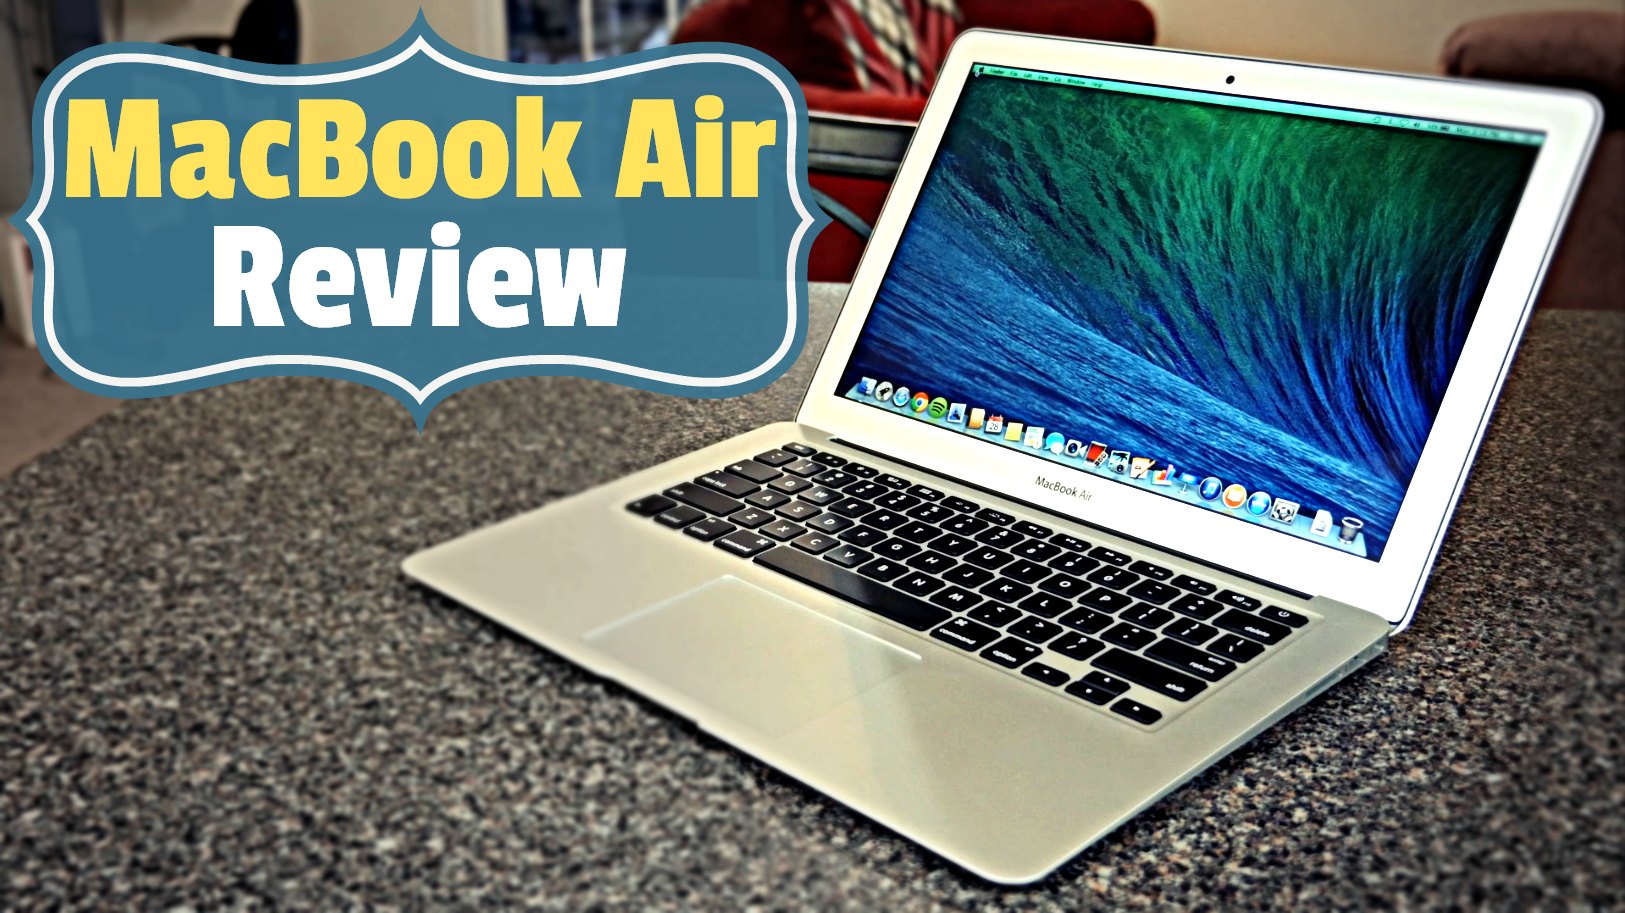
2014 MacBook Air Review: Best Laptop for Students

This is my review of the new 2014 MacBook Air. I’m going to go ahead and quickly say in my personal opinion this is the best laptop for students or people on the go. Now let’s get into the full review so I can show you why that is. The 2014 MacBook Air is an absolute beast when it comes to portability. It’s sleek. It’s slim. It’s lightweight, but at the same time it’s fast and powerful enough for the casual user. It comes in 2 different sizes: 11” or 13” and those come in 2 different variations as well. You can either get a 128GB hard drive or a 256GB hard drive, and those are both solid state drives.

The one I’m reviewing is the 13 inch model with the 256GB SSD and 4GB of RAM. Now let’s start off with the processor. The Air sports a 1.4 GHz dual-core Intel Core i5 processor with Turbo Boost up to 2.7 GHz. That means the normal CPU speed is 1.4 GHz, but when it needs more processing power for heavy applications the Turbo Boost kicks in and it goes all the way up to 2.7 GHz. This is why you can consistently get over 11 hours of battery life on this 13″ model. The ridiculously long battery life is one of the main reasons why this laptop is perfect for students who may have classes all day long.

The 256 GB SSD has extremely fast read/write speeds so you can copy huge files within seconds. The 128 GB hard drive is a little slower than that, but it’s still fast because it is an SSD. The overall workflow on the 2014 MacBook Air is snappy. Apps start up quickly without slow load times. Though I did notice that when you’re booting the laptop up from a cold boot it’s slower than I expected, but the wake from sleep is instantaneous.

Of course this is an Apple Mac laptop so you get all the perks that come along with that. You get Mac OS X with all the built-in iLife apps, responsive chicklet keyboard with backlights, smooth and clickable multi-touch trackpad, FaceTime HD webcam, magnetic power adapter, thunderbolt port, 2 USB 3.0 ports, a headphone jack, dual microphones, an SDXC card reader on the 13″ model, and of course the illuminated fruit on the back.

This is a MacBook Air so this shouldn’t be a surprise, but this thing is extremely portable. It’s quiet because there is no spinning hard drive inside. It’s lightweight, weighing in at less than 3 pounds, and the 11″ model is even lighter than that. It is super thin at 0.68 inches at its widest and down to 0.11 inches at its thinnest. The built-in speakers seem pretty loud to me so you should be able to jam out to your #ThrowbackThursday Spotify playlist with no problem.

Having said all that, there are a couple negatives about this laptop. I don’t like the fact that you cannot add RAM yourself. The RAM is actually soldered onto the motherboard so whatever RAM that you choose at checkout (4GB or 8GB) that’s what you’re stuck with for the life of it. But for the casual user that shouldn’t be a big deal. Also the 2014 MacBook Air does not have a Retina display, which is kind of a bummer. The native resolution on the 13″ is 1440 by 900 which is not even full 1080p HD. Other than that, I’m a huge fan of everything else about this laptop.

The pros of this laptop are it’s a good value. It’s less than $1,000 and that’s pretty standard nowadays for a nice laptop that should last you at least 4-5 years. The portability aspect is great. It’s super lightweight and small. It’s probably the most portable laptop available as of right now. Of course with an Apple MacBook you’re going to get an aesthetically pleasing design. I’ts everlasting. The battery life is extremely long. You can go all day with this and not worry about it dying. It’s high quality and quite powerful for its size. The cons for this laptop: again you can’t add RAM yourself and it doesn’t have a Retina display.

Bottom line this is perfect for for college students, high school students, law school students, or just people who are on the go in general. If you travel a lot or if you frequent coffee shops, this is perfect for you. You’re going to love this laptop, highly recommended.

By Andy Slye
5 Cool New Features of Mac OS X Yosemite

Top 5 Cool New Features of Mac OS X Yosemite

1. New Design: Very similar to iOS 7’s design overhaul last year. Mac OS X has new icons, new fonts, a translucent theme, and overall a flatter modern look. I personally dig this new interface. Yosemite is the turning point for Mac OS X in terms of making it consistent with the design of iOS.

2. Dark Mode: Not only do we have a new design, but we also have the option to change the theme to a dark mode which darkens the menu bar, the dock, and menu bar overlays. If you’re like me and are a fan of night mode themes then you’ll love the new dark mode.

3. Notification Center: The notification center performs more like it does on iOS with the Today column. You can now add widgets to it so you can see such things like your calendar, reminders, calculator, stocks, weather, and developers will be able to create custom widgets that you’ll be able to get via the Mac app store.

4. Spotlight: Spotlight search got put on steroids. Now it looks and acts like an old friend of us Mac users: an app called Alfred. When you access Spotlight search it pops up in the middle of your screen, and it searches a lot more than just your Mac’s hard drive. It searches the web and even gives you direct results from Wikipedia, iTunes, the Mac app store, and sites like Fandango.

5. Safari: I’ve never been a fan of Safari on the Mac, but the new Safari has a nice look and some useful new features to go along with it. First of all the green maximize button now makes the app full screen, and Safari itself got rid of some toolbar clutter. Now when you click in the address bar it drops down a list of your bookmarks and most viewed sites. You can also see all your open tabs on one screen which is useful. The browser is smarter and faster too. When searching something in the address bar you get drop-down suggestions for Wikipedia and other popular sites, sort of like Spotlight. All these features make it a great browser but not great enough for me to switch from Chrome.

By Andy Slye

How to Install Windows 8 on Mac – Parallels 9 Tutorial

In this video I will be showing you how to install Windows 8 on your Mac. So this method of installing Windows 8 on your Mac requires two programs: Parallels and Windows 8. Both links to these programs will be in the description below. So right in the description below you can click links to these programs where you can get these. Parallels is an application for the Mac that allows you to run Windows or other operating systems virtually right inside your Mac. It works perfectly. I love it. It’s the best way to run Windows on your Mac. Also you’ll need a copy of Windows 8 or Windows 8.1. I’ll leave the link to the Amazon product page on Amazon for the Windows 8.1 Pro full version where you can get that.

Once you have Windows 8 and also once you have Parallels installed on your Mac you can go ahead and get started. So let’s open up Parallels on my Mac. I already have Windows 7 and Windows 8.1 installed virtually. Now I’m going to show you how to install Windows 8 from a clean slate using Parallels on your Mac. So let’s go to the plus sign and hit “New”. Then we’re going to choose the one that says “Install Windows or another OS from DVD or image file”. Hit “Continue”. On this screen you choose where you want to install it from so if you have Windows 8 on a disc, on a DVD disc you will choose DVD. Load it into your DVD drive on your Mac then hit “Continue”. If you have an image file you can choose image file. So choose whichever one you have.

On this screen you’ll enter the product key that came with your Windows 8 version or Windows 8.1 whichever one you have. On this screen you will choose how you want Windows 8.1 to perform. I always choose “Like a PC” because I like it to just be a separate entity from my Mac with some integration as well. You can still copy and paste from your Mac to your Windows virtual machine, but you can also choose “Like a Mac” where it lets you run Windows programs right from the Mac desktop, all that good stuff. But I just like to keep it separate and I just choose “Like a PC”. Here I just choose “Like Windows 8” so you don’t have to mess around with any other external programs, third party programs. Hit “Continue”.

On this screen just give your Windows Virtual Machine a name so whatever it is: Windows 7 or Windows 8, Windows 8.1, just give it a name then hit “Continue”. Alright and Parallels will start to install Windows 8 on your Mac in this little box. And just let it run depending on how fast your computer is, your setup, what kind of processor you have, that will determine how fast this will go. It should go by pretty quickly though. And during the setup it will ask you what version of Windows 8 you have: if you have Windows 8.1 or Windows 8.1 Pro. Choose whatever one you have. Hit “Next” and then it will start to install Windows 8 on your Mac. Now I’ll probably speed this portion up for the sake of this video.

Okay after the setup completes Windows will automatically restart. Alright after Windows 8 gets done doing all its automatic installation and setting everything up it’ll bring you to the Windows 8 Start screen and then you can actually maximize the Parallels window to make your Windows 8 full screen like you’re on a Windows 8 system. And you can go in here and start playing around and setting up your Windows system. That’s how easy it is. Parallels makes it super easy to get everything set up automatically for you so you can get right into Windows 8 and start doing your thing. So that’s how to install Windows 8 on your Mac using Parallels. I hope this video helped you out. If you have any questions just leave a comment down below. I’ll try to get back to you. Thank you so much for watching. Keep having fun out there and make sure you subscribe to this channel as well and give this video a thumbs-up. I’ll talk to you guys later. Bye.

By Andy Slye

How to Install Multiple Mac Apps Automatically

GetMacApps.com

Transcript:

What’s up? It’s Andy with MyTechMethods. In this video I’ll be showing you how to install multiple Mac apps at once automatically using a free web app. So if you’re a Mac user and you want to install multiple apps at once, and you want to save a lot of time, a lot of effort, this website will help you out. It’s called GetMacApps.com and it lists a bunch of the most popular free Mac Apps on here, and you can go down here and just select any app that you want to install. You can select all of them if you want to and then once you select all the apps that you want to install on your Mac you just click this button called Install These. And the instructions for this website are right here on the left if you want to just follow those but for this video I’ll just show you how to do it really quickly. So if you go through here select all the ones that you want, I’m just going to select an app that I don’t have on my system currently which is, I don’t have Audacity so I’ll just select that. But you like I said you can select all the apps that you want and then click this little button here and it’ll give you this code here. What you want to do is just copy this code then open up terminal on your Mac. Okay now once you’re in terminal you’re just gonna paste that code into your terminal that you just copied and then hit enter. It’s going to install all the apps you selected in the background automatically, and you can go get your coffee, get your caffeine in for the day, come back and it’ll be done. The time it takes will depend on how many apps you selected to install. This one went pretty quickly because it was only one app so there you go it’s done. And then once I close Terminal out I can go and search for my apps and there it is. Audacity has been installed and there it is. So that is an awesome website for Mac users. Bookmark that. It’s called GetMacApps.com. It’ll definitely come in handy if you get a new Mac or you had to reinstall for some reason. You can just reinstall all those apps all at once automatically. I hope this was helpful to you. If you’re a Windows user as well you can use a similar site called Ninite.com which is really awesome. It does the same thing for Windows. It’s probably is a little easier actually so check that out. I did a video on that. You can click that little annotation. It’ll take you to that video if you’re a Windows user. Make sure you give this video a thumbs-up and subscribe to my channel. Thank you so much for watching. Keep having fun out there and I will talk to you later.

By Andy Slye

Best Free Mac Apps 2014

Best Free Mac Apps of 2014

Click here to check out the updated list for 2016

In no particular order, here are my favorite free apps for Mac OS X:

Caffeine: Lightweight app that runs in the background and prevents your Mac from going into sleep mode

Google Chrome: Lightweight and fast web browser from Google

Mozilla Firefox: Web browser that has a plethora of useful add-ons

Transmission: Lightweight bit torrent client

Google Drive: Store up to 15GB of your stuff online for free, access from anywhere, and collaborate with others

Dropbox: Lets you take your photos, documents, and videos anywhere and share them easily

BetterTouchTool: Gives you the ability to customize trackpad gestures, keyboard shortcuts, and window snapping

HandBrake: Converts video files

SmartConverter: Converts video and audio files

VirtualBox: Virtual machine manager that lets you install and run Windows, Linux, or any other OS virtually

LibreOffice: Free office suite

Evernote: Cloud-synced app that helps you remember ideas by utilizing virtual notes and notebooks

Skitch: Photo-editing app that adds annotations, shapes, and text to images and screenshots

VLC Media Player: Media player that plays nearly an audio and video file

Sublime Text: Sophisticated text editor for code documents

FileZilla: Easy-to-use FTP client

Flux: Automatically adjusts your computer screen according to the time of day

Alfred: Productivity app that saves you time in searching your local computer and the web

Unarchiver: Archive utility that extracts any zipped or archived file

AppCleaner: Lightweight app that thoroughly uninstalls unwanted apps along with their junk files

SuperDuper: Backup and recovery application

SelfControl: Productivity app that allows you to block time-wasting websites for an allocated time

CloudApp: Easy way to quickly share screenshots

Wunderlist: Cloud app that manages your lists

Skype: Messaging and internet calling app

Plex: Personal media manager that works great alongside a Smart TV or Roku for the ultimate movie and TV show streaming set-up

Spotify: Music streaming service

TeamViewer: Remote control your computer from anywhere

Burn: Simple disc burning app

Gimp: Open source photo editor that is similar to Photoshop

Pocket: Web service that lets you easily store blog articles and web pages offline in an easy-to-read format

ClipMenu: Clipboard manager

What’s your favorite free Mac app?

« Older posts Newer posts »

© 2024 My Tech Methods

Theme by Anders NorenUp ↑