Videos by Andy Slye

Category: Mac (Page 4 of 10)

Mac OS X

Best Mac Apps 2016: The Ultimate List

UPDATE: Click here to see the Best Mac Apps for 2017!

What makes a Mac great? The awesome apps you can use on it. Here are the best Mac apps of 2016 in alphabetical order.

Free

Alfred: Boost your productivity with hotkeys and keywords. Search your Mac and the web effortlessly and control your Mac using customized actions.

Amphetamine: Keep your Mac awake. Simple.

AppCleaner: Automatically uninstall Mac apps along with all the junk files that usually get left behind.

BetterTouchTool: Configure many gestures for your Magic Mouse, Macbook Trackpad and Magic Trackpad and also mouse gestures for normal mice.

Burn: Simple DVD/CD burning application.

Chrome: Google’s free and fast web browser.

CopyClip: Clipboard manager for your Mac that stores all that you have copied or cut in the past.

Dropbox: Free cloud storage solution. iCloud alternative.

Evernote: Cloud-synced notebook and notes to store everything you need to remember.

Flux: Makes the color of your computer’s display adapt to the time of day, warm at night and like sunlight during the day

GIMP: Open source photo editor. Photoshop alternative.

Google Drive: Free online data storage and online office suite from Google.

Handbrake: Video converter and DVD ripping app.

HiddenMe Free: Quickly hides all the icons on your Mac desktop.

HitFilm Express: Free and powerful video editor. iMovie or FCPX alternative.

Infinit: Easy and simple way to send large files to anyone.

LibreOffice: Open-source office suite for Mac. Microsoft Office alternative.

Pocket: Online cloud-synced bookmark manager. Save any website/webpage and access it anywhere.

Skitch: See something that sparks an idea? Use Skitch to snap it, mark it up, and send it on in an instant.

Skype: Popular message application. Video/audio chat with anyone.

SmartConverter: Simple video and audio file converting app.

Spectacle: Resize Windows with quick keyboard shortcuts.

Spotify: Popular music streaming and online radio app.

SuperDuper: Make a bootable backup of your Mac system.

TeamViewer: Remotely connect and control your Mac or other authorized computers from anywhere.

TextWrangler: Free and simple text editor.

Transmission: Lightweight and easy-to-use torrent client.

Unarchiver: Open any zipped file.

VirtualBox: Run Windows and other operating systems virtually on your Mac.

VLC: Best overall media player that plays nearly any audio/video file.

Xmind: Free mind mapping software for Mac and Windows.

Paid

1Password: Best password manager for your Mac and iOS devices.

DaisyDisk: Helps you recover disk space by finding and removing large useless files.

Pixelmator: Full-featured and powerful image editing app for the Mac.

PopClip: Select text with your mouse and instantly access context-specific actions including copy/paste, plus extensions.

Unclutter: A new handy place on your desktop for storing notes, files and pasteboard clips.
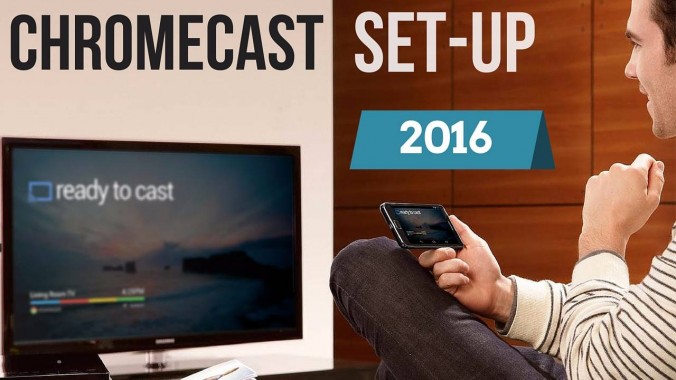
Chromecast 2015 Review: How to Set Up a Chromecast 2

The Chromecast is one of my favorite devices. For those of you wondering how to set up your new Chromecast 2nd generation, look no further. This is my quick review and setup tutorial for the 2015 Chromecast.

What is a Chromecast?

A Chromecast is a small dongle that connects to your HDTV and enables you to use your smartphone, tablet, or computer to wirelessly stream video or audio to your TV. So if you want to make your TV “smart” then this $35 Chromecast is one of the easiest and cheapest ways to do it.

The box comes with everything you need: the Chromecast, a USB cable, and a power adapter along with simple instructions that I will walk you through in this tutorial.

How Set Up Your Chromecast

First, make sure you have the following:

  • WiFi connection
  • HDTV with an available HDMI port
  • Smartphone, tablet, or computer (Chromecast works with Android devices, iPhone/iPad, Windows, Mac, and Chromebooks)

Next, connect the small end of the USB cable into the Chromecast. Then connect your Chromecast to your TV’s HDMI port using the HDMI connector. If your TV has a USB port you can plug the USB cable into it to power your Chromecast. If your TV does not have a USB port, you’ll have to connect the USB cable to the power adapter and plug the power adapter into an outlet.

Once you see the Chromecast light up, that means it has power and the next step is to turn on your TV if it’s not already on and change the Source (or Input) to the HDMI port where your Chromecast is connected. For some TVs like mine it will say Chromecast next to the HDMI port so you know which one to go to.

Now once you see your Chromecast screen on your TV you can go to your phone, tablet, or computer and visit Chromecast.com/setup. Before doing this, however, make sure your phone, tablet, or computer is connected to your WiFi network.

If you’re on your phone or tablet, it’ll ask you to install the free Chromecast app. Once that’s installed, open it up and go to Devices and follow the prompts to set up a new Chromecast. Verify that your TV screen is displaying the same code. Select your Region and give your Chromecast a name.

The next part is where you will select your WiFi network and enter your WiFi password in order for the Chromecast to connect to your WiFi successfully. It may take a minute or two to finish the setup and once it’s finished it’ll most likely start the update process.

During the update the Chromecast will show a short instructional video on your TV so go ahead and watch that to get a little more familiar with it. The update may take a few minutes so just be patient.

Now when it’s finished you should see your TV displaying “Ready to Cast”. Take a good look at the casting icon because whenever you see that icon in any of your apps that means it’s able to stream to your Chromecast. Another thing to remember is that your device that you’re streaming from must be connected to the same WiFi network that the Chromecast is connected to in order for it to work.

Using Chromecast with Apps

Let’s take a quick look at the new Chromecast app which now offers more features. From this app you can see which movies, TV shows, and music you can stream from your installed apps. You can search for entertainment titles in the app as well, and it will give you recommended apps that are compatible with Chromecast. You can also manage your Chromecast device from the app.

Now let me show you how to stream from some of the more popular apps that you probably have on your phone. Of course it works with YouTube, when you open it you should see the casting icon at the top and if you tap it and select your Chromecast from the pop-up menu it should connect to your TV. Now you can tap on a YouTube video from your phone and it will play on your TV. You can create queues of videos to have them automatically play after each other, and yes it will keep playing if you lock your device or go to another app.

You can also use apps like Netflix, Hulu, Spotify, and Pandora just to name a few. To see a full list of compatible Chromecast apps I will have a link in the description below so check that out. And an often overlooked feature of the Chromecast that I absolutely love is the screensaver feature that has some of the most amazing photos on it. Sometimes I’ll just have the Chromecast on so I can look at those pictures on my TV.

So there you go, you now have a smart TV thanks to your new 2015 Chromecast 2nd generation. If you have any questions leave a comment below and I’ll try to answer them for you.

By Andy Slye

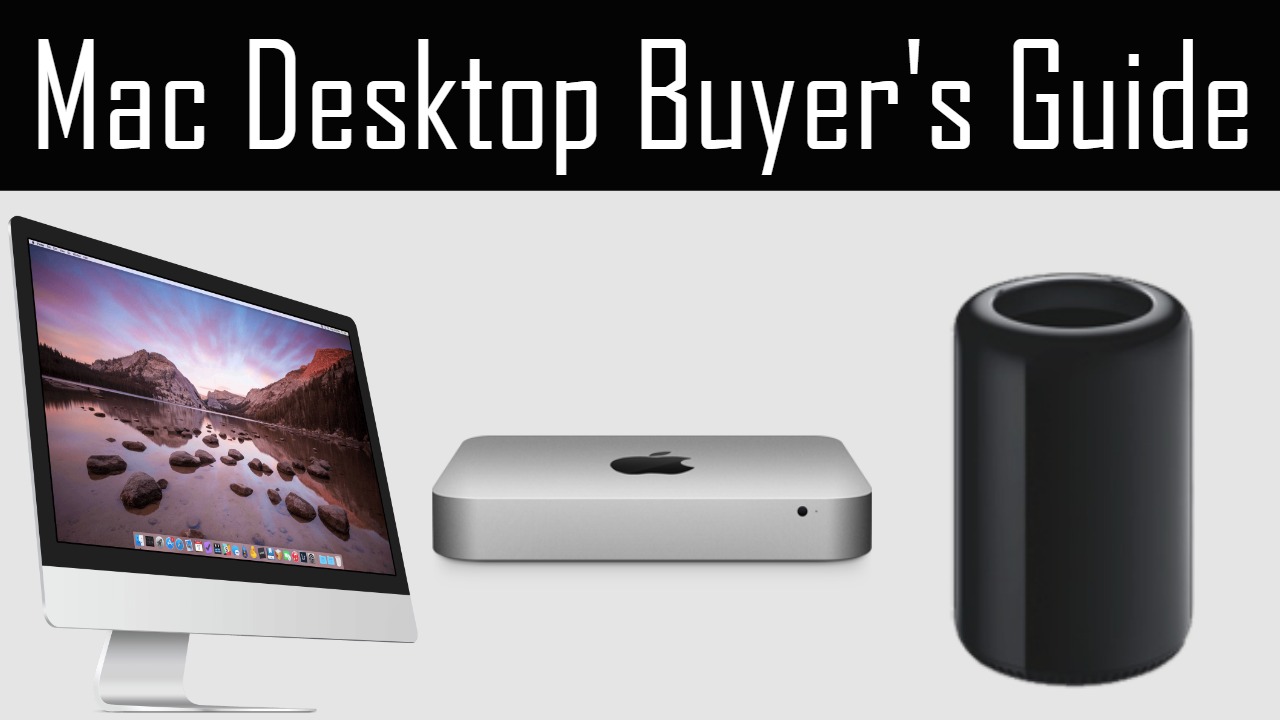
Which Apple Desktop to Buy in 2015: Mac Mini vs iMac vs Mac Pro

Which Apple desktop should you buy in 2015?

Mac Mini

The Mac Mini is the entry-level Mac desktop. It’s the cheapest and most suitable for people on a tight budget who already own a monitor, keyboard, mouse. It doesn’t come with any accessories. I own a Mac Mini and it’s worked out great for me. Powerful and fast for such a compact machine. I highly recommend getting a fusion or SSD. Avoid 5400 RPM hard drives.

Mac Mini starts at $499, $699, and $999
Dual-core i5 processor, configurable to dual-core i7
500GB HD, 1TB fusion drive, or 256/512/1TB SSD on highest model
4GB RAM configurable to 16GB
Good amount of ports
Built-in wifi
Last update was October 2014 so new version should be coming soon.
Can’t replace RAM (unless you get older 2012 version from Apple Refurbished).

iMac

The iMac is Apple’s all-in-one desktop and probably their most popular desktop model. It comes with Magic Mouse 2, Magic keyboard, and a lightning cable. Best for users who want a more powerful and simple setup than a Mini and who don’t already own an HD monitor. The all-in-one setup looks cleaner and less cluttered on a desk. Incredible Retina screens. Overall a beautiful computer/monitor combo.

Starts at $1099 for non-Retina (still full 1080p HD display)
Cheapest 21.5″ Retina starts at $1499 (4K)
Cheapest 27” Retina starts at $1799 (5K)
Ultra thin; just updated October 2015

Mac Pro

The Mac Pro is Apple’s top-of-the-line desktop. The most powerful and the most expensive. Recommended for power users – people who need the fastest and most powerful Mac computer who have a very large budget (can be configured to nearly $10,000). It has a unique design that may look weird to some people but is very sleek. Con: for the high price you don’t even get a keyboard/mouse 🙁

Starting at $2999 for quad-core and $3999 for 6-core
Intel Xeon processors
At least 12GB RAM
At least 256GB flash storage


Top 7 Parallels Features for IT Pros Using Macs

If you’re a follower of mine you know that I’m a big fan of Parallels Desktop for the Mac because I’ve already done two videos in the past on how to use Parallels to install Windows on your Mac.

Now that Parallels 10 is available I wanted to do a video showing you my top 7 favorite features of Parallels as it relates to IT professionals who use Mac OS X.

If you work in information technology like me and you use a Mac then Parallels is definitely one of the best apps you can have because it allows you to virtually run other operating systems inside your Mac without rebooting. Let’s get into this list.

1. OS Options

Not only can you run Windows 7, 8, and 8.1 with Parallels but you can also run Linux distros, Google Chrome OS, and even older versions of Mac OS X like Mavericks. It can handle all of those operating systems which is nice for scalability and machine diversity. I love being able to run both Windows 8.1 and Ubuntu on my Mac.

2. Fast Installation

Parallels makes the installation process of a virtual machine quick and simple. It has preset installation options that allow the machine to be set up within minutes. It doesn’t get much easier than this. This is also why I recommend it to non-IT folks too because it’s that darn easy.

3. Sandboxing

A virtual machine functions as a non-production machine that you can use to test certain installations or updates before releasing them to production machines. This is extremely important to have because certain software changes can affect other software and break a system’s configuration. Using a Parallels virtual machine is not only cost efficient but it lets you avoid breaking a user’s production machine by testing it first without any consequences.

4. Snapshots

With Parallels you can take snapshots or system images at any time in case you need to revert back to a particular system state with just the click of a button. For example, if you just did a clean install of Windows along with all the Microsoft updates you can then take a snapshot of the current system state. That snapshot will be saved. Then you can do whatever you want inside of that Windows virtual machine. You can install all kinds of applications, risk getting viruses, test whatever you need to test, and then revert back to that clean install snapshot whenever you want.

5. Multiple Viewpoints

Since you’re running two separate systems simultaneously you can have two different viewpoints for working or troubleshooting. For example, your Parallels virtual machine can be connected to a VPN while your Mac will still be on an external network connection so you can see from both perspectives. This comes in handy when you need to be able to have these two different angles but you only have one computer to do it on.

6. Seamless Sharing

You can easily share folders, files, text, and pictures between your Mac and the virtual machine. Instead of having to email files to yourself or upload them to Dropbox then download them on the virtual machine, with Parallels it’s all done through copy/paste or drag-and-drop. Plus, the default installation of Windows is set up by mirroring your existing folders on your Mac to your new virtual machine. That means all your current folders and files will be accessible on both operating systems.

7. Easy Switching

Most IT professionals use Mac laptops so that means you’ll have the trackpad which allows you to use quick three-finger swipe gestures to switch between the Mac and the virtual machine. This little feature will enhance your workflow and boost your productivity, and trust me you’ll never want to go back. The swipe gestures will get you hooked very quickly.

So those were my top 7 Parallels features for IT professionals using Mac OS X. I highly recommend this app. It’s one that I use on all my Macs, and it helps me get the best of all the OS worlds on one machine.

Click here to get your free trial of Parallels 10 so you can take advantage of these awesome features. Thanks to the Parallels team for sponsoring this post!

By Andy Slye

How to Format an External Hard Drive on Mac OS X

Video Transcript:

Hey guys it’s Andy, and in this quick video tutorial I’m going to show you how to format an external hard drive on a Mac. So if you’re on a Mac, and you want to format an external hard drive, maybe you want to back up your Mac using Time Machine or another backup program. Or you just want to use an external hard drive on your Mac exclusively this is how you’ll format it so that the Mac can read it. So the first thing you want to do is connect the external hard drive to your Mac. And you may need to power it on if that’s an option. But once it’s powered on and connected it will show up on the desktop of your Mac. Mine is called Untitled. Yours may be called something else, but once you see it you know that it’s connected. Next thing you want to do is go to Spotlight search. You can click the magnifying glass in the top right or you can hit Command Space. It’ll bring up the Spotlight search and just search Disk Utility and then hit Enter. It’ll bring up the Disk Utility and this is where you’re going to partition and format the external hard drive. On the list here you’re going to select the hard drive. You’ll see it’s got two options. You got the Untitled and then you got the main disk. Click on the one above it right here, the one above the name. And then once you have that selected you’ll see an option to partition that hard drive so click on Partition. Then you want to click on Partition Layout and choose 1 Partition. Then give it a name over here so name it whatever you’d like if you want to name it like Backup. I’m just going to name mine Wet Socks just because I want to. Then right here on the Format you’re going to make sure that the format selected is the Mac OS Extended Journaled. That’s what you want okay. And here’s a warning before you partition this drive. This will erase any current data that’s on the external drive. So make sure that you don’t need any of the data that’s on the external drive because this will erase it. And one last thing before we apply it is click the Options button and make sure that the GUID partition table is selected. And then hit OK. Now we can apply it and when you apply it it’s going to format your external hard drive and wipe it and erase it. Make sure you’re ready for that and then hit Apply. And it’ll ask you are you sure you want to partition the disk. Partitioning the disk will delete all the data on this disk. And we want to go ahead and partition. It should be fairly quick. Mine did it within a few seconds, depending on your hard drive size and your computer speed it might vary. But it should be fairly quick, and when it’s done you should see the new name over here on the left hand side. Once you see that new name that you just named it you are good to go. It is now been formatted for Mac OS X operating system, and there it is right there on my desktop with the new name. When I go into it there is no data on it and it’s ready to be used with Time Machine or any other backup program like Super Duper. And I actually did a video over how to backup your Mac using Time Machine. I will leave that link right here. You can click on that and check that out. Thank you so much for watching. If this helped you out make sure you give it a thumbs up and leave comment down below if you have any questions about it. And subscribe to this channel for more Mac videos in the future. I will talk to you guys in the next video.

« Older posts Newer posts »

© 2024 My Tech Methods

Theme by Anders NorenUp ↑