iOS Quick Tip: How to Free Up Space on iPhone, iPad or iPod Touch
Here’s a quick tip for all you iOS users out there. This is how to free up space on an iPhone, iPod, or iPad – instantaneously. So if you ever find yourself running low on storage space on your iOS device, have no fear. It’s really easy to free up space. First go into your Settings, then tap General, and then go to your Usage. Here it’ll populate a list of all the apps that you have installed on your iOS device and how much space each app is taking up. It’s listed by putting the app that uses the most space on top. Music is listed first on mine because it’s using up the most.
What you want to do here on this list is find apps that you can delete then immediately reinstall to free up a lot of space. For example, I’m not going to delete my music or podcasts, but I can delete Facebook because it’s using up 147 unnecessary megabytes of data. The original app size is only 57 MB, which means it’s using up 147 MB of cached files. To free up this space, hit Delete App then Delete App again, and it frees up 150 MB (on mine). So go through your apps and look for apps that are taking up at least 100 MB of storage space.
Almost all the social networking sites are big culprits of this. They take up a ton of unnecessary space. Each time you look at your Instagram feed it saves huge cache files to your device. The app size originally is only 21 MB so it’s taking up 134 MB of unnecessary space on my iPhone. I can delete this app just like with Facebook. Vine does it bad too. It’s taking up 100 MB so I’ll delete that app as well.
Once you delete those apps, all you have to do is go back into your App Store and reinstall those apps that you just deleted. They will download and reinstall in the same exact location that they were before. So if you had it in a folder it’ll go back into that folder, and you won’t lose any of the app settings that you had. That is how to free up space on an iPhone, iPod, or iPad. Go ahead and try that out, and let me know how much space you freed up using that method.
How to Transfer Music from an iPod, iPhone, or iPad to Any Windows Computer
Click here to download Leawo iTransfer (Free trial; $19.95 for full version)
What if your computer suddenly crashed and you lost everything in your computer’s iTunes library? But all your music was still on your device (your iPhone, iPod, or iPad) and now you need to transfer all the music from your device back to your computer. This is how to do just that! In this tutorial I’ll show you how to transfer music from an iPod, iPhone, or iPad to your computer. The program is for Windows, and it is called Leawo iTransfer. You can start a free download by clicking the link at the top of this description. It doesn’t just transfer music either. It transfers photos, videos, apps, PDF documents, and songs – everything. The first thing you want to do is make sure you have iTunes installed.
Once iTunes is installed on your computer, the next thing you want to do is click the link above to start a free instant download of Leawo iTransfer. This is the program that you’ll use to transfer all the music from your iOS device back to your computer. Once the download is complete, install iTransfer and open it from your Desktop. The free trial version will let you transfer up to 100 files from your iPod, iPhone, or iPad to your computer. So if you only have 100 files to transfer then you can use this totally for free. If you have more than 100 files you can purchase a registration code that will give you unlimited transfers.
The next step is to connect your iPhone, iPod, or iPad to your computer using the USB cable. Once your device is connected if iTunes comes up just minimize it. Now in the iTransfer program you should see your device in the left hand side column so click on your device. Now you can transfer the music from your iPod, iPhone, or iPad to your computer very easily. Click on the Music section. All the songs are selected by default so if you want to transfer all songs to your computer’s iTunes library just click the “Transfer” button. It shows a list of all the songs that are going to transfer. If you see iTunes in the list you can click “Transfer Now”, but if you don’t see iTunes you can click the “Save To Folder” button and click “Change”.
Since you already have iTunes installed you can save it to a special folder called Automatically Add to iTunes which will automatically transfer and add the songs to iTunes once you transfer them to your computer. Here’s how to get to that folder. Click your profile name’s folder, then My Music, then iTunes, then iTunes Media, and the Automatically Add to iTunes folder should be in there. Choose that folder and click OK. You don’t have to save your files to that folder. If you want to choose another folder you can just choose whatever folder you want, but I just like to save it there because it makes the process a bit easier. Once you have your folder selected that you want to transfer the music to, click “Transfer Now”. When the transfer is complete you can open iTunes. If you saved your songs to the Automatically Add to iTunes folder they will automatically be in iTunes. If you saved it to another folder just go to that folder, and your songs will be there. That’s how to transfer music from an iPhone, iPod, or iPad to your computer. It’s very easy to do with Leawo iTransfer.
Mac users: click here to download MacX DVD Ripper Pro
Windows users: click here to download WinX DVD Ripper Platinum
This tutorial will show you how to put movies on your iPad. I’ll show you how to load that bad boy up with a bunch of movies so you can watch them on your iPad wherever you are. Basically there are two main ways to put movies on an iPad. The first way is through iTunes itself by buying them on the iTunes Store. The second way (which I’ll be showing you today) is copying movies from DVDs and putting them into iTunes then syncing them onto your iPad.
To do this you’ll be using DVD ripping software from a company called Digiarty. They have some of the best DVD Rippers for Mac & Windows so whatever operating system you’re on, click the link (links are at the top of this description). Download & install that program. For Mac it’s going to be Mac X DVD Ripper Pro. For Windows it’s going to be Win X DVD Ripper Platinum, but they both work exactly the same so you can follow along no matter what operating system you’re on.
After you’ve downloaded & installed it on your computer, open it up and you’ll see the application’s home screen. Next, insert the DVD movie into your DVD drive on your computer then click the DVD button in the top left of the program. It should display the name of the DVD movie in your drive then click OK. On the Output Profile window, go down to Apple Device and choose iPad Video, then choose your iPad model. Always choose the Recommended option for your device. Recommended just means the application has automatically selected the best quality options for your specific device. Click Done. The main movie file is already detected & selected so the only thing left to do is click Run, and the movie be copied to your Desktop folder in the iPad format. Bonus tip: if you want the movie file to be automatically imported into iTunes when it’s copied onto your computer click “Browse” then go into your music folder, iTunes folder, iTunes Media, then Automatically Add to iTunes and click Open. That way the movie file will be copied to that folder and automatically added to iTunes.
When the copy is complete you’ll see the folder pop up. If you chose to put it in the Automatically Add to iTunes folder you’ll see that this folder’s empty because it automatically added it to iTunes so just open up iTunes, go to the Movies section, and you’ll see it in there automatically. If you didn’t choose to put it in the Automatically Add to iTunes folder, just go to the folder where you copied it to (probably your Desktop) then drag and drop the video file into iTunes.
Now to actually put the movie on your iPad you’ll need to sync your iPad to your computer via the USB cable. Once your iPad shows up in iTunes, click it then click the Movies section and then select Sync Movies. If you want to add all the movies that are in your Movies section you can check “Automatically include all movies” and it will sync all the movies to your device. If you want to manually select certain movies, select each movie and click Apply. Now your movies will sync onto your iPad. That’s how to put movies on your iPad, by far the easiest and fastest way in my opinion to do that. This application can copy any DVD movie no matter what it is, and it can copy unlimited DVD movies so it’s definitely a must-have.
The new modern design for iOS 7 is fresh, clean, flat, and minimalistic. Apple completely revamped the whole iOS environment and even redesigned all the default app icons. The new design is very transparent with a lot of translucency built into it. For example, you can see that the default weather app looks way better. It looks very similar to the new Yahoo weather app that just came out recently. Needless to say, I love this new design.
6. The New Siri
Siri got a redesigned interface, and it can do more tasks like change settings in your phone, turn on Bluetooth, check your voicemail, and all kinds of other cool stuff. It recognizes a more natural speech pattern, and you can actually change the voice. All you ladies out there who wanted a sexy Siri guy voice are now in luck. I still hope they give us the ability to turn off Siri’s annoying sound effect though. Maybe these new features in Siri will make me use it more because I never use Siri. Ever.
5. iTunes Radio
Apple’s new radio streaming service is similar to Pandora and Spotify. iTunes Radio is built natively into the music app in iOS 7. I feel like iTunes Radio might be a good competitor to Pandora and Spotify because it’s already on iOS 7 which gives it an advantage over third-party apps. I’m eager to experiment with iTunes Radio and see how well it works. Pandora and Spotify may be in for a fight.
4. Photos & Airdrop
The Photos app has a few new features called Collections and Moments. Photos are now organized by your location data and the time that you took the pictures. So say if you take a trip and you take pictures with your iPhone when you’re on that trip, the Photos app will organize the pictures based on that trip’s location and time. You will have the ability to go into each Collection or Moments where you can see different times during that trip. AirDrop is a cool new feature that basically lets you share anything that’s shareable (like a photo or video) with any of your friends that are in close proximity to you. You can even share it with people who aren’t your friends as long as they have Airdrop turned on and you give them access. This creates a super easy way to share stuff without emailing or messaging whatever you’re sharing.
3. The New Notification Center
The Notification Center was given some cool new features in iOS 7. It’s split up into three categories now: Today, All, and Missed. Today is just a basic glance at your day: the date, weather, any scheduled events on your calendar, any reminders, traffic, etc. You can access the Notification Center from any screen, even the lock screen. All shows all your notifications, and Missed shows any missed notifications. These new features should definitely make the Notification Center more intuitive to use in iOS 7.
2. The New Multitasking
This definitely needed an update. The new Multitasking in iOS 7 should make multitasking very efficient and easy to use. It shows off a new design. Now you can see all the icons that are running in the background along with a preview of them. To end a background app, just swipe up on the app’s preview. This allows you to get a better handling of background tasks along with a better view of all the background tasks. Another cool feature of iOS 7 is all your apps get automatically updated so you don’t have to worry about updating your apps manually. They all get pushed.
1. Control Center
Yes, we have all been waiting for Control Center. SBSettings is an app that has provided a similar functionality to jailbroken users for years. It’s definitely one of the most popular because everybody loves those quick shortcuts to changing settings. That’s what the new Control Center for iOS 7 does. It gives you quick access to changing settings, turning Wi-Fi off, turning airplane mode on, changing brightness levels, iPod controls, calculator shortcut, etc. Control Center even has a built-in flashlight app so you don’t have to go out and download a third-party flashlight app. To access the Control Center, just swipe up from the bottom on whatever screen you’re on, even the lock screen. It gives you quick access to different things that you can change, enable, or activate. Control Center may not seem like much, but I promise it will give you a better iOS experience in the long run.
Follow me on your favorite social network! (I dare ya)
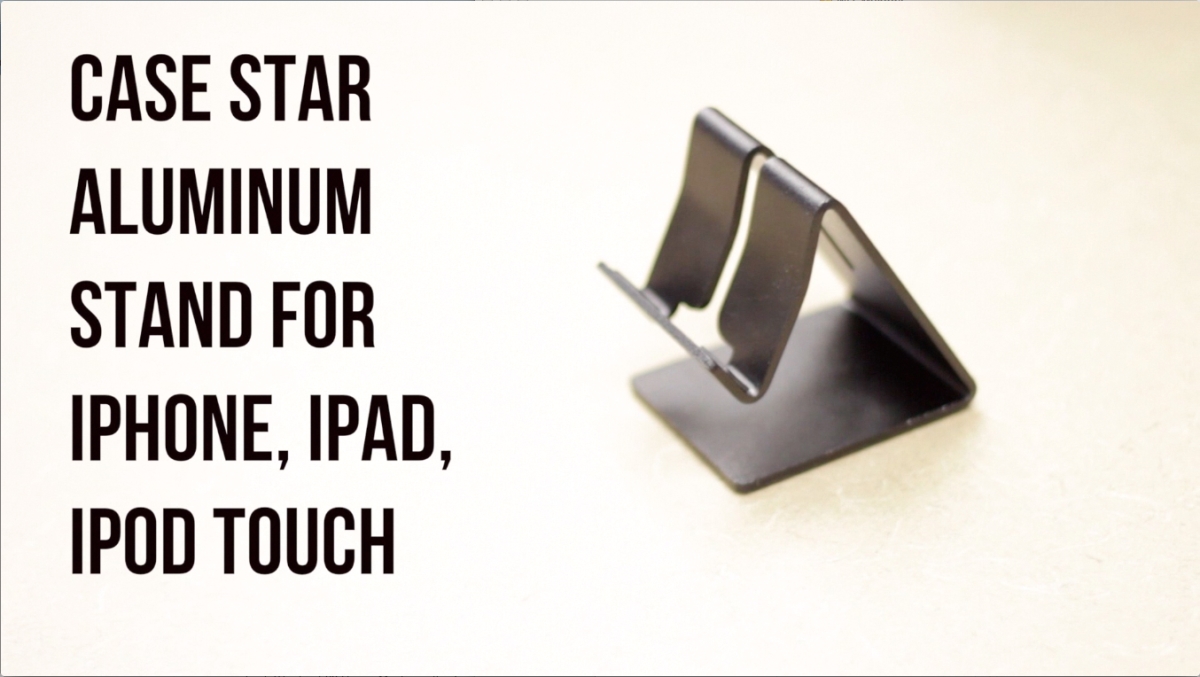
Alright I may have found the perfect stand for my iPhone. This is the Case Star aluminum desktop stand. This is going to be a short video review over it. This is a nice sturdy stand, and it’s very affordable. I got it for $10 on Amazon with free shipping. So if you want to get this stand click the link in the video description. This is a very nice stand. It’s made out of pure aluminum. It has rubber feet as you can see so it doesn’t slide. I wanted to make sure I got a very well made stand that wouldn’t tip over or move when I used my device. I not only wanted a dock, but I wanted to be able to have a stand that I can use my device and press the physical buttons and the screen while the device was sitting in the stand. This one does a great job at that.
What I really like about this stand is that it doesn’t tip over. It actually comes in more colors than black. Amazon had silver and blue editions as well. There are probably more. As you can see from the video when I touch the screen the stand does not move. It remains stationary, which was a big plus for me. That’s why I bought this one, and I wanted to show you that this stand does not move. You can press the physical buttons as well as tap the screen while it’s in the stand. It also has a hole in the bottom and a slit on the back where you can put your charger through so you can charge your device while it’s in the stand. In the video you can see my phone charging while it’s in the stand. It’s a very nice looking stand, and it seems pretty durable. A device can sit in portrait view as well as landscape. It not only holds my iPhone, but it actually holds my iPad Mini very well too. Plus I can actually use my iPad while it’s sitting in the stand so that’s awesome. It doesn’t move when the iPad is in there. It holds up very well, and it doesn’t rock or tip over and the iPad does not fall.
Overall I’ll give this stand a thumbs up. It looks nice, and I can see it holding up strongly over a long period of time. So again if you want to pick this up the link will be in the video description. You can get it on Amazon for a very affordable price. It’s a super good deal if you’re looking for a nice stand for your iPhone, iPod Touch, or iPad.