Videos by Andy Slye

Category: Guides (Page 9 of 18)

Best Antivirus 2015 – Top 3 Free Programs

Click here to see the updated post “Best Antivirus 2016”

If you’re a PC user, having an antivirus is almost always a necessity.

But which antivirus is the best? Here are my top 3 best antivirus applications in 2015 for Windows computers.

Best Antivirus: BitDefender

In my opinion, BitDefender offers the best free and premium antivirus applications for Windows in 2015. BitDefender Free Edition has everything you’d want in a free antivirus: hassle-free installation, easy-to-use and simple interface, quiet and unobtrusive, lightweight and optimized, real-time protection, and strong threat prevention. It’s a top-ranked antivirus that consistently gets rated as one of the best antivirus programs by security companies each year.

Most people can feel safe with the free edition, but if you’re less tech-savvy and want the peace of mind of having the most complete protection for your Windows computer then BitDefender Total Security 2015 is a solid choice when you want a premium antivirus. It gives you everything you need to keep your computer and data protected if you don’t know much about safe computing and safe web browsing.

Best Anti-Malware: MalwareBytes

MalwareBytes is a free anti-malware program that every Windows user should have installed. The free version features an on-demand scanner that does a great job at finding and removing malware such as worms, Trojans, rootkits, spyware, adware and other threats that can slip by your typical antivirus program.

It’s a smart move to have this installed as a second line of defense along with your main antivirus program. You can run a weekly scan to make sure your system is clean. They also offer a premium version for just $24.95 per year that can be used as your main antivirus and anti-malware program if you’d like.

Best Alternative: Avast

Avast Free Antivirus is a great alternative if you don’t want to use BitDefender. Avast has gained popularity and is known as one of the best free antivirus applications available. Many people swear by it. However, it’s not my favorite because it’s a little too annoying and obtrusive for my taste (default sounds, noises, and pop-ups). However, it does offer strong protection for Windows computers and gets my vote as my 3rd best free antivirus program for 2015.

More Tips to Stay Safe

  • Don’t install software from random websites. If you install software, make sure it’s from a trusted source.
  • Avoid Internet Explorer. Use a more secure web browser like Chrome or Firefox. Also consider an ad-blocker.
  • Don’t click on links or pop-ups. If you encounter links, hover your mouse over them to preview and verify the destination. If it looks suspicious, don’t click.
  • Don’t visit sketchy or unsafe websites.
  • Don’t install toolbars. Consider getting Unchecky.
  • Don’t click on links in emails or download attachments from un-verified sources.
  • If you see something like “OMG watch what happens when this fight breaks out!” on Facebook, don’t click it. Just don’t.
  • Subscribe to MyTechMethods on YouTube!

Top 5 Tech Gifts for Holidays 2014

The holidays are upon us so as an adult that means one thing: buying tech gifts for my family because I don’t know what else to buy them! (sad truth)

So here are my top 5 best tech gifts to give in 2014. Each category has the best options so you can choose which one fits your wants/needs/budget.

Best Tech Gifts 2014

1. Tablet

2. Bluetooth Speaker

3. Gaming Console

4. Streaming Device

5. Bluetooth Headphones

How to Record Your Screen on a Mac

Transcript:

What’s up guys? In this video I’m going to show you how to record your screen on your Mac for free. So to record your screen on your Mac it’s really easy. All you have to do is use QuickTime. QuickTime is already built into Mac OS X so open up QuickTime Player on your Mac and then go up to the QuickTime Player menu bar and do “File”, “New Screen Recording”. Okay and you’ll see this little box here and click this little down arrow. It’ll show you the microphone options so you can choose to record a microphone as well or just leave it on None if you don’t want to record any microphone. And then you have this option here. It says “Show mouse clicks in recording”. If you leave that checked it will do little halo effects when you click on your mouse during that recording so I’ll leave that checked so you guys can see how that looks. So once you’re done with those settings just hit the Record button, and it’ll say “Click to record the full screen” so all you have to do is just click once if you want to record your whole screen or if you want to just record a particular part of your screen click and drag and choose your part of the screen that you want to record. So we’re just going to click and record the whole screen for now. Okay so once you click it will start recording, and you can go in here and do your thing. Record what you need to record and then up here at the top right of your Mac click the Stop button. Okay and then it’ll bring up the video here and show you what you just recorded. And you can play it. So here’s the video and you can see during the mouse clicks it will give you that little halo effect showing you when you clicked the mouse, when you right-clicked or left-clicked. And if you want to save your Mac screen recording just go to “File”, “Save” and then we’ll just save this to the Downloads. Actually we’ll save this to the Desktop, and there you go. You now have your screen recording saved on your Desktop so you can do whatever you want with it. There it is right there. So that’s how to record your screen on your Mac for free using QuickTime Player. Hope this helped you out. If you liked this video make sure you give it a thumbs up and check out more of my Mac videos if you’re a Mac user. I’m assuming you’re a Mac user if you’re watching this video and subscribe if you haven’t already. Thank you so much for watching. Keep having fun out there, and I will talk to you later.

By Andy Slye

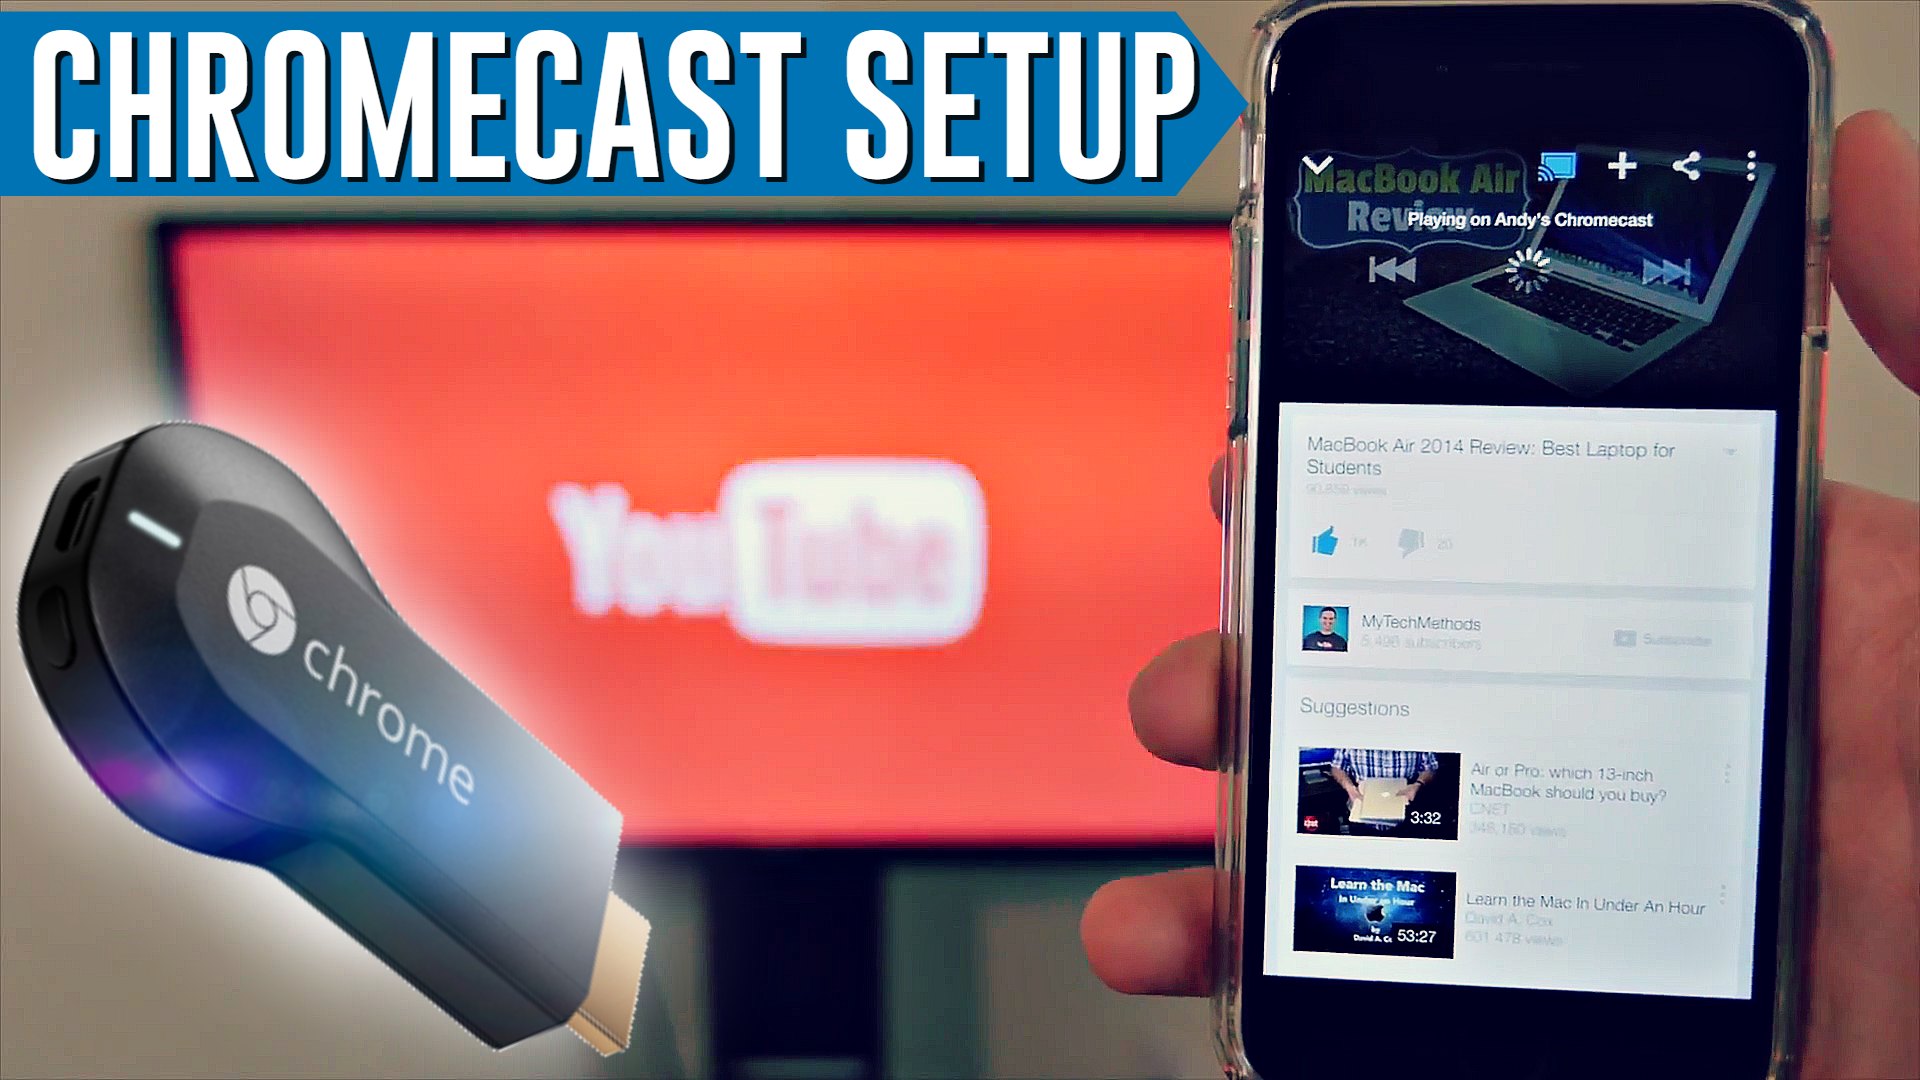
The Ultimate Chromecast Setup Guide

The Chromecast is one of my favorite devices, and it’s something that I think everybody should own. In this video I’m going to show you the Chromecast setup process and how to install and use a Chromecast.

The Chromecast is a $30 device that lets you wirelessly stream anything from your web browser, most likely video, to your HDTV. First let’s go over what you need in order to use and set up your Chromecast. You’ll need an HDTV, a WiFi network, and a smartphone or computer.

When you first open the box you’ll see a quick start guide on the inside cover, and you’ll see the Chromecast itself. The Chromecast is small, about the size of a thumb drive, and it has an HDMI connector on the end. The rest of the box includes a USB cable, an HDMI extender, and the power adapter.

The first step is to plug the small end of the USB cable into the Chromecast. Next, connect your Chromecast to one of your TV’s HDMI ports. If your Chromecast cannot fit into the area near your HDMI port you’ll need to use the HDMI extender to give it a little more room to fit properly.

Next step is to power the Chromecast. There are two different ways to do this: one is to use a USB port on your TV if it has one. If it does, just plug the USB cable into it and it will power the Chromecast. If your TV does not have a USB port, you’ll need to plug the USB cable into the power adapter and plug the power adapter into an outlet.

Once your Chromecast is powered on and connected, next step is to change your TV’s input or source to the HDMI port that your Chromecast is connected to. Once you’re on the correct HDMI input you’ll see a screen like this.

To set up the Chromecast you can use a smartphone, tablet, or computer but I’ve found it works best with a smartphone so let’s do that but the process is the same on a computer. Open your web browser and go to http://Chromecast.com/setup, and that will open a page with a link to the App Store so click on that. The App Store will open the Chromecast app so click on Install. It is a free app. Wait for it to download and install then open the Chromecast app. Accept the terms. It’ll scan for Chromecasts.

Click Set Up a New Chromecast. It says to go to your phone’s Wi-Fi settings and select your new Chromecast. Look for the same device name you’re seeing on your TV screen. Mine’s Chromecast8436. Yours will be different. Select it and wait for it to connect. Once it’s connected, go back to the Chromecast app and it should say it found a new Chromecast. Then hit Next and make sure your input source is showing the Chromecast so that you see the code on your TV screen then hit Next. Choose your country. Here you can give your Chromecast a custom name.

On the next screen tap choose WiFi network and select your WiFi network from the list then enter your WiFi password. The Chromecast will connect to your WiFi network, and when it’s done you’ll see that it has been set up successfully and you’re ready to start casting.

You can cast from your smartphone, tablet, and computer as long as they are connected to your WiFi network. It works with many different apps and to see the full list you can visit http://Chromecast.com/apps. To start casting from your computer you’ll need to be using Google Chrome which is a free web browser that you can get from http://Google.com/chrome.

Once you have Chrome on your computer, open it and search Google for “Chromecast extension” and click the first result. Click the “Free” button and add the extension to Chrome. Once it has been added you’ll see the new Chromecast icon in the top right of your browser. That’s what you’ll click to cast to your TV.

For example to cast a YouTube video to your TV, while on the YouTube video watch page you can click the Chromecast icon in the bottom right of the video or click on the Chromecast icon in the top right of your browser and choose your Chromecast in the drop down menu. Once you do that it will start to play the YouTube video on your TV. Pretty cool huh. And this works with any browser window in Chrome, and it also works with sites like HBOGO and just many more different websites.

Now I’ll show you how it works on your smartphone or tablet. First make sure your phone or tablet is connected to your WiFi network. Then open a compatible app such as YouTube and now you’ll see a Chromecast icon in the app or on the video that’s playing. So tap on that icon and choose your Chromecast name and it will send the video straight to your TV. And when the video is playing through your Chromecast you don’t have to keep your phone unlocked. You can lock your phone and the video will continue to play on your TV which is awesome. To stop casting just tap the Chromecast icon again and tap Disconnect. That is how to set up and use your Google Chromecast!

By Andy Slye

How to Record Your iPhone Screen


In this video I will show you how to record your iPhone screen on a Mac or PC. I’ll start off with the Mac method first because they built this function right into Mac OS X Yosemite. With Yosemite you can do this for free so first thing you need to do is plug your iPhone up to your Mac using the USB cable. Wait for it to show up in iTunes and then leave it connected and while it’s still connected open up QuickTime Player. Then in QuickTime go up to File “New Movie Recording” and then just click the arrow next to the record button and choose iPhone on that drop down list. Choose your iPhone and then you may need to unlock your iPhone.

Once you unlock your iPhone you will see your iPhone screen is now on your Mac desktop and it’s mirroring. It’s showing you everything that you’re doing on your iPhone. So to make a recording of the iPhone you just click on the record button in QuickTime and then do whatever you need to do on your iPhone. Record what you need to do and it’s going to capture it and then once you’re done just hit the record button again to stop the recording. Then save it. You can either go to “File”, “Save” and choose to save that recorded video on your Mac computer somewhere. So here’s an example. This is my video that I just did. It’s me just browsing around I just want to show you that it does capture everything you do on your iPhone so it will capture everything you do in that recording in that recorded video. So that’s a cool feature that they built into Mac OS X Yosemite.

If you’re on a Windows PC you’ll need an app called Reflector. This is the best one that there is. It’s the one I used before Mac OS X Yosemite came out, and it’s like $13. It’s very affordable and plus it does it over WiFi connection so you don’t even need to plug it up to your computer. It does it though AirPlay wirelessly. You can record your iPhone screen that way and that’s the one I recommend for Windows users. So there you go. Simple as that. That’s how you record your iPhone screen.

By Andy Slye

« Older posts Newer posts »

© 2024 My Tech Methods

Theme by Anders NorenUp ↑