Videos by Andy Slye

Category: Guides (Page 13 of 18)

How to Download Free Music on iPhone, iPad, iPod – Free MP3 App

How to Download Free Music on iPhone, iPad, iPod

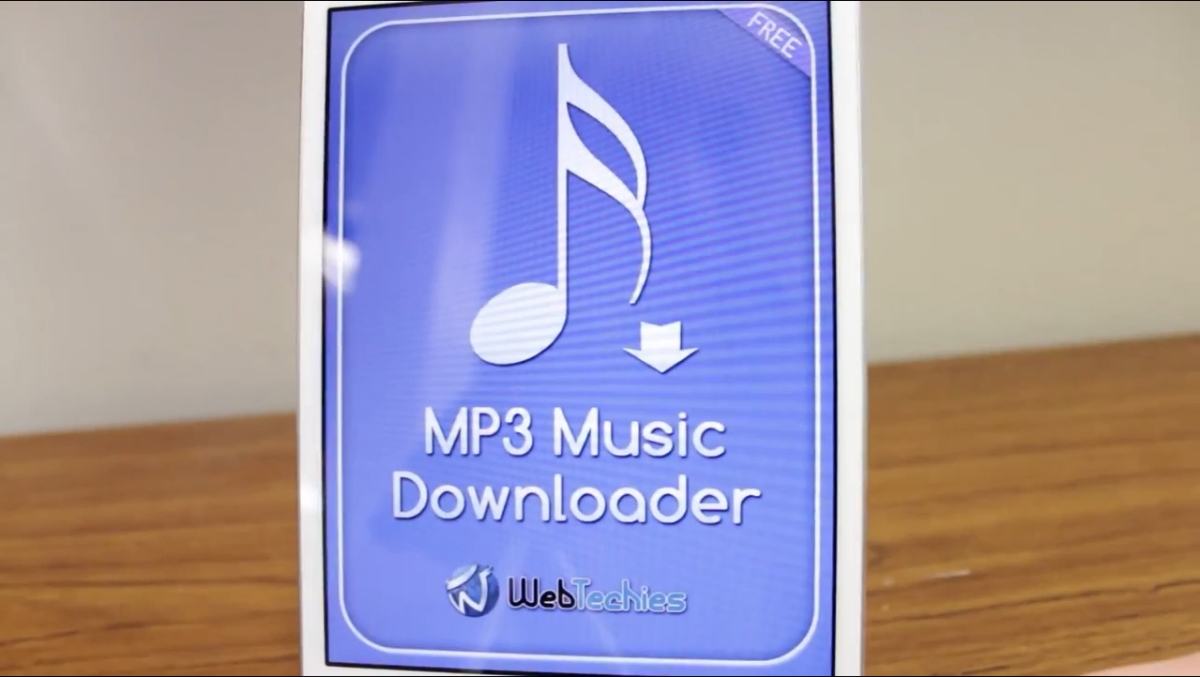
In this video you’ll learn how to download free music directly to your iPhone, iPod, or iPad without using a computer or jailbreaking. First, go on your iOS device and open up the App Store and search “free music”. You should see a list similar to this. The app that you want is a free app called MP3 Music Downloader Free by Webtechies. Tap on that and install it. Once it’s installed open up the Free MP3 icon, and you’ll see the homepage.

This is the home screen for the free MP3 music downloader app. This page gives you a list of resources for this app: how to use it, general questions, etc. If you want to go right into downloading free music it gives you some free legal music sites on the homepage. If you tap on Last.fm it brings up the Last.fm website which is a popular music website where you can download free legal music. You can search for a song or artist. Or just download a song right from the homepage. Tap on the Free MP3 button and you’ll see a window pop up asking if you want to download, open, or copy the link. You want to download the MP3 for free so just tap the red Download button. It’ll ask you to enter the song name. You can leave it the same if you want.

The free song download will start. You can go to your Downloads section and see it downloading. After it’s finished downloading you can tap it to start playing it with the audio player. But what if you want to download a free MP3 that’s not listed on Last.fm or any of the other free websites that it lists on the homepage? Well, you can go up to Google search and just search the artist name + the song name + “MP3” at the end. The first couple of search results are going to be an MP3 of that song that you should be able to download for free.

Any of the first few links should take you to an MP3 website. Find an MP3 result that has high bit-rate quality and has the correct song length. Then just tap the Download button. If the same windows from earlier pops up then you know it’s a downloadable MP3 file. Download and name it. That’s basically how you use this free MP3 app to download free music right from your iPhone, iPad, or iPod. You can add/edit playlists with this app as well. Any music that you download with this app you can play straight from within this app with its built-in audio player.

By Andy Slye
Podcastomatic: Convert Text Blogs to Audio Podcasts

Podcastomatic

A Free Web App that Converts Your Favorite Text Blogs into Subscribable Audio Podcasts

Podcastomatic is one of my favorite free web apps that converts (most) text blogs into audio podcasts. If you’re a podcast junkie like me and you also have your favorite text blogs that you visit daily but don’t have time to read them all, then this website is for you!

It converts your favorite blogs into a podcast feed using text-to-speech technology. Each blog post is automatically converted into a podcast episode. This is really cool if you want to stay up to date with your favorite text blogs, but you don’t have time to read them. You can turn them into an audio podcast and listen to them while you’re on the go with Podcastomatic.

Here’s how it works. Go to Podcastomatic and enter the URL address of whatever blog that you want to convert to audio then click “Go”. It will take a few moments to convert the blog posts into audio files and into a whole entire podcast that you can subscribe to on iTunes. Each blog post is turned into its own podcast episode.

Since this uses text-to-speech technology the voice is kind of robotic, but you will get used to it after you listen to a few episodes. Podcastomatic is a great way to keep up-to-date on your favorite text blogs if you don’t have time to read them every day. Go ahead and try this out with your favorite text blog. It won’t work with every single blog, but it works with most blogs.

By Andy Slye

Ninite: Install & Update Multiple Programs at Once (Windows)

Ninite: Install & Update Multiple Programs at Once (Windows)

This video is going to be a brief tutorial and overview of one of my favorite free web apps called Ninite. Ninite is a website that allows you to install or update multiple applications at once on your Windows computer. It’s totally automated, and this website is a lifesaver if you’re constantly updating or installing apps for new computers that just have a clean install of Windows.It’s very handy if you always install the same programs over and over again. You know what applications you’re going to install so this helps you install all those applications at once, and it saves you a ton of time.

Ninite is pretty straightforward. You select the programs that you want to install (or update). You click “Get Installer” and just run that installer file, and it will install all the applications that you have selected. Not only does it install new programs, but if you keep the installer file you can update all the applications that you just installed with this file. Ninite offers some of the most popular applications from different categories such as utilities, browsers, security, storage, etc.

Once you select all your applications that you want, click the “Get Installer” button. It will download the installer file to your Downloads folder then you can just run it from there. It automatically installs or updates those applications that you selected. If you click “Show Details” it will show you what stage it’s doing. It’s totally automated and can be left unattended. In fact you can just minimize the Ninite window and go do other stuff (like cook some blueberry pancakes — yummy!) and Ninite will automatically install everything for you.

That was a brief overview of one of my favorite free web apps, www.Ninite.com. Here are some of the main features: The programs that Ninite offers are always up-to-date so it’s a good way to keep your computer more secure. When it installs and updates the programs that you select, it automatically says No to toolbars and other junkware. It not only installs, but it updates multiple programs too. Ninite automatically selects the correct 32-bit or 64-bit version to install on your PC.

If you’re a Windows user I definitely recommend bookmarking this website. I’d also suggest going to Ninite right now and choosing all the applications that you have installed on your PC (and maybe applications that you don’t have but you want to install) and download that installer file. Keep that installer file on your computer and run it about once a month so you can keep all those applications up to date just by running that one installer file. It’ll save you a ton of time, and again it will keep your computer more secure.

By Andy Slye

How to Transfer Text Messages from iPhone to Computer (PC & Mac)

How to Transfer Text Messages from iPhone to Computer (PC & Mac)

Windows Free Download (Trial Version)
Mac Free Download (Trial Version)

In this video you’ll learn how to transfer text messages from your iPhone to your computer. If you ever need to copy or backup your iPhone SMS text messages (or even iMessages) to your computer, whether it’s a PC or a Mac, you can do that with a useful app called BackupTrans iPhone SMS Backup & Restore. Click the link for your operating system at the top of this description. That link will start an instant download of the BackupTrans program so you can try it out and transfer your text messages from your iPhone to your computer. This application is 100% safe to use.

Once you have this application downloaded, run the setup file to install the program on your computer then open it up. Connect your iPhone to your computer using the USB cable. It’ll recognize your iPhone. Then you have 3 things to do before you can transfer text messages from the iPhone to your computer. First if you have your iPhone protected with a passcode you need to enter your passcode on your iPhone so it’s unlocked. Then make sure you turn off iCloud Backup on your iPhone and disable iPhone backup encryption iTunes. Once you’ve done those things click OK. After it finishes backing up your iPhone you can see all your iPhone text messages that you can transfer to your Mac or PC.

If you click the arrow next to your iPhone device in the left-side column it gives you a list of all your SMS conversations that you can back up. If you want to transfer text messages from a certain conversation with a person just click on that person’s name to choose that conversation and then choose the text messages that you want to copy to your computer. Once your texts are selected, you can go up to the top menu and choose “Backup SMS to local database” or “Export SMS to file”. Then give your file a name and choose the file type that you want to save it as. If you want to save it as a Word document you can. You now see it has successfully exported the text messages to the computer.

Browse to the folder, and you should be able to open the document that has the text messages in it. That’s how easy it is to transfer text messages from your iPhone to your computer. It works with Windows PC and Mac. Again the links are at the top of this description. Download that application and give it a try.

By Andy Slye

How to Put DVDs on iTunes (PC & Mac)

How to Put DVDs on iTunes (Windows & Mac)

Windows Free Trial Download

Mac Free Trial Download

In this video I’ll show you how to put DVDs on iTunes. Instead of spending a bunch of money on the iTunes store and buying movies through iTunes you can actually copy any movie from any DVD onto iTunes and then sync it to your iPhone, iPad, or iPod Touch. That’s what I’m going to show you how to do today.

To do this you’ll be using DVD copy software from a company called Digiarty. They make the best DVD copy software out there. It’s by far my favorite – very easy to use, fast, and high quality. The software is available for Windows and Mac. The first thing you want to do is click the link at the top of this description for a free trial download of this software. If you’re a Windows user click the Windows download link. If you’re a Mac user click the Mac download link. That link will start an instant download of this program. Download and install the application from the link above, and you’ll be able to try it out for free. If you like it you can register for the full version right from the program itself (at a special discount!)

Once you have this application installed, it’ll be called MacX DVD Ripper Pro for Mac users. It’ll be called WinX DVD Ripper Platinum for Windows users, but they both work exactly the same so you can follow along. Next, insert the DVD movie that you want to put on iTunes into your computer’s DVD drive. Then click the DVD button at the top left of the application. The source DVD disc window will pop up, and you should see your movie’s title in the box then click OK. Once it loads your DVD movie you’ll see the output profile window pop up. Since we’re putting the movie in iTunes you’ll choose Apple device then choose iTunes video. If you plan on putting the DVD video on a device after it’s in iTunes you can choose whatever device you have (iPhone, iPad or iPod) instead of iTunes video.

Choose the “Recommended” option for iTunes then click Done. The program automatically selects the main movie file. You can see that Title 1 is selected. Go towards the bottom, and you’ll see a destination folder option. This is the folder where you’re going to copy the movie. If you click Browse you can choose any folder where you want to save the movie then click Open. Now all you have to do is click the Run button in the bottom right, and it will start copying the movie to your computer.

Once the copy is complete it shows up in the destination folder. Open iTunes then go back to the folder that has the movie and drag-and-drop the video file into iTunes. The movie will be copied into iTunes, and you can verify it by going into iTunes into the Movies section. That, my friends, is how to put DVDs on iTunes – the absolute best way to do it. Go ahead and give that a try. Enjoy having your favorite DVDs in iTunes now!

By Andy Slye

« Older posts Newer posts »

© 2024 My Tech Methods

Theme by Anders NorenUp ↑