Videos by Andy Slye

Category: Guides (Page 12 of 18)

How To Clean Up iTunes Library – Fix All Songs Automatically!

In this video I’ll show you how to clean up your iTunes library. We all know how hard it is to keep your iTunes library organized with all the correct song, artist, and genre information especially when you have hundreds and even thousands of songs in your iTunes music library. It’s nearly impossible to do that manually. That’s why you need an application like Neat Music to clean up your iTunes library. This program uses intelligent music recognition to complete missing artist, track, album, and genre information for your songs. It corrects “untitled” or “unknown” track info. It adds missing album artwork, groups scattered album songs, and organizes all your music for your iPhone, iPad, or iPod.

First, click the link at top of this description. That link will take you directly to the free download page for Neat Music, which works on Windows PC computers. You can try this application out for free. It’ll fix up to 100 songs in your iTunes library with the free version. If you have more than 100 songs in your iTunes you can buy the unlimited version at a special discounted price so you can fix your entire iTunes library. Once you download it, install it on your computer. Then open up iTunes and open up the Neat Music application.

It gives you a preview of your iTunes library at the bottom. As you can see if I go back to my iTunes I have these songs that I have no information for. I have no idea what the song name, artist name, album, genre, year, etc. There’s no album artwork either so it would take me forever to do this manually, but with Neat Music it does it automatically for me.

With Neat Music you can select all the songs in your library and click the Identity button. That will identify all the song info. It’s very fast and only takes about one second per song to get the information. Once it’s done you’ll see this red icon for success, and you can click on each song and it gives you a little preview of what info it has found for that song. To save that information in your iTunes just select the songs and click the Save button. It’ll import all the information into your iTunes, cleaning it up automatically with all the correct track names, artist names, album names, etc.

Neat Music also gives you the ability to get all the album artwork. Click the Get Album Art tab at the top, and it gives a list of albums in your library. Select all the albums then click Get Album Art. It gives you the standard album artwork. It also gives you high quality versions. I usually just go with the standard so double click that and it’ll import it into iTunes. Go back into iTunes, and you’ll see now it has all the correct song information, the correct album information, the album artwork – everything. It did it within just a few seconds. That is how to clean up your iTunes library automatically, quickly, and easily. That’s with the program called Neat Music. You can download the free trial version with the link at the top of this description. Enjoy!

By Andy Slye
How To Jailbreak iOS 7 Untethered with Evasi0n (iPhone, iPad, iPod)

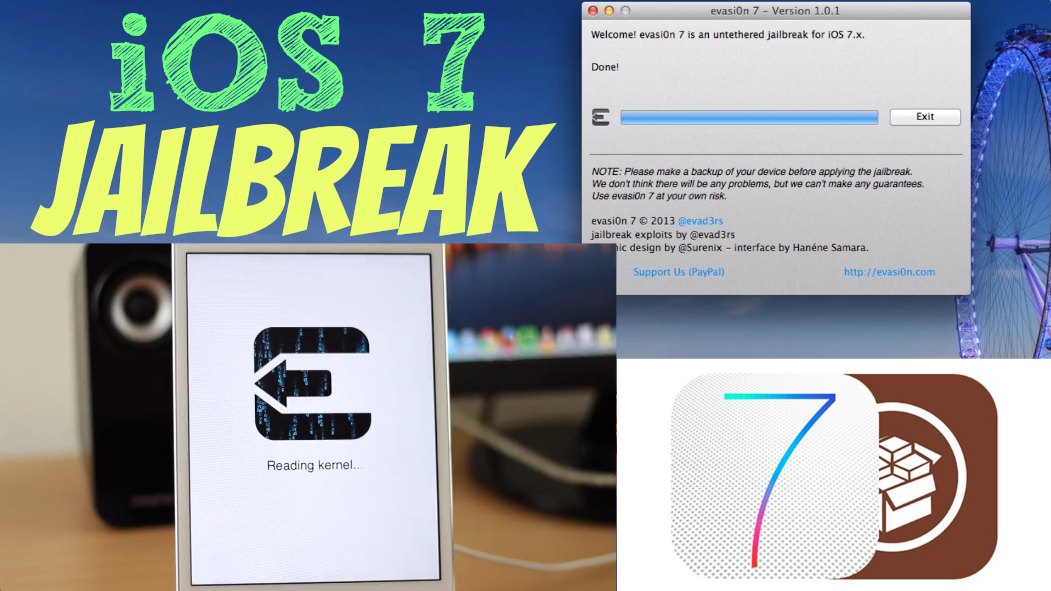
This video shows you how to jailbreak iOS 7 on an iPhone, iPad, or iPod. The first step is to connect your device (your iPhone, iPad, or iPod) to your computer, and when iTunes opens select “Back Up Now” to make a backup of your device. It’ll only take a few minutes. Step number two is to restore your iPhone, iPad, or iPod to the latest iOS version (during this video it’s 7.0.4). While it’s connected to iTunes click the “Restore” button. As long as you just made that successful backup you can click “Restore and Update” and it’ll restore to the latest version of iOS so you can do the jailbreak. Restore your device from the most recent backup that you just did.

Next, go on your device and disable any passcode lock that you have on it if you have one. You can re-enable it once you’re done with the jailbreak. After you’ve disabled your passcode lock, go on your computer and visit evasi0n.com and download the jailbreak application for your operating system, Mac or Windows. Click the Download button to download it to your computer then double-click the application to run it. Make sure that your iPad, iPhone, or iPod version is supported by the jailbreak.

If you don’t already have your device connected to your computer go ahead and do that right now. Let it sync to iTunes, and then once it’s connected click the jailbreak button. The jailbreak process will begin, and it will take a few minutes to complete. During the jailbreak process your device will reboot several times. When it says to, continue by unlocking your device and tap the new evasion 7 icon. It’ll come up and go right back down and reboot. The device will reboot one last time, and evasi0n says that it’s done. After the final reboot you will see evasion complete some final tasks while it completes the jailbreak.

Now you can go into your device and go to the last page and you should see Cydia. Tap on it to open it. It’ll prepare the file system. Once your device re-springs it’ll come back up. Go back into Cydia one last time then choose User. Complete any upgrades if available. Your iOS 7 device is now jailbroken! You can go into Cydia and start adding all the tweaks and apps that you want. Enjoy!

By Andy Slye

How to Convert DVD to MP4 (PC & Mac)

How to Convert DVD to MP4 (PC & Mac) – The Easy Way

Windows users: click here for a free trial download for Windows
Mac users: click here for a free trial download for Mac

In this video I will be showing you how to convert a DVD to MP4 so you can put all your favorite DVD movies onto your smartphone or tablet such as your iPhone, iPod, iPad, Android smartphone or tablet, or any other device that is compatible with the MP4 video file format. It’s very easy to do with the program that I will be showing you how to use today, and it’s compatible with Mac and Windows computers.

First, click the link at the beginning of this video description. I have links to both the Windows and Mac downloads for this software above. Once you click that link it will start an instant download of the free trial version of this program. It’s 100% safe & secure. The free trial version will copy the first 5 minutes of the DVD just to show you that it works, and if you want to copy the whole DVD (and unlimited DVDs) you can purchase a full license from the program itself.

Once it’s downloaded you’re just going to click on it right from your browser or go to wherever you downloaded it to (usually it’s your Downloads folder) then just double-click on the file and click “Run”. It will install the program. You can try it out for free, but if you want to copy the whole DVD like I said earlier you can go ahead and click the Buy Now button and get this application at a special discount.

Next, insert the DVD movie into your DVD drive that you want to convert to MP4 then click the DVD Disc button in the top left corner of the application’s home screen. On the next pop-up you’ll see your DVD that’s inserted into your CD/DVD drive right now, just click OK. It’ll load the DVD. The output profile window will pop up. Choose PC (or Mac) General Video then choose the MP4 video file format recommended option. Click OK. On the next window you’ll see that the application has automatically selected the main movie file: Title 1. Yours may be a different title, but it automatically selects the main movie file so you can copy it off the DVD and convert it to an MP4.

Next, go down to the destination folder option. You can browse and change it to a different folder if you want to copy to a different folder. You can choose whatever folder that you want. Keep in mind that that’s the folder that your MP4 file will end up in. Now we’re ready to convert the DVD to MP4. Just go to the bottom-right and click the blue Run button. You can see that the conversion process has started, and it’s copying the DVD onto our computer in the MP4 file format.

When the job is complete you’ll see the window pop up with your video file in it. Your DVD has now been converted to an MP4 video. Now you can add it to iTunes or sync it to your smartphone or tablet or just keep it on your computer and play it on your computer now that it is an MP4 video. That’s how easy it is, folks. That’s how to convert a DVD to MP4. You’ll be able to copy any DVD movie, no matter what it is, with this program here. It’s high quality, it’s fast, it’s easy, and it’s highly recommended by me.

By Andy Slye

How to Copy DVD to Mac – MacX iTunes DVD Ripper

How to Copy a DVD to a Mac (MacX iTunes DVD Ripper Tutorial)

Click here for for the free trial instant download for Mac users
Or visit the MacX DVD Ripper website

Video Transcript:

What’s up everybody? It’s Andy with MyTechMethods. In this video I’m going to show you how to copy any DVD movie to your Mac using Mac X iTunes DVD Ripper. This is an awesome application for your Mac. It’s usually 30 bucks, but if you buy it now you get a special discount. It’s only 20 dollars so it’s an awesome deal for a Mac user who wants to copy any DVD movie to your Mac. So there are two links in the video description below. One link will be to this website where you can see everything about this application. The other link will be an instant download link so you can try it out for free. If you click that instant download link it’ll start that download of the Mac X iTunes DVD Ripper application here, and once it’s downloaded it’ll be in your Downloads folder. So if you go to your Downloads folder you should see it in there. You can double-click on it and run it to install it. Alright and then you just drag the Mac X iTunes DVD Ripper icon to the Applications folder. Alright after you’ve done that just go to your Applications folder and search for Mac X iTunes DVD Ripper, and you should see it right there. Double click on it to start it. Click Open. Okay and here it tells you that the free trial version only copies the first five minutes of the DVD just to try it out for evaluating purposes. And if you want to purchase the full version at that special discount you can go ahead and click that “Buy Now” button and you can get that registration code. Now the next thing you want to do is insert the DVD movie into your Mac’s DVD drive and then click this DVD button and it will show you the DVD right here in this box right here. And you click OK. It will load the DVD. Now in order to copy the DVD to your Mac you’ll have to choose the format that you want the movie to be copied in here on this output profile window. And here you have a few options. You can choose Mac general video which is usually what you’ll be choosing most of the time, just this MP4 video recommended. Or you can even copy the DVD as an MP3 if somehow you want to do that. And you can choose iTunes video to put it directly into iTunes as an iTunes MPEG4 but the iTunes MPEG4 and the Mac general video MP4 recommended are basically the same thing so I’ll just use Mac general video MP4 video recommended then click Done. Alright now the DVD is loaded. We have our target format MP4 video selected, the output file name right here. You can choose to select more titles. Title one is already checked automatically. That’s the main movie file. If you want to copy any of the extras you can select the additional titles here. I’m just going to leave it as title one. I just want to copy the main move file itself, and the destination folder is down here. It’s automatically going to this folder here, and you can change it if you want. I’ll just browse and change it to my desktop folder. Choose desktop then open. You can copy it to whatever folder you want. And now all you have to do is go to the bottom right and click this blue Run button, and it will to start to copy the DVD to your Mac. And now it’s finished. You can see the main movie file has been copied onto my Mac from the DVD right there. And you can do whatever you want with it. You can put it in iTunes. You can store it, and you can do as many of these as you want as long as you have the full version of the Mac X iTunes DVD Ripper application. So that’s how to copy any DVD movie to your Mac. Very easy to do. One of my favorite applications. Make sure you check the links in the video description below and get that application for your Mac. If you have any questions just leave a comment and I’ll get back to you. Thank you so much for watching. I hope this video helped you out. Make sure you subscribe and like this video. Keep having fun out there, and I’ll talk to you later.

By Andy Slye

How to Backup iPhone, iPad, or iPod with iTunes (PC & Mac)

How to Backup iPhone, iPad, or iPod with iTunes (PC & Mac)

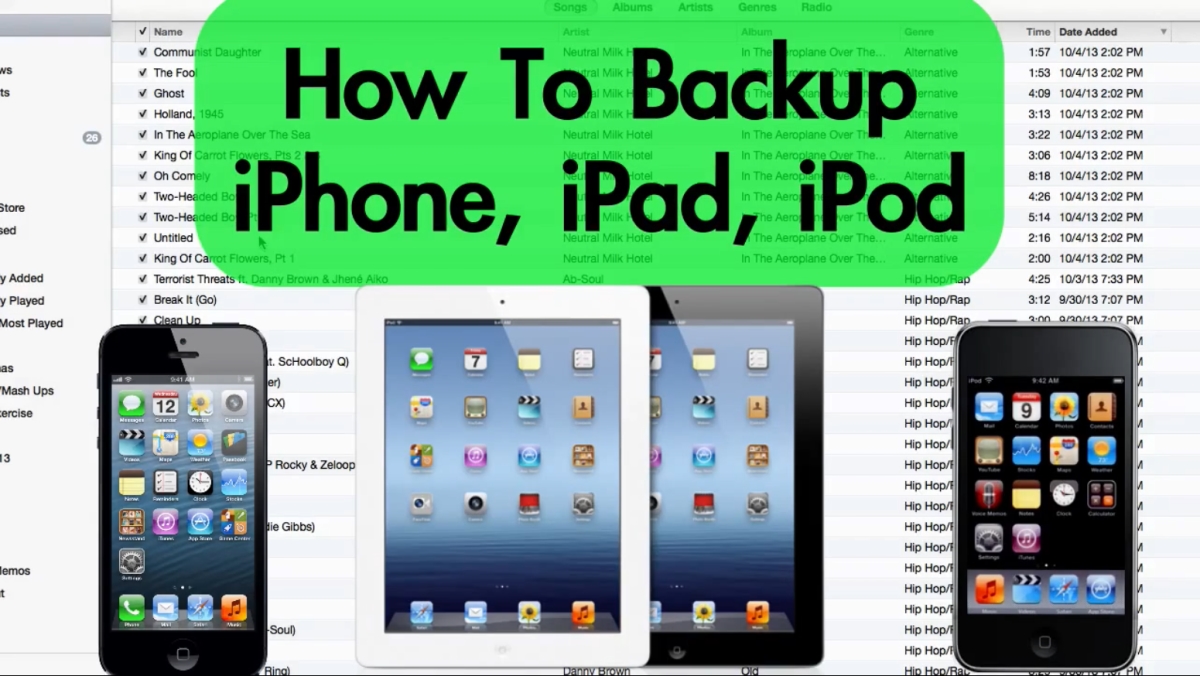
This video is going to show you how to backup your iPhone, iPad, or iPod to your computer using iTunes. This works on a Mac and a Windows PC. Backing up your iPhone, iPad, or iPod is an easy task, but I get a lot of questions about it so I figured I’d do a video for you guys. There are 2 main ways to backup your iPhone (or whichever iOS device you have). One way is to go on your iPhone itself, and go to Settings, iCloud, Backup. As long as you’re connected to a Wi-Fi network you can back up your iPhone to your iCloud account. The second way is what I do and what most people do, and that is to back up your iPhone to your computer using iTunes so I’m going to show you that today.

First, open iTunes then connect your iPhone to your computer using the USB cable. Most likely it’ll automatically backup your iPhone when you connect it so if you click on your iPhone in the devices list on the left hand side you can see when the most recent backup was on your computer. My iPhone automatically backs up whenever I connect it. If yours doesn’t do that you can manually back it up by clicking the “Back Up Now” button or you can go up to File, Devices, Back Up. Either way they both backup your iPhone to your computer.

If you want to view a list of recent backups just go to Preferences and go to Devices, and you can see all the backups that it has stored on your computer. If you want to see where these backups are stored on your computer just right-click and then choose Show in Finder if you’re on a Mac or Show in Explorer if you’re on a Windows PC. It will open up the folder where your iOS backups are stored.

What is all included in the iPhone backup when it backs up to your computer? Well pretty much everything that is not in iTunes is backed up. Now what I mean by that is your music, movies, TV shows, podcasts, books, apps, and ringtones are already in iTunes so those don’t get backed up to that backup folder. What does get backed up is your camera roll, your saved photos on your phone, your text messages, your iMessages, your contacts, your calendar, all your settings, app data, etc. All that data gets backed up during your iPhone backup. See the official iTunes backup details here.

If you want to restore an iPhone, iPad, or iPod to one of your backups all you have to do is connect that iOS device to your computer, open iTunes, and once it’s connected go to File, Devices, Restore from Backup. You can choose from your most recent backups to restore the device. So that’s how to backup your iPhone, iPod, or iPad to your Mac or Windows computer!

By Andy Slye

« Older posts Newer posts »

© 2024 My Tech Methods

Theme by Anders NorenUp ↑