Videos by Andy Slye

Category: Guides (Page 11 of 18)

How to Rip a DVD on Windows 7 – Best Way!

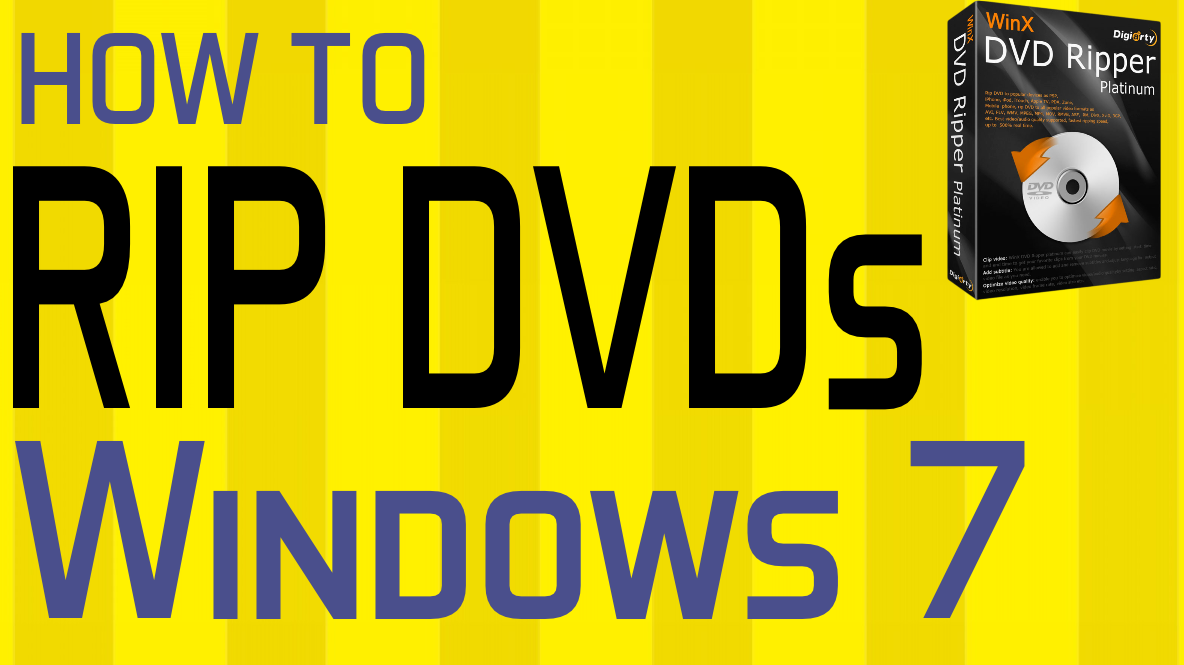
In this video I’m going to show you how to rip a DVD to your Windows 7 computer using WinX DVD Ripper Platinum. This is my favorite program to rip and copy DVDs to my computer, and you can download it by visiting the link in the description below. And once you download it to your computer you can run the installer file. So just double-click on it. Click Run. Yes. You’re going to install it. Just hit Next. I accept, next, next, and install it on your computer. Just hit next, next, install, and it will install on your computer. And when you click Finish the program should open up or you can open it up from your desktop over here by clicking on it. Alright now once you have Winx DVD Ripper Platinum open next thing you want to do is insert the DVD movie disc into your DVD drive on your Windows 7 computer. Once it’s loaded in there just click this disc button on the top left of the program. It will pull up this window right here, the source DVD disc. You just choose your movie here. Most likely it’ll already be in there by default. Click okay. It’ll load the DVD into the program, and then you’ll see this output profile window here. And this is what you want the video format to be copied in. Most likely you’re going to be using a PC general video and just use the recommended MP4 video. That’s the best recommendation, but one of the best features about this program is the different profiles that it offers when you’re copying the DVD. So if you know you’re going to put it on a device later you can choose that particular device. So you got iPhone, you can go down to iPhone and just choose your recommended option for that. Same thing with Android tablet, Android smartphone. But if you just want to rip it to your computer and leave it there PC general video and the MP4 recommended option is what you want to do. So once you choose your outfit profile format, just click Okay. And here it’ll show you the DVD right here and show you all the titles. Title 1 is automatically selected. That’s the main movie file so if you want to just copy the main movie file it’s already selected there for you. If you want to copy any of the other chapters or extras you can select these as well. And down here at the bottom this is shows you where the DVD will be ripped or copied to when it’s copied to your computer. This is the folder. You can go in here and change. Click browser you can change the folder. Mine’s going to end up on my desktop which is okay with me. And now you are ready to rip the DVD to your computer so just hit that run button in the bottom right. If you’re using the free trial version it’ll only copy the first five minutes just to show you it works. To copy the full movie and to copy unlimited DVDs you can purchase a registration code for the software, and you can get a special discount on the software if you click that Register button from the program itself. Alright so when the copy is complete it should bring up the folder that it copied the DVD into, and there is my video file right there. So that is how to rip any DVD on a Windows 7 computer. So I hope this helped you out. Again the link is in the description below. You will definitely love this program.

By Andy Slye
How to Copy DVD to DVD – Make Exact Copies of DVD Movies

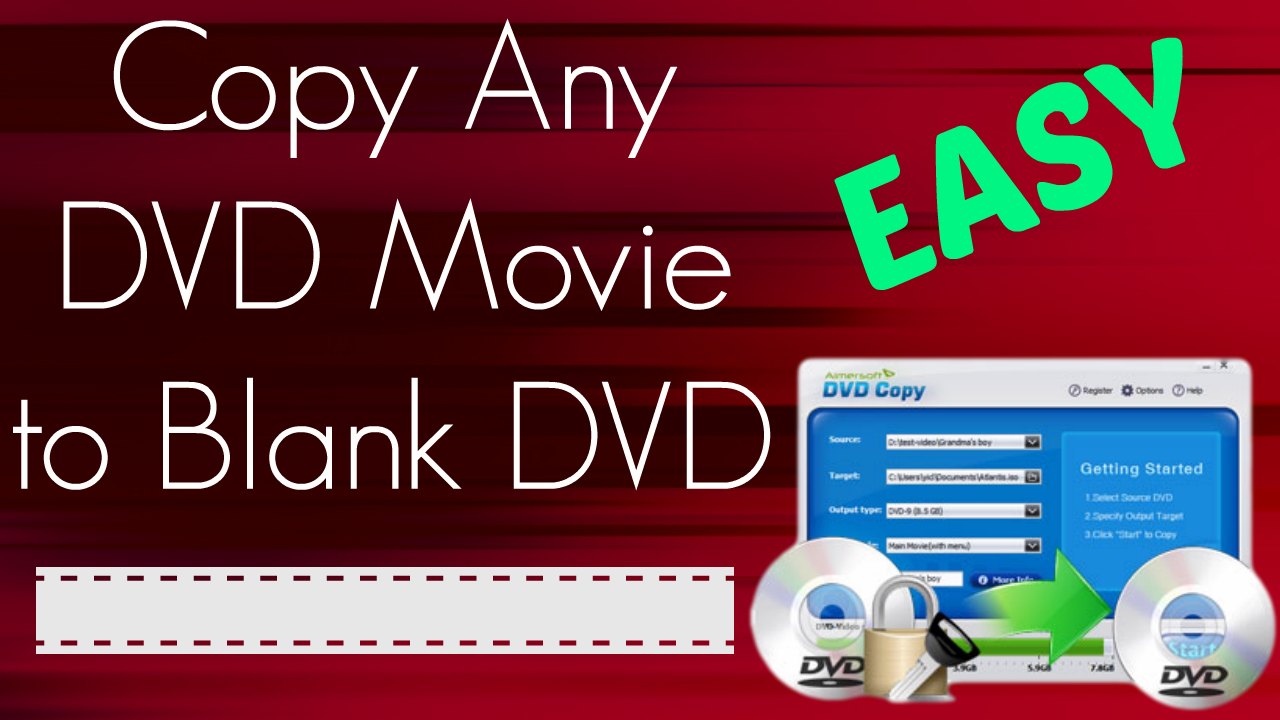
In today’s video I will be showing you how to copy a DVD to a DVD using Aimersoft DVD Copy. So this is a program that can pretty much copy any DVD movie to a blank DVD disc so it can make an exact duplicate copy of your DVD movies. This program is for Windows computers so if you’re on a Windows computer right now go ahead and click the free download link on your screen or the link in the description. That will start an instant download of this program, and you can try it out for free. So click the link and it will start the download. Once the download is complete it will end up in your downloads folder on your computer. Go to your Downloads folder then double-click on the icon to run and install it. You can go ahead and buy the full version to you copy unlimited DVDs or you can try it out for free. It has a free trial so if you don’t want to buy it now you can just hit the free trial button. It’s really easy to use. First thing you want to do is insert the movie into your DVD drive on your computer and then select it on the source. Select your DVD drive, and once you select it on the source you should see the DVD movie name right there. I have Superbad inserted in mine. So I got, I’m going to copy the Superbad DVD movie, and then the target folder is where it’s going to copy onto your computer temporarily. And then once it’s copied to your computer you can burn it to a disc. Okay so and then the output type you want to choose DVD 5. That’s really important because you want to be able to burn it to a normal DVD-R disc, a blank DVD+R disc so choose DVD 5 in the output type. In the copy mode it has a couple different options here. You can select to copy the whole movie or just the main movie with the menu or main movie without the menu. Okay I just want to copy the main movie without the menu. You can choose whatever whatever you’d like. I’m just going to choose main movie without menu, and then once you’re ready double check your settings. And then all you have to do is click the start button. It will start the copy process. Now depending on your computer speed it will take anywhere from 30 minutes to an hour. Mine is going to take about 45 minutes to copy a regular DVD movie. Okay so once the copy is complete it will automatically open up the Windows folder, and here is the Superbad folder. And if you double-click into the movie folder you’ll see this Video_TS folder and then right-click and send to DVD drive. That’s one way to burn it to a DVD. It’s going to ask you to insert a blank disc. Another way to do it, another way to burn it to a disc is just select the VIDEO_TS folder and then if you’re on Windows 7 you see the burn button right there on the top menu bar. Just hit that, and it will ask you to insert your blank DVD disc. So now all you have to do is just insert your blank DVD disc. It can be a DVD-R or DVD-RW depending on what your computer can write to, and once the burning process is complete you will have an exact duplicate copy of your movie. So that’s how to copy a DVD to a DVD. The easiest way to copy a DVD movie to a blank DVD disc.

By Andy Slye

What is 4K? A Beginner’s Guide to 4K

What is 4K? Beginner’s Guide to 4K

In this video I’m going to explain what 4K is in this 4K edition episode of “What Is”. 4K seems to be the craze lately in the tech world. I was kind of confused at first, so I got myself familiar with it, looked into it, and now I’m here to explain what it is and what it means to us as consumers. 4K is basically the name for the new standardized high definition resolution for displays. 4K gets its name from the amount of pixels horizontally on the resolution. It has roughly 4,000 pixels horizontally and 2,000 pixels vertically. HD displays have an aspect ratio of 16:9. Basic HD is 720p. 720p has a resolution of 1280×720 — so 1280 pixels horizontally and 720 pixels vertically.

We also have 1080 full HD. Full HD means 1080p. That’s kind of the standard that you see on monitors and TVs these days. Almost everyone has one. If you go out and buy a new HD television right now, it’s most likely full HD 1080p. 1080p is actually 1920 x 1080 pixels tall. Did you think that it would stop there at 1080p? No siree! So the next step up is… 4K! 4K is the next step up after 1080p. 4K is now the next high definition resolution standard for mass market displays. Why is it called 4K? 4K is named after its horizontal pixels because 4K is roughly 4,000 pixels wide by 2,000 pixels high.

So what does that mean for us, the consumers? Well, when go out to buy TVs and monitors, you will start seeing these ultra HD 4K displays. That’s the name. So when you see “ultra HD” that’s the same thing as 4K. That’s the standardized 16:9 display that you’ll see in monitors and TVs. And the exact pixels for 4K ultra HD are actually 3,840 pixels wide by 2,160 pixels high. 4K is twice the width of 1080p and twice the height of 1080p, which makes it 4 times larger than 1080p! A full HD 1080p resolution has roughly 2 million pixels compared to a 4K which has roughly 8 million pixels. That’s a lot of pixels. I’ve never seen a 4K TV live, but I’ve seen other people see it for themselves and I felt the excitement in the room. I could feel my own head exploding.

So what’s so special about 4K? Well, the name says it itself. It’s ultra high definition. It’s four times as high-def as 1080p. And they say it’s like when you’re looking at a 4K display, it’s like looking out a window. You get that much detail, that much sharpness, and the image quality is just so crisp, it’s like looking at a window, which I’m so excited for. And that’s why everybody is so crazy about it. That’s what’s so good about 4K. So now you know what 4K is. It’s called ultra high-definition. It’s the next step up after full HD 1080p, and you’re going to be seeing it come out in monitors and TVs. They’re already selling TVs like this, but really the content is not there. They’re not broadcasting 4K over the air and TV shows and movies yet. It’s all being filmed. It’s actually going to it. They’re starting to record everything in 4K if they haven’t already, but you’ll start seeing content publishers like Netflix and YouTube and anything streaming in 2014, you will start to see them start pushing 4K content out and the people that will be able to see it will be the people who have 4K monitors and televisions and stuff like that.

So if you want to be one of the pioneers of 4K content coming in, then the next TV that you go out and buy, I would definitely recommend picking up a 4K TV if you can. I wouldn’t go out and just buy one right now just because it’s out. The only person that should go out and buy one is if you’re in the market for one. If you’re going to buy a new TV even if 4K wasn’t around because 2014 is supposed to be the year when 4K starts making its way into the mass market. Bottom line, 4K is the new amazing resolution standard for HD displays, and you will start seeing it come in more and more. Hopefully, more content creators will get their hands on 4K cameras and start getting 4K content out there. Then everyone will start getting their hands on 4K and make the price go down lower, so everybody can get their hands on some 4K action. So I hope you’re as excited as I am about 4K!

By Andy Slye

How to Copy & Paste on Mac – OS X Beginner Tips

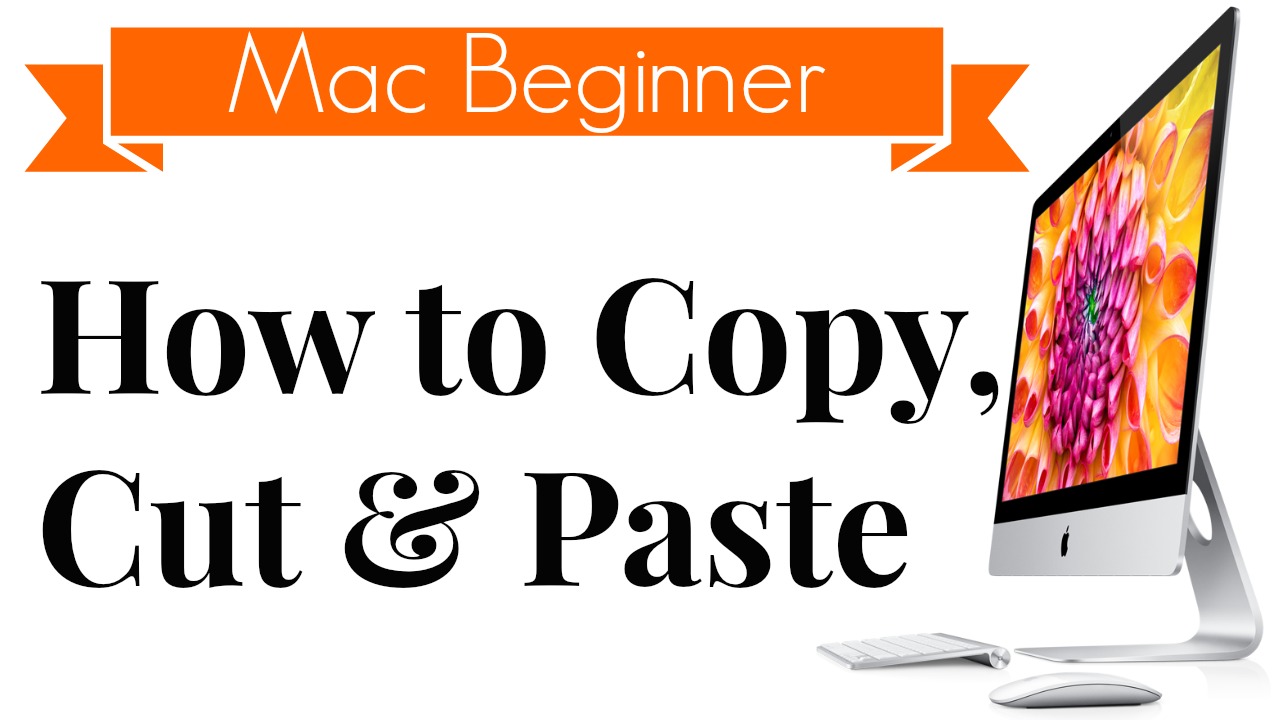
Are you a complete Mac beginner and you want to know how to copy and paste on a Mac and how to cut and paste on a Mac? Well it’s really easy to do, but a lot of people don’t know how to do it. I get this question a lot. I’m going to show you how to do it real quick. The first way to do it is to just use your mouse. Obviously just right-click on whatever you want to copy then choose Copy then go to your destination and right-click and Paste that item. That’s how to use your mouse to copy and paste on a Mac. I’ll go ahead and move that to the trash real quick. Now I’m going to show you how to use the keyboard. So select whatever you want to copy and then on the keyboard hold down Command + C. That will copy it to the clipboard. Go to your destination then hold down Command + V. That will paste it into your destination. I’m going to show you how to cut and paste on a Mac. So if you want to just move it, if you want to move a file instead of copying and pasting then going back and deleting it you just do the same thing. You hit Command + C on whatever you want to move. Go to your destination and hold down Command + Option + V. That will actually move it to the destination instead of just copying it. It’ll actually move it so now when you go back to the old location it’s not there anymore. So those are complete beginner tips for Mac users. Hope this helped you out!

By Andy Slye

How to Convert MP4 to MP3, AVI, FLV, MOV, WMV – WinX HD Video Converter Tutorial

Click to download WinX HD Video Converter Deluxe

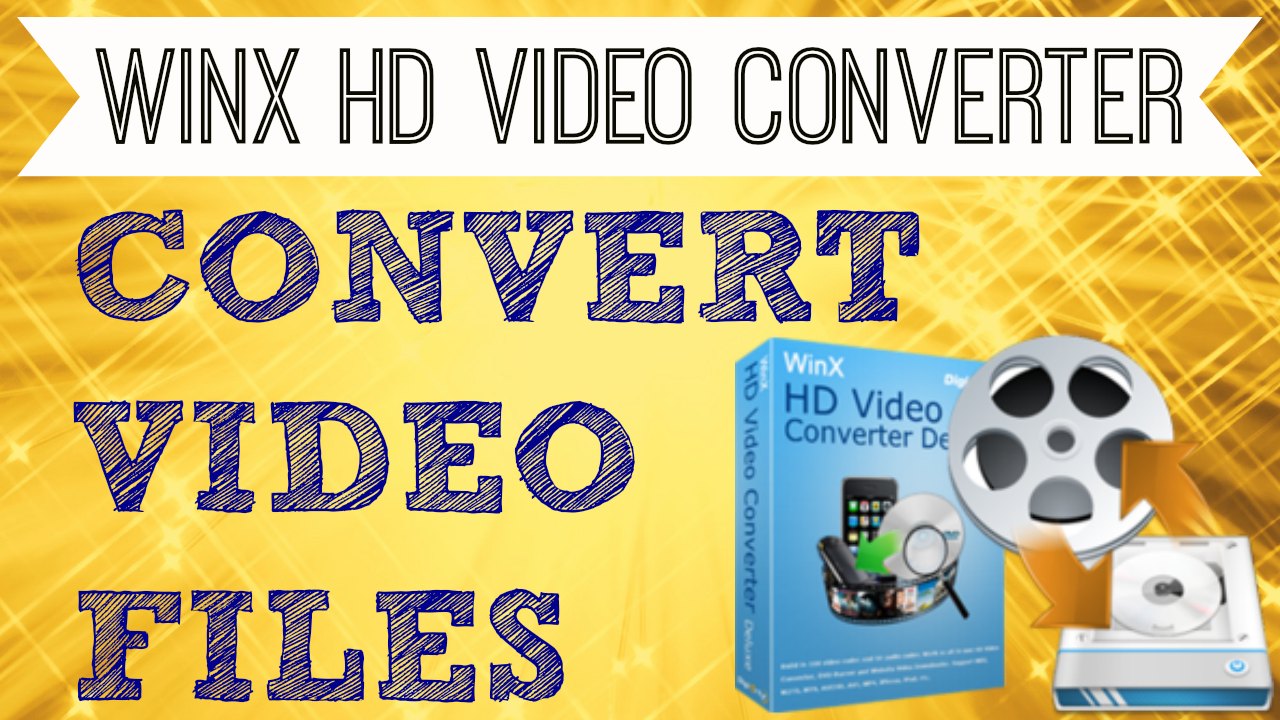
This video is going to show you how to convert nearly any video file on your Windows computer. So if you want to convert MP4 to MP3 or MP4 to AVI or vice versa. Pretty much any video file that you want to convert this program will do it. This is WinX HD Video Converter Deluxe. This is one of my favorite video converting applications for Windows, and if you click the free download icon on your screen or the link in the description that will start an instant download of this program where you can try it out for free. The free version lets you convert videos up to 5 minutes in length. If you have longer videos than that you can go ahead and register for the full program at a special discount price.

Once you’ve clicked the link to download it, go ahead and install it on your computer then start WinX HD Video Converter Deluxe. This is the home screen right here, and I’m going to show you how to use it. To convert a video just go up to the top left and click the video icon. Okay it’ll bring up a browser window and just browse to whatever video that you want to convert. I got mine right here. This is a video I did. This is an MP4 video, and I want to convert this MP4 to MP3 so I’ll go ahead and select it and click “Open”.

It will load it into the program here. Here you can select from the output profile so you can convert the video to all kinds of different formats as you can see here. If you click on PC General video it gives you all the options here: MP4, AVI, WMV, all that good stuff. And you can even convert it to music which I’m going to do. I’m going to convert the MP4 to MP3 so I’ll choose Music then click the MP3 recommended option here. Then click OK. Here it is in my queue. It’s ready to be converted. So I have the MP4 ready to go to MP3 and down at the bottom you’ll see the destination folder, and this is the folder that the MP3 file will end up in after I convert it.

If you have more video files to convert you can repeat the same process and add more jobs to the queue and it will do it all in one batch. But for now I’m just going to do this one, and once you’re ready just go ahead and click this Run button. Okay now the conversion process has started. It’s really quick. It’s really fast. Okay now it’s done. I’ll click OK, and it automatically brings up the output folder where my converted file is. Here you can see that my video has been converted to this file if I double click on it, it is an MP3 file so if I double-click it will bring it up in iTunes because it is an MP3. And it will start playing and there you go. My MP4 video is now an MP3.

Again this program can convert almost any video file format. It also has some extra features as well. You can actually, has a YouTube downloader that you can download YouTube videos. It has a photo slideshow maker which is pretty cool. So it’s not just a video converting application, it has all these other cool features as well. Definitely a recommended application by me. Enjoy!

By Andy Slye

« Older posts Newer posts »

© 2024 My Tech Methods

Theme by Anders NorenUp ↑