Videos by Andy Slye

Category: Google

Google Wifi Review & Setup!

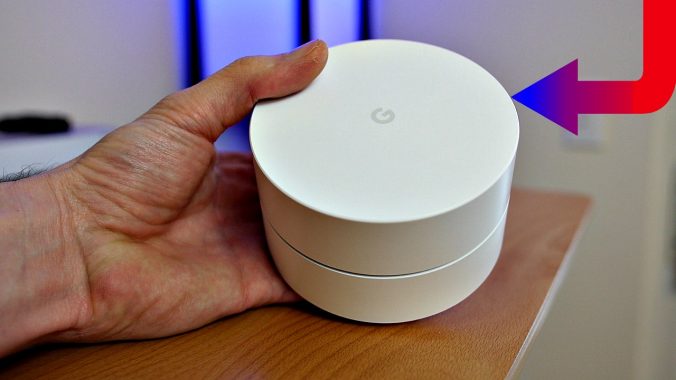
Google Wifi (Amazon) is not your typical wireless router. It’s a sleek, easy-to-use device that’s designed to be the simplest and most future proof way of filling your home with WiFi. It comes in a 1-pack for $129 or a 3-pack for $299. So you can get just one if you want to replace your current WiFi router in an area up to 1500 sq ft. But one of the main features of Google Wifi is the expandable mesh network which lets you have multiple Google Wifi points that work seamlessly together to fill up an area up to 4500 sq ft with no dead spots. It has a quad-core ARM CPU, blazing fast AC1200 Wi-Fi standard, simultaneous dual-band Wi-Fi (2.4/5 GHz) with Network Assist Technology, and it’s backwards-compatible with your current devices (supporting 802.11a/b/g/n/ac)

In the box you have the Google Wifi point with two gigabit Ethernet ports, a quick start guide, a 6.5 ft Ethernet cable, and the power cable. To set up Google Wifi you’ll need: a free Google account, an Android or iOS device, high speed internet, and a modem. First connect your power cable to the Google Wifi point then connect the Ethernet cable from your modem into the globe icon port on the Wifi point, then connect the power adapter to an outlet. Next, install the free Google Wifi app on your smartphone or tablet and make sure Bluetooth is turned on as well.

When the app finds your Wifi point it will ask you to scan the QR code that’s on the base of the device or you can type the code manually. Select the location of your Wifi point so you can identify it later. The next steps will ask you to name your Wifi network and create a Wifi password. Google Wifi uses WPA2-PSK security if you were wondering. The app will proceed to create and finalize your network. Tell it how many Wifi points you have then click next and it most likely will start to install available updates. That’s another good thing about Google Wifi, it has automatic security updates. When you see that your Wifi is ready you can go to your WiFi settings and connect to the new Wifi network that you just created.

One of the best features of Google Wifi is the app which not only walks you through the entire setup like we just did, but it’s also the one-stop shop to easily manage your wifi network. Some of the things you can do include network checks which tests your internet download and upload speeds and keeps a history of the speeds for you to compare. You can also test the speed of the Wifi to your device to make sure you have a good base connection.

You can set up Guest Wifi that creates a totally separate wifi network for guests with its own separate name and password. You can enable a feature called Family WiFi Pause which is good for parents who want to turn off Wifi access to their kids devices at certain times. You can also see all the devices that are currently connected to your network along with a list of devices that have connected in the past. You can give priority to a device for a certain period of time. You can see your network data usage. In the settings area you can change various settings of your wifi point, reset it, do some advanced tasks like setting IP reservations, UPnP, port forwarding, or changing DNS servers.

One of the biggest concerns of owning a router made by Google is wondering if Google is spying on your data. Well here’s the clause from the Wifi app. It states in bold: “Google Wifi app and your Wifi points do not track the websites you visit or collect the content of any traffic on your network.”

So I’m not too worried about Google spying on my data traffic. However some of the things I don’t particularly like about Google Wifi is the lack of ethernet ports. Most routers have at least 4 ethernet ports while Google Wifi only has 2. And for $129, it seems like it should definitely have 4 ports. I also wish they offered a 2-pack, instead of just a 1 and 3 pack.

Having said that, I still think Google Wifi is one of the best wireless routers you can get right now because of the automatic updates, the simplicity of setup and management using the free app, the sleek white design, and especially the super fast expandable mesh network for future proofing. I bought it to replace my old wireless router and i’m definitely keeping it.

My question for you is: what router do you have right now and will you be replacing it with Google Wifi? Leave a comment and let me know!
Chromecast 2015 Review: How to Set Up a Chromecast 2

The Chromecast is one of my favorite devices. For those of you wondering how to set up your new Chromecast 2nd generation, look no further. This is my quick review and setup tutorial for the 2015 Chromecast.

What is a Chromecast?

A Chromecast is a small dongle that connects to your HDTV and enables you to use your smartphone, tablet, or computer to wirelessly stream video or audio to your TV. So if you want to make your TV “smart” then this $35 Chromecast is one of the easiest and cheapest ways to do it.

The box comes with everything you need: the Chromecast, a USB cable, and a power adapter along with simple instructions that I will walk you through in this tutorial.

How Set Up Your Chromecast

First, make sure you have the following:

  • WiFi connection
  • HDTV with an available HDMI port
  • Smartphone, tablet, or computer (Chromecast works with Android devices, iPhone/iPad, Windows, Mac, and Chromebooks)

Next, connect the small end of the USB cable into the Chromecast. Then connect your Chromecast to your TV’s HDMI port using the HDMI connector. If your TV has a USB port you can plug the USB cable into it to power your Chromecast. If your TV does not have a USB port, you’ll have to connect the USB cable to the power adapter and plug the power adapter into an outlet.

Once you see the Chromecast light up, that means it has power and the next step is to turn on your TV if it’s not already on and change the Source (or Input) to the HDMI port where your Chromecast is connected. For some TVs like mine it will say Chromecast next to the HDMI port so you know which one to go to.

Now once you see your Chromecast screen on your TV you can go to your phone, tablet, or computer and visit Chromecast.com/setup. Before doing this, however, make sure your phone, tablet, or computer is connected to your WiFi network.

If you’re on your phone or tablet, it’ll ask you to install the free Chromecast app. Once that’s installed, open it up and go to Devices and follow the prompts to set up a new Chromecast. Verify that your TV screen is displaying the same code. Select your Region and give your Chromecast a name.

The next part is where you will select your WiFi network and enter your WiFi password in order for the Chromecast to connect to your WiFi successfully. It may take a minute or two to finish the setup and once it’s finished it’ll most likely start the update process.

During the update the Chromecast will show a short instructional video on your TV so go ahead and watch that to get a little more familiar with it. The update may take a few minutes so just be patient.

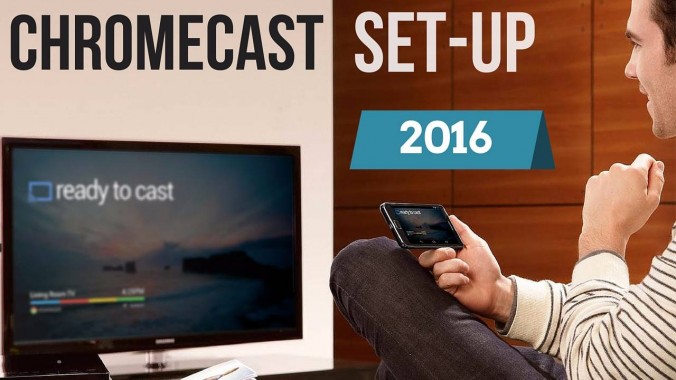
Now when it’s finished you should see your TV displaying “Ready to Cast”. Take a good look at the casting icon because whenever you see that icon in any of your apps that means it’s able to stream to your Chromecast. Another thing to remember is that your device that you’re streaming from must be connected to the same WiFi network that the Chromecast is connected to in order for it to work.

Using Chromecast with Apps

Let’s take a quick look at the new Chromecast app which now offers more features. From this app you can see which movies, TV shows, and music you can stream from your installed apps. You can search for entertainment titles in the app as well, and it will give you recommended apps that are compatible with Chromecast. You can also manage your Chromecast device from the app.

Now let me show you how to stream from some of the more popular apps that you probably have on your phone. Of course it works with YouTube, when you open it you should see the casting icon at the top and if you tap it and select your Chromecast from the pop-up menu it should connect to your TV. Now you can tap on a YouTube video from your phone and it will play on your TV. You can create queues of videos to have them automatically play after each other, and yes it will keep playing if you lock your device or go to another app.

You can also use apps like Netflix, Hulu, Spotify, and Pandora just to name a few. To see a full list of compatible Chromecast apps I will have a link in the description below so check that out. And an often overlooked feature of the Chromecast that I absolutely love is the screensaver feature that has some of the most amazing photos on it. Sometimes I’ll just have the Chromecast on so I can look at those pictures on my TV.

So there you go, you now have a smart TV thanks to your new 2015 Chromecast 2nd generation. If you have any questions leave a comment below and I’ll try to answer them for you.

By Andy Slye

Top 9 Best Google Chrome Extensions

Top 9 Best Google Chrome Extensions

Streamus – Streamus turns YouTube into the music player you always wanted. Streamus is no longer available 🙁

Magic Actions for YouTube – Enhance your YouTube watching experience.

Save to Pocket – The best way to save articles, videos, and more.

Google Dictionary – View definitions easily as you browse the web.

Evernote Web Clipper – Use the Evernote extension to save things you see on the web into your Evernote account.

Feedly (App) – All your favorite sites in one place.

Honey – Automatically find and apply coupon codes when you shop online.

Buffer – The best way to share great content to Twitter and Facebook from anywhere on the web with just one click.

Black Menu for Google – The easiest access to the Google universe.

© 2024 My Tech Methods

Theme by Anders NorenUp ↑