Videos by Andy Slye

Category: Accessories (Page 8 of 11)

Accessories

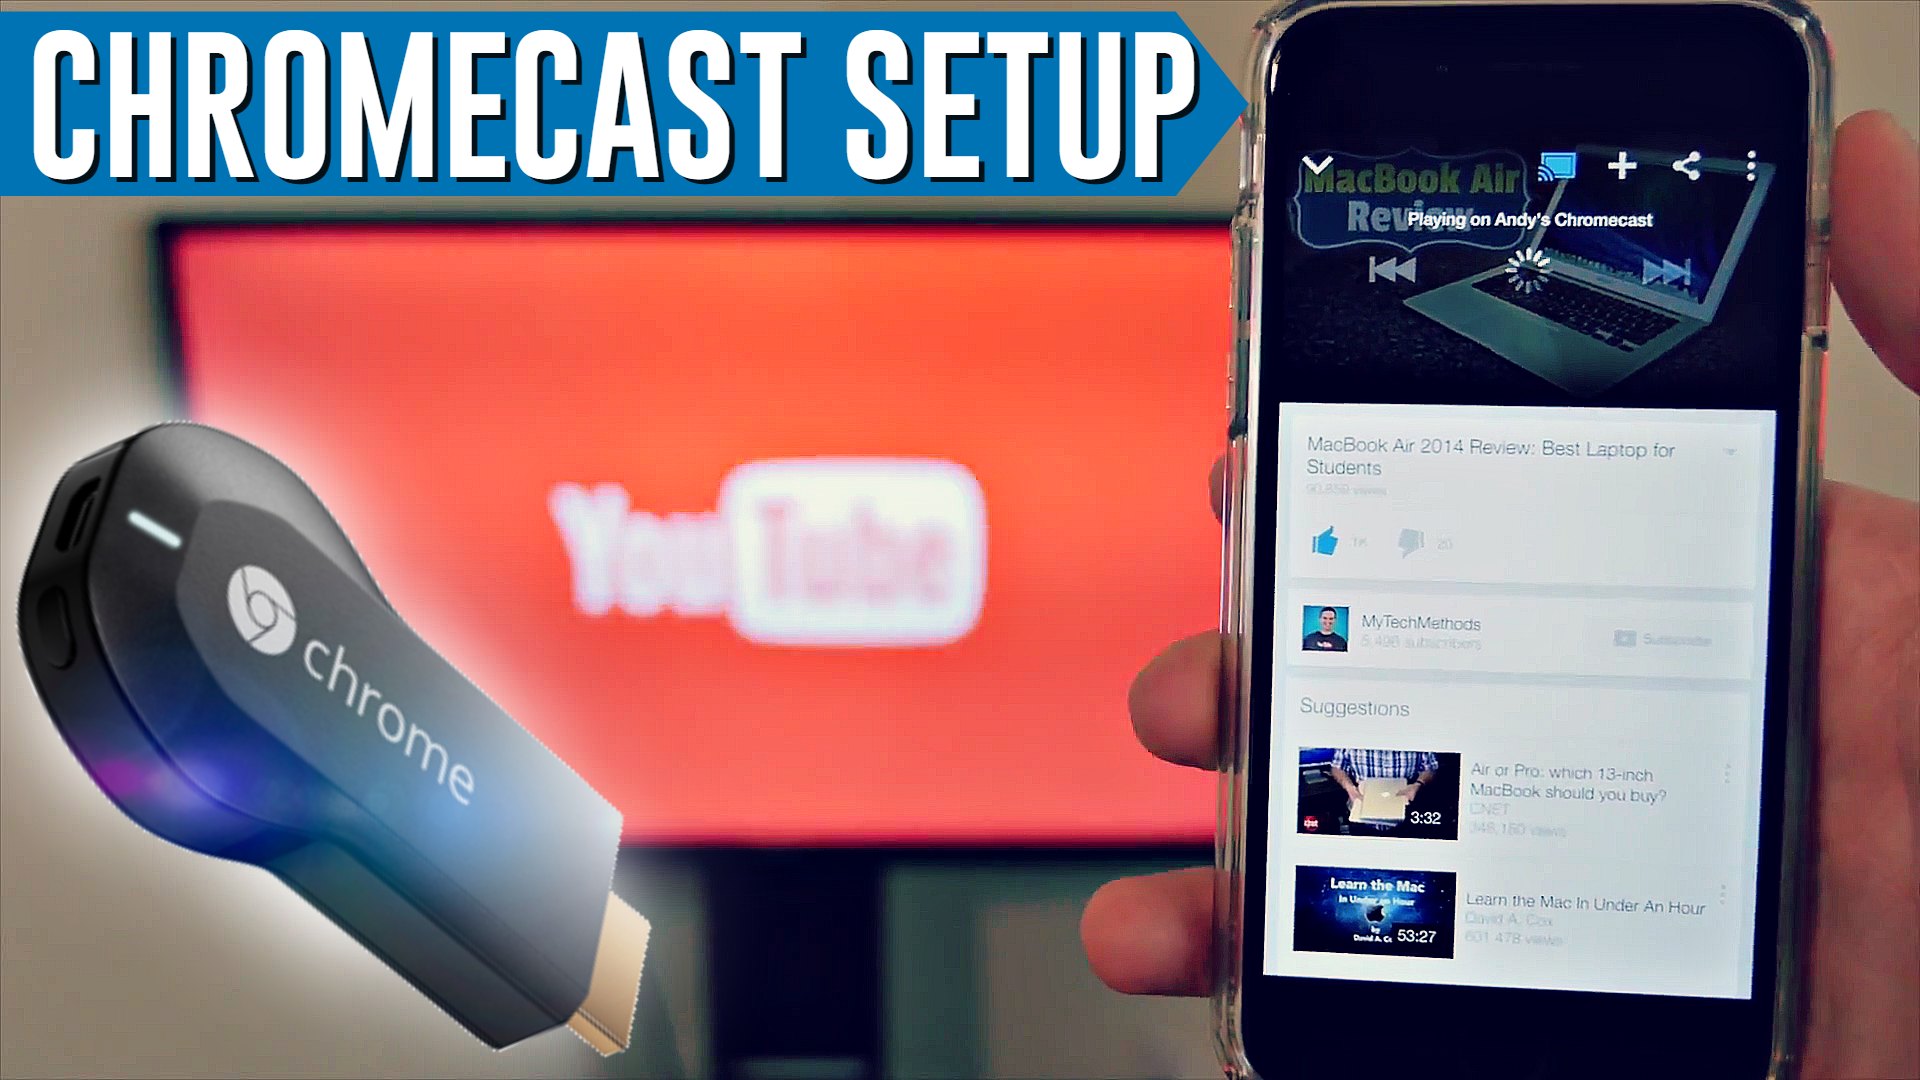
The Ultimate Chromecast Setup Guide

The Chromecast is one of my favorite devices, and it’s something that I think everybody should own. In this video I’m going to show you the Chromecast setup process and how to install and use a Chromecast.

The Chromecast is a $30 device that lets you wirelessly stream anything from your web browser, most likely video, to your HDTV. First let’s go over what you need in order to use and set up your Chromecast. You’ll need an HDTV, a WiFi network, and a smartphone or computer.

When you first open the box you’ll see a quick start guide on the inside cover, and you’ll see the Chromecast itself. The Chromecast is small, about the size of a thumb drive, and it has an HDMI connector on the end. The rest of the box includes a USB cable, an HDMI extender, and the power adapter.

The first step is to plug the small end of the USB cable into the Chromecast. Next, connect your Chromecast to one of your TV’s HDMI ports. If your Chromecast cannot fit into the area near your HDMI port you’ll need to use the HDMI extender to give it a little more room to fit properly.

Next step is to power the Chromecast. There are two different ways to do this: one is to use a USB port on your TV if it has one. If it does, just plug the USB cable into it and it will power the Chromecast. If your TV does not have a USB port, you’ll need to plug the USB cable into the power adapter and plug the power adapter into an outlet.

Once your Chromecast is powered on and connected, next step is to change your TV’s input or source to the HDMI port that your Chromecast is connected to. Once you’re on the correct HDMI input you’ll see a screen like this.

To set up the Chromecast you can use a smartphone, tablet, or computer but I’ve found it works best with a smartphone so let’s do that but the process is the same on a computer. Open your web browser and go to http://Chromecast.com/setup, and that will open a page with a link to the App Store so click on that. The App Store will open the Chromecast app so click on Install. It is a free app. Wait for it to download and install then open the Chromecast app. Accept the terms. It’ll scan for Chromecasts.

Click Set Up a New Chromecast. It says to go to your phone’s Wi-Fi settings and select your new Chromecast. Look for the same device name you’re seeing on your TV screen. Mine’s Chromecast8436. Yours will be different. Select it and wait for it to connect. Once it’s connected, go back to the Chromecast app and it should say it found a new Chromecast. Then hit Next and make sure your input source is showing the Chromecast so that you see the code on your TV screen then hit Next. Choose your country. Here you can give your Chromecast a custom name.

On the next screen tap choose WiFi network and select your WiFi network from the list then enter your WiFi password. The Chromecast will connect to your WiFi network, and when it’s done you’ll see that it has been set up successfully and you’re ready to start casting.

You can cast from your smartphone, tablet, and computer as long as they are connected to your WiFi network. It works with many different apps and to see the full list you can visit http://Chromecast.com/apps. To start casting from your computer you’ll need to be using Google Chrome which is a free web browser that you can get from http://Google.com/chrome.

Once you have Chrome on your computer, open it and search Google for “Chromecast extension” and click the first result. Click the “Free” button and add the extension to Chrome. Once it has been added you’ll see the new Chromecast icon in the top right of your browser. That’s what you’ll click to cast to your TV.

For example to cast a YouTube video to your TV, while on the YouTube video watch page you can click the Chromecast icon in the bottom right of the video or click on the Chromecast icon in the top right of your browser and choose your Chromecast in the drop down menu. Once you do that it will start to play the YouTube video on your TV. Pretty cool huh. And this works with any browser window in Chrome, and it also works with sites like HBOGO and just many more different websites.

Now I’ll show you how it works on your smartphone or tablet. First make sure your phone or tablet is connected to your WiFi network. Then open a compatible app such as YouTube and now you’ll see a Chromecast icon in the app or on the video that’s playing. So tap on that icon and choose your Chromecast name and it will send the video straight to your TV. And when the video is playing through your Chromecast you don’t have to keep your phone unlocked. You can lock your phone and the video will continue to play on your TV which is awesome. To stop casting just tap the Chromecast icon again and tap Disconnect. That is how to set up and use your Google Chromecast!

By Andy Slye
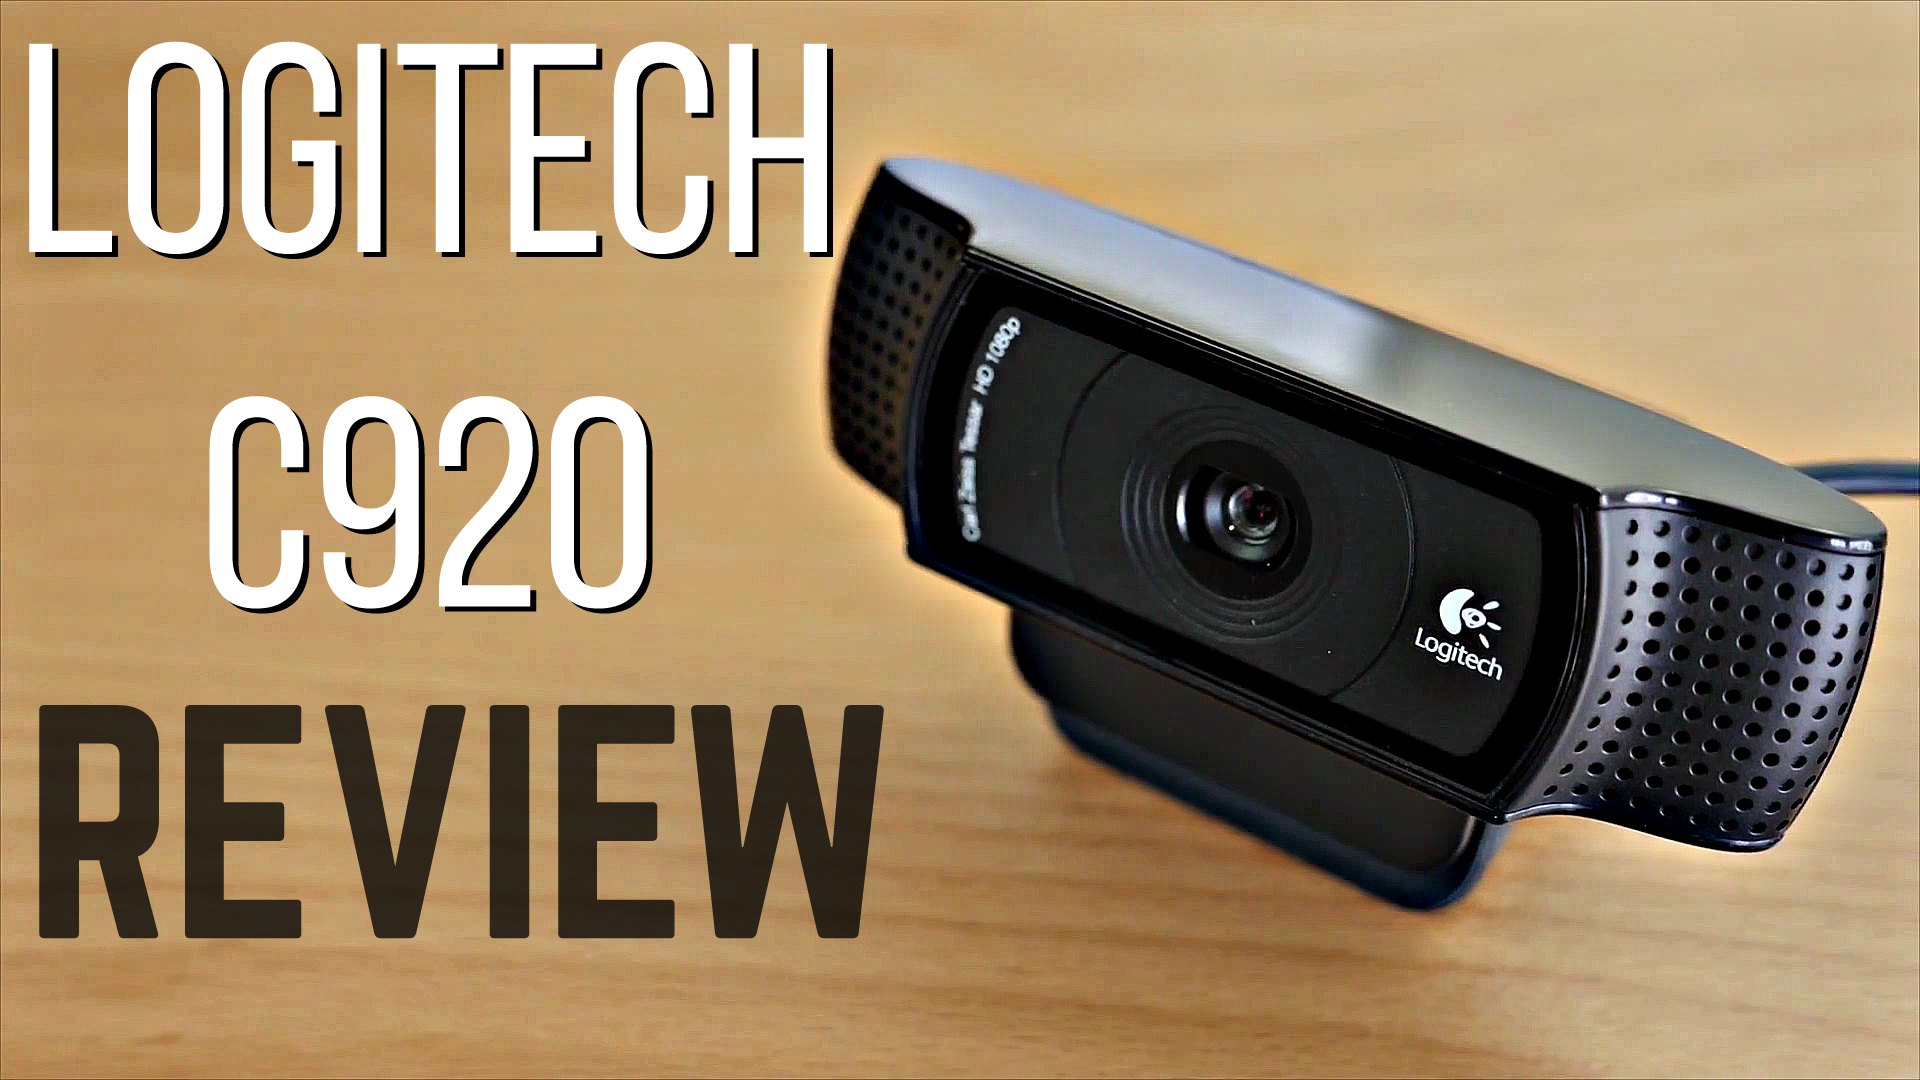
Logitech C920 HD Pro Webcam Review

This is my Logitech C920 HD Pro webcam review and test video. So I’ve had this webcam for a year and I believe it is the best HD webcam you can get because of the value and quality. It has full 1080p HD video recording with autofocus for less than $70. It has a nearly perfect 5 star rating on Amazon, and the link to the best price on Amazon will be at the top of this description so you can click that and order it for yourself whenever you’re ready. Let’s quickly go over the features and what I like about this webcam, and then I’ll show you some test footage. First off, the Logitech C920 is small and lightweight. It comes with a 6-foot long USB cable, and it is compatible with both Mac and Windows right out of the box. To record HD videos with the C920 on a Mac you can use QuickTime, and on a PC you can download the free Logitech software. Some of the main features include full HD 1080p video recording, Carl Zeiss optics with 20-step autofocus, H.264 encoding for faster and smoother HD, dual stereo microphones, and it can capture 15-megapixel photos. So having all those features on this compact webcam is awesome. It is universally tripod-ready and can be mounted to any tripod that has a standard tripod screw. It also has a fold-and-go design, so you can fold it in many different ways depending on how and where you are mounting it. It has the ability to be mounted on different size monitors or laptops and the folding arm has a rubber surface to increase grip and prevent it from falling off. The camera can be tilted back and forth to customize the angle as well. I love the HD video quality that this webcam produces so let’s switch over to the C920 so you can see what it looks like. Alright so now I am recording the video and audio through the Logitech C920 webcam. You can see that the video looks great. It’s got great detail. I’m recording in 1080p HD through QuickTime on my Mac, but you can use this with Windows as well. But the audio is a little lacking. I’m not a big fan of the built-in microphone on the C920. That’s why I do recommend using a USB microphone so you can get better quality audio. Once you pair up a good quality USB microphone with the Logitech C920 webcam you’ll have a great looking video and a great sounding video. Full 1080p HD video as long as you got a decent amount of light coming in. This is a great camera to use for recording videos or going on Skype video sessions. And here’s a quick look at how well the autofocus works and how close it can focus. So if you produce web videos or participate in Google Hangouts or make a lot of Skype video calls, I highly recommend getting the Logitech C920.

By Andy Slye

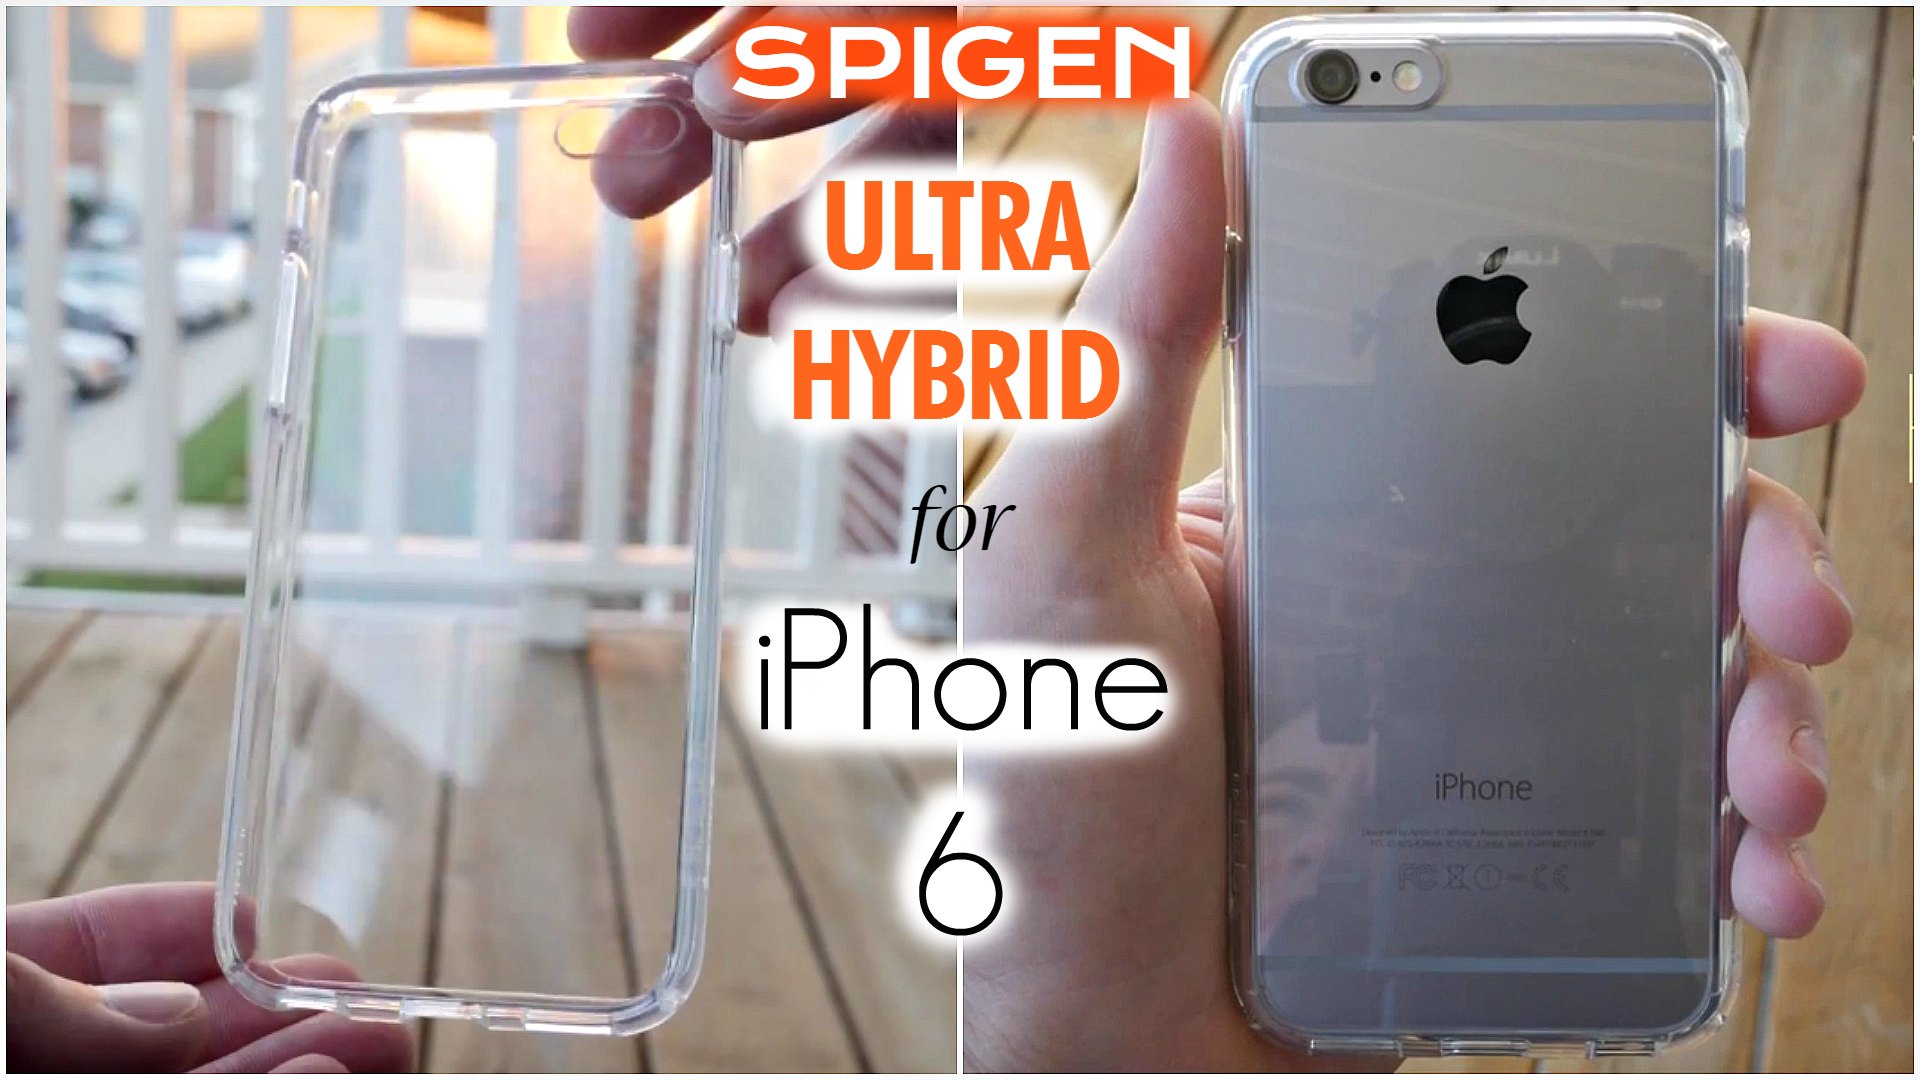
Best iPhone 6 Case? Spigen Ultra Hybrid Review

This may be the best iPhone 6 case if you’re looking for an affordable slim case with good protection. This is my review of the 4.7″ Spigen Ultra Hybrid for the iPhone 6.

The reason I bought the Spigen Ultra Hybrid for my iPhone 6 is because I had the same exact case for my 5s and I loved it. My 5s is still in perfect condition thanks to that case so let’s go over the best features of this new Spigen Ultra Hybrid for the iPhone 6. It’s called a Hybrid because it’s a perfect blend of a slim bumper and a full enclosed case, so you get good overall protection for your iPhone while keeping it slim and not adding much bulkiness. This case has a transparent back and this is the crystal clear model where the bumper is clear too, but they do have other colors available for the bumper. I love having a clear back because it shows off that nice iPhone design while keeping it protected at the same time. Now if you get this case please remember to peel off the clear protective film on the inside and outside of the case. A lot people don’t realize that there are 2 clear sheets on this case and they think that the case is scratched, but really it’s just the clear film that needs to be removed. Once the 2 sheets are removed the case is crystal clear with no scratches. It’s made of a soft yet strong thermoplastic polyurethane so it’s flexible enough to be able to put the phone in easily but also durable enough to provide good protection. It has Air Cushion Technology on the corners of the case so if you drop your phone the air cushion absorbs most of the impact in order to keep your phone safe. It raises up just enough on the front so you can lay your phone face-down on a surface and not worry about it scratching the screen. It also has the same feature on the back where the 4 corners are slightly raised so you don’t scratch or smudge the clear back panel of the case when you move it around on a surface. It has all the precise cutouts for the headphone jack, microphone, lightning port, speakers, and vibrate switch. The volume buttons and power button are protected and have embossed symbols so you can feel where they are. The buttons are pretty easy to press and you can feel and hear when they are pressed which is nice. The cutouts for the lightning port and headphone jack are actually big enough to support most third party accessories like certain headphones or docks. The grip is pretty good too, and it does feel nice in the hands. As far as the protection goes, it handles small to medium drops very well, just like the previous version. So if you’re not careless with your phone for the most part but you have the occasional drop when getting out of your car or walking like I do, this case will provide good enough protection for that. Overall, this case is perfect for people who want something slim that offers good protection while showing off the back of the iPhone 6. Also it’s a lot cheaper than the Apple case. This is my primary case and it is highly recommended. I hope this video helped you out and helps you find your perfect iPhone 6 case!

By Andy Slye

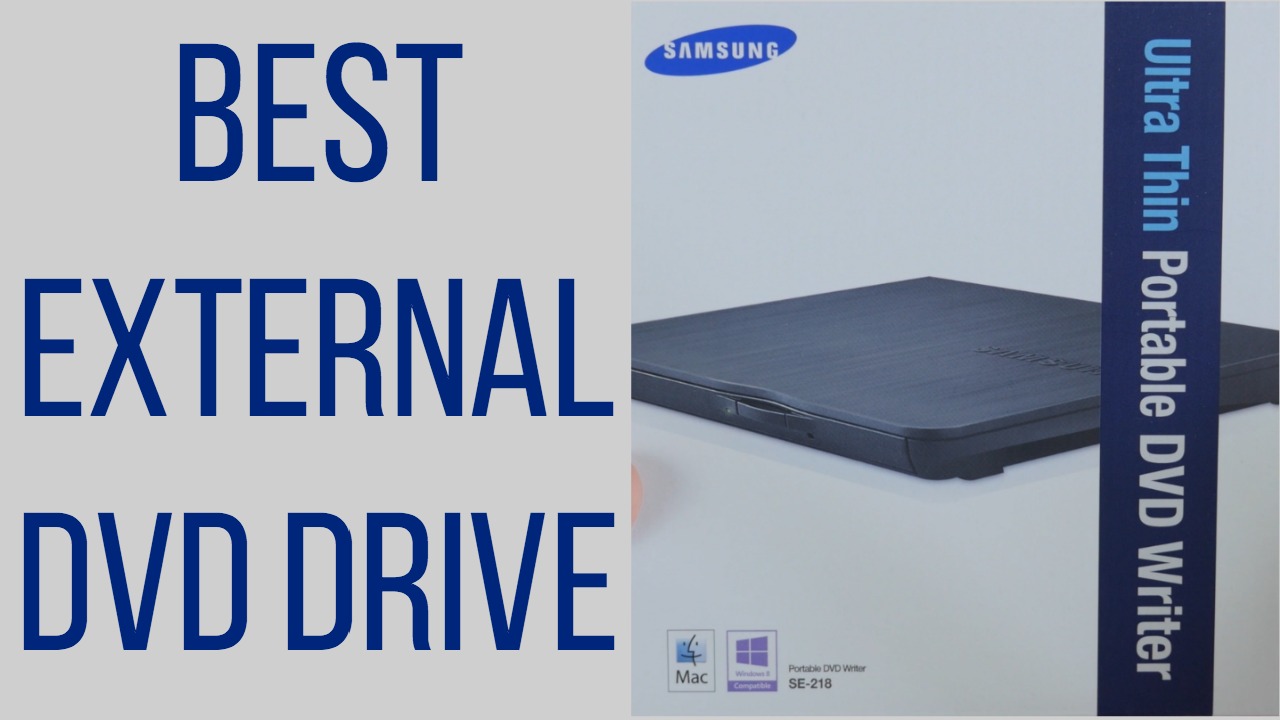
Best External DVD Drive for Mac & PC: Samsung SE-218CB

Looking for a cheaper SuperDrive alternative? This right here is all you need. It’s the Samsung SE-218CB/RSBS USB Ultra Portable External DVD Writer, and it’s the best external DVD drive for Mac and Windows. Why is it the best? Well it’s affordable, portable, recordable, and supportable. Let me explain.

It’s affordable because it’s less than $30 with free shipping on Amazon.

It’s portable because it’s slim (only 5.83″ x 0.55″ x 5.67″) and it’s USB-powered meaning it doesn’t require a separate power cable.

It’s recordable because it can burn all kinds of discs such as CD-R, CD-RW, DVD-R, DVD-RW, and DVD-R dual layer just to name a few.

It’s supportable because it works right out of the box with Mac OS X, Windows 7, and Windows 8 (even works with older versions of Windows too). It comes with a USB cable, which is really all you need to get started. Just plug it in and it’s ready to go.

It does have some pretty fast read/write speeds too, with an average of 3MB per second read speed. I also like the way it looks. It has a sleek back design, and it’s pretty lightweight. So if you’re looking for one of the best external DVD drives for less than half the cost of a SuperDrive, then this is a great choice.

By Andy Slye

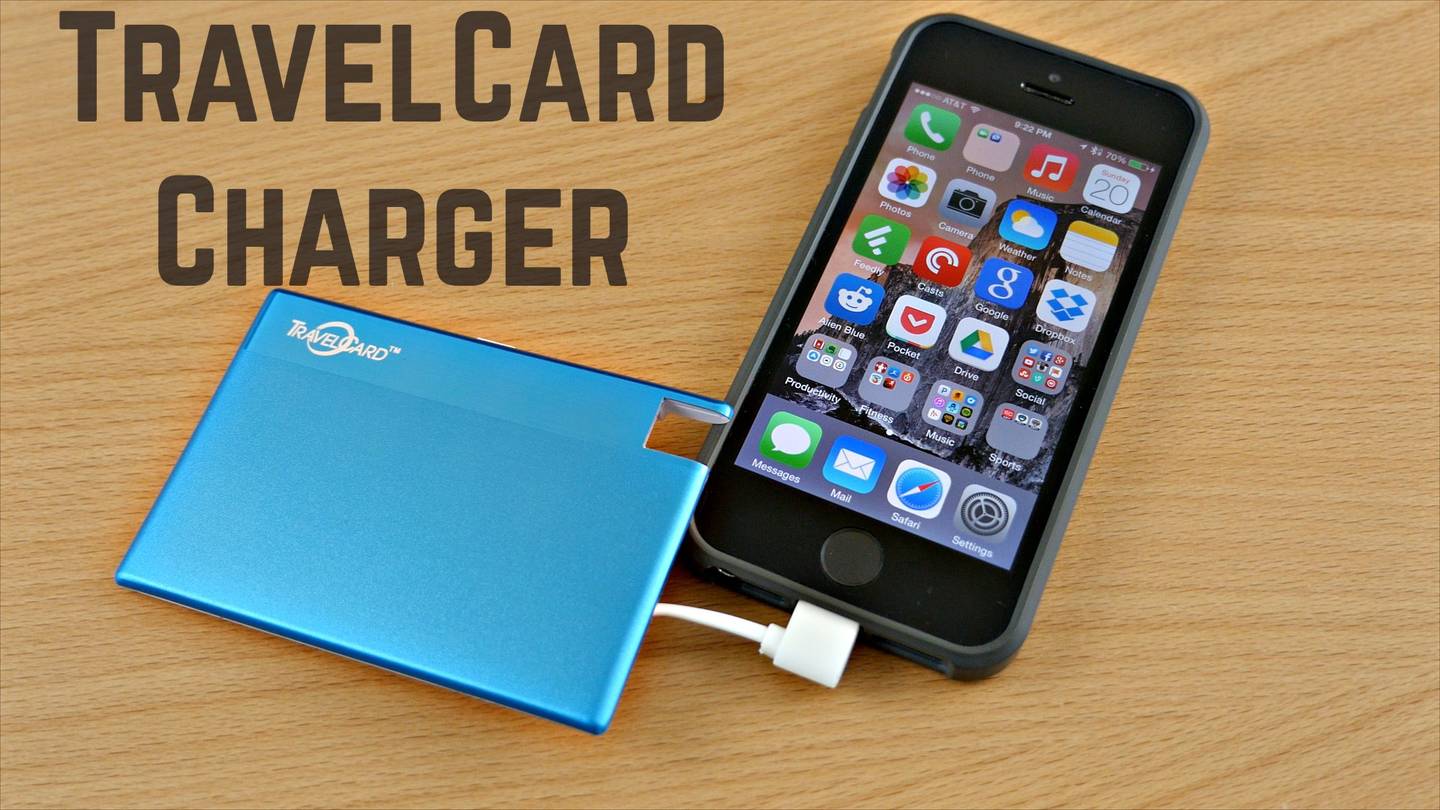
TravelCard Charger Review for iPhone 5/5s

This is the TravelCard charger: a portable backup battery charger for your smartphone. There are both Android and iPhone versions, but today I’ll just be reviewing the TravelCard for the iPhone. It’s available in 4 different colors: black, silver, blue, and red. It gives your iPhone an additional 50% charge, give or take a little depending on your phone. So that’s roughly 5 hours of talk time, 4.5 hours of internet usage, or 98 hours on standby.

To charge your phone just pop out the TravelCard’s Lightning connector, plug it into your iPhone, and press the power button on the TravelCard. It’s that simple. I’ve found it charges my iPhone a little over 1% per minute which is pretty dang fast. It’s pretty small too, the size of a credit card: only 4.77mm thick and weighs just 2 ounces. So yes it can fit in your wallet, but I’m going to just keep it in my front pocket because for some reason I don’t want to sit on a battery being that close to my rumpty.

It comes with a USB cable so to recharge the TravelCard you simply connect the USB cable to a USB port on your computer or into your iPhone’s power adapter. So if you need a small and lightweight portable backup battery charger for your smartphone then the TravelCard is something to check out. Big thanks to Go Design for letting me review it, and thanks to you for watching. Be sure to subscribe and like this video for more tech reviews in the future. Keep having fun out there, and I’ll talk to you later.

By Andy Slye

« Older posts Newer posts »

© 2024 My Tech Methods

Theme by Anders NorenUp ↑