Videos by Andy Slye

Author: Andy (Page 6 of 21)

How to Backup Mac with Time Machine

Video Transcipt:

In this video I’m going to show you how to backup your Mac using Time Machine. So you’re watching this video right now because you’re serious about backing up your Mac so congratulations you’re in the right place. Everybody needs to be backing up their data and their computer because there is always a possibility of something like your hard drive crashing or God forbid like somebody stealing your Mac or you know just files getting accidentally deleted. So let’s go over how to backup your Mac. It’s super simple, and you won’t even have to think about it once you have it set up. So the first thing you need to do is make sure you have an external hard drive that is at least the same capacity as your Mac’s hard drive or preferably even larger. So I’m going to leave an Amazon link right in the description below to the best external hard drive. The one that I use is a Western Digital external hard drive. That’s what I use to back up my Mac, and it’s the best. This one I’ve never had a problem with so that link will be in the description below. So once you have an external hard drive the next thing you need to do is just plug it in and connect it to your Mac using the USB cable. And the hard drive will show up on the desktop right there on the right side. You can double-click on that to enter it or you can open up the Finder and find it there. Okay so my external hard drive is connected. The next thing we’re going to do is open up Time Machine so the easiest way is to just search Spotlight for Time Machine then click Setup Time Machine. Now we’re going to turn Time Machine on real quick. Once you turn Time Machine on you’ll see your external drive here in the list so select your external drive in the list then click Use Disk. You can also choose encrypt that backup, we’re not gonna do that right now. So here is Time Machine. This is what it looks like. Shows your external hard drive name, shows you how much space is available on your external drive, shows you when your oldest backup is, your latest backup, and the next backup. Okay then I want to check this box that says “Show Time Machine in menu bar”. So that means we got a little time machine icon in the menu bar up top. We’re going to go over that just a second. So click the options tab or the options button. And this is where you can add folders that you want to exclude from the backup. Okay so I’m not going to add any because I want to back up everything on my Mac hard drive so I’m going to leave that the way it is by default. And Time Machine will start the backup automatically or you can go up to Time Machine icon and choose “Back up now”. And when you click the Time Machine icon you can see the info if it’s backing up. You see mine is currently backing up right now. I can skip it. I can enter Time Machine, and I can open Time Machine preferences. The first initial backup will take a while. I have 400 some gigabytes and it took a couple hours, about 2 hours for mine. So once it’s done you can see the details. You can open up your external drive and go into the backups folder here and just see that what it backed up. And you can see that it backed up my whole entire Macintosh hard drive. That’s what we want is a successful backup and if you leave that hard drive connected it will back up automatically every hour and then you can actually just turn the backup external hard drive off and disconnect it and then connect it whenever you want to back up again. So let’s enter Time Machine. Now this is the Time Machine and it shows you all the recent backups you’ve done, all the backups that you have available. So if you ever want to go and recover a deleted file you can do this so at the bottom right you can choose the backup that you want to go to and click on it and then you go and browse for a file that you want to recover. And once you find one you can just click that Restore button at the bottom right and then you can exit out. And it’ll recover that deleted file so that’s just a quick overview over the Time Machine UI right there. So that’s all there is to it basically guys. That is very simple. Time Machine is awesome. Once you set it up for the first time you won’t need to mess with it again. So now you know how to backup your Mac. Hakuna Matata. No worries, you’re good to go. Thank you so much for watching guys if you like this video make sure you give it a thumbs-up and subscribe to this channel for more videos like this in the future.

By Andy Slye
Cheapest iPhone Plan: The Ultimate Guide

How does unlimited data, unlimited texts, and unlimited calling sound? How does $30 a month sound? How does contract-free and upgrading your phone anytime sound? This is the ultimate guide to the best and cheapest iPhone plan.

The Plan & What You’ll Need

I switched to this plan because it was too good to pass up. It’s best for individuals with just one line. It’s a prepaid plan from T-Mobile ($30/month for unlimited web, unlimited texts, and 100 calling minutes). You may be saying “Whoa Andy, hold up. 100 calling minutes is not enough!”. Here’s where my tech methods (yes I went there) comes into play. I will show you a few tricks you can do to avoid going over the 100 minute limit and basically get unlimited everything. Now I’ll explain how you can get this plan for yourself.

You’ll need the following:

Tip for AT&T iPhone owners: If you already own a GSM AT&T iPhone you have 2 options to unlock it. If you’re 18 months or more into your 2-year contract you can get it unlocked for free from AT&T by submitting an unlock request. If you’re not 18 months into your contract you can get your iPhone unlocked via eBay.

Activating Your New Plan

Once you have your unlocked or contract-free T-Mobile iPhone and the T-Mobile SIM card starter kit, visit this page to start your online activation. It’s a super simple process. T-Mobile walks you through it, hand in hand.

Select the $30/month Unlimited Web & Text and 100 talk minutes plan during activation. You can choose to activate a new phone number or transfer your current number if you have one. If you choose to transfer an existing number, it may take up to 24 hours for the transfer to complete. My number transfer took less than 12 hours.

Bingo! You now have the cheapest iPhone plan. Now what about that 100 talk minutes? Here are some tips to avoid going over that limit.

How to Stay Under 100 Talk Minutes

To stay under the 100 talk minutes limit, you’ll need to make most of your calls over WiFi or your cellular data connection. To do that you’ll first need to:

  1. Sign up for a free Google Voice number
  2. Install the free Google Hangouts iPhone app

Using the Hangouts iPhone app you can make calls to any phone number, and it will use your data connection (WiFi or 4G/LTE) to make the calls. It won’t use any of your voice minutes. Check out this page for details about using the Hangouts app to make calls.

Another way to get around the limit is to use FaceTime Audio if you’re calling another iPhone user. It operates in the same way as the Hangouts app in the sense that it uses your WiFi or cellular data connection to make the calls. See this page for more details.

Now you’re all set up on the cheapest iPhone plan and basically getting unlimited everything! Enjoy your new monthly cash savings. Don’t forget this is prepaid so you’re not under any contract and you can upgrade your phone anytime. Doesn’t get any better than that, folks.

By Andy Slye

Apple iPhone 6 Review

Transcript:

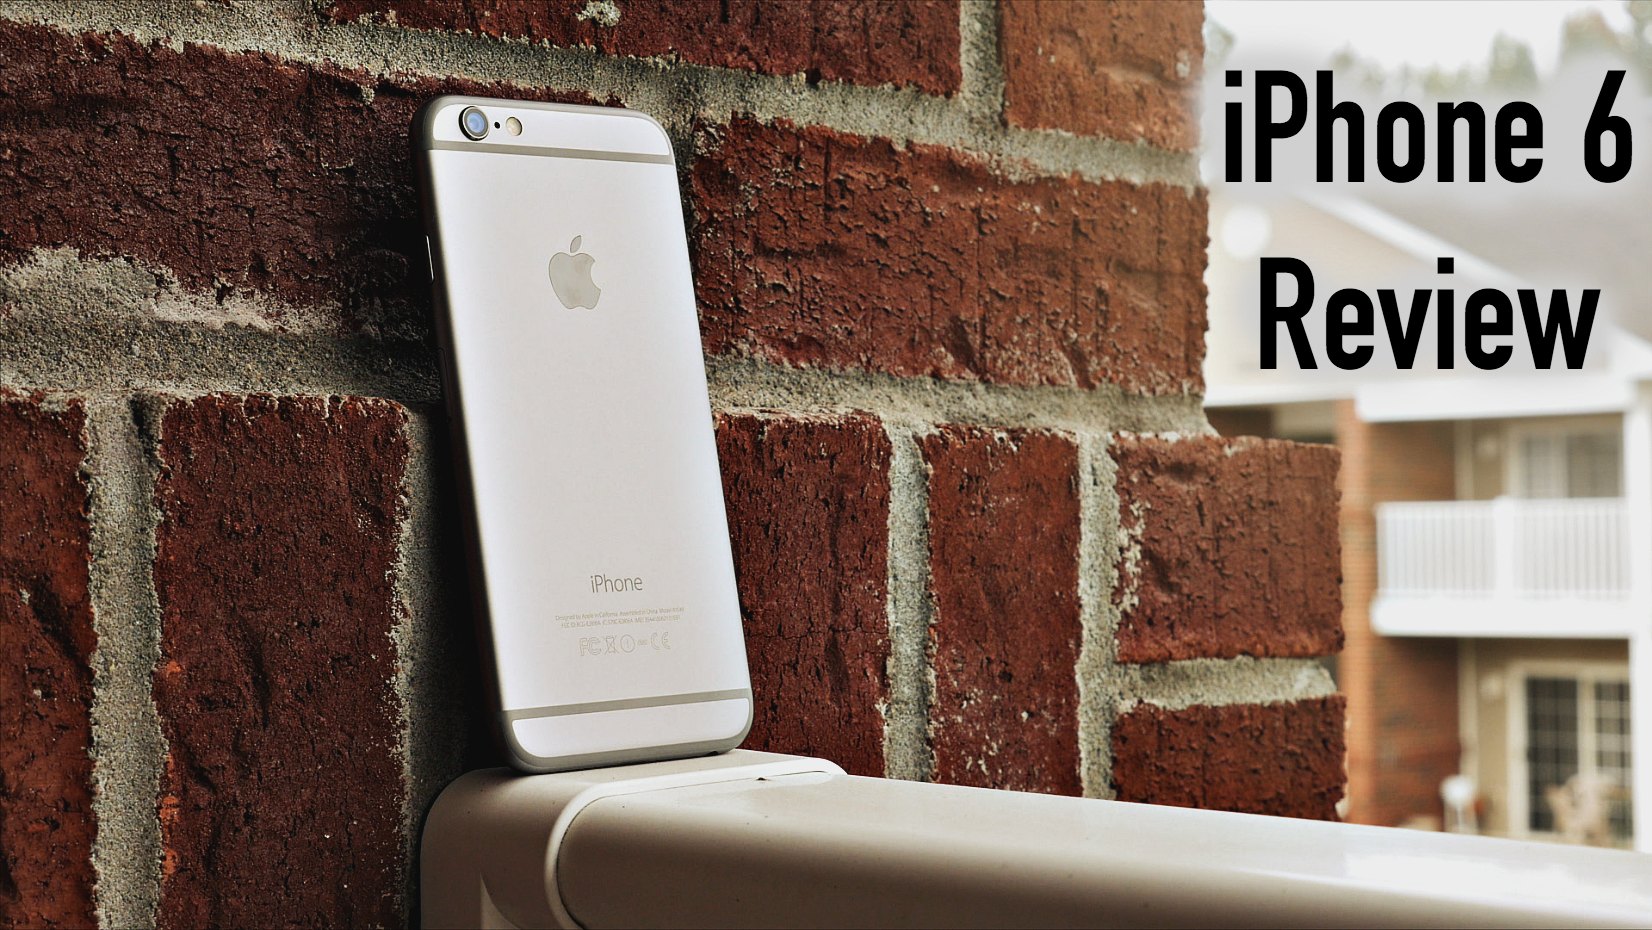
This is the iPhone 6, one of two new Apple iPhones in 2014. Let’s start off with the new design. I wasn’t a big fan of the new design when I first saw it online because of the two awkward horizontal antennas on the back, but since I’ve owned it, the design has definitely grown on me. Even though I do still believe the 4s and 5s are the best looking iPhones to date. The iPhone 6 has new curved edges which I personally like, but it does make the phone more slippery so it’s a good idea to put a case on to prevent the phone from slipping out of your hands. The iPhone 6 is super lightweight. It’s lighter and thinner than the 5s, but since it is so thin the camera sticks out a little bit on the back, but again a case will make this a non-issue. Apple also changed the location of the power button. It’s now on the side instead of the top which makes it easier to press because of the phone’s larger size. Of course the most important new feature of the iPhone 6 is the new screen size. It has a 4.7” Retina display with a resolution of 1334×750. So it’s not sporting a full 1080p display like some other smartphones on the market which is kind of a bummer, but don’t get me wrong this screen is still very very crisp. Colors look vibrant and I can’t see any pixelation no matter how close I get. The larger screen definitely comes in handy when I’m reading and responding to emails, even though currently a lot of apps are just blown up to fit the larger screen. Hopefully these apps will get updates soon. The 4.7” is definitely the sweet spot for me. The phone fits perfectly in all my pockets, and it doesn’t consume half of my face when I’m talking on it, or when I’m just talking to myself. The iPhone 6 is faster with its new 64-bit dual core A8 chip. iOS 8 runs beautifully. Apps open and load pretty quickly. There’s no lag whatsoever even for spotlight search which is probably the first time an iPhone has done that. And a lot of people forget how useful and fast Touch ID is on the new iPhone 6. I mean, seriously. It also has new and improved WiFi along with built-inNFC for Apple Pay. The iSight camera is one of the best new features of the iPhone 6. It’s still an 8-megapixel camera but it has a new sensor with a new feature called Focus Pixels which is also known as phase detection AutoFocus. But whatever you choose to call it, we can all agree that it’s awesome. The camera focuses so much faster than the 5s, and it takes some great looking photos even in low light or pitch black situations. The camera is also able to record videos in full 1080p at 60 frames per second and super slow-mo 240 frames per second in 720p. It also has cinematic video stabilization which makes shaky videos look smoother and more cinematic. Also has a cool time lapse mode too. If this wasn’t an iPhone it would almost be worth it just for the camera itself. I just wish they would have made the front facing camera better than it is. Still pretty crappy for selfies in my opinion. Finally, let’s talk about the battery. It’s not that it’s bad, but it’s just not that much better. On a normal day of pretty heavy usage I can make it through my normal 16 hours without having to charge it, but it still needs to be charged every night, just like with my 5s. I can start off with 100% at 7am and by 8pm it’s at less than 20% but that’s after going through the day streaming Spotify over LTE, web surfing, checking email, listening to music over Bluetooth, all that stuff. So it lasts long enough for a day, but I was just hoping for a little bit more. Should I get rid of my 6 for the 6 Plus to get more battery life? No, I’m okay with charging every night and I can truly say, at least for now, that I’m happy with my iPhone 6. I think you’ll be too.

By Andy Slye

Best iPhone 6 Case? Spigen Ultra Hybrid Review

This may be the best iPhone 6 case if you’re looking for an affordable slim case with good protection. This is my review of the 4.7″ Spigen Ultra Hybrid for the iPhone 6.

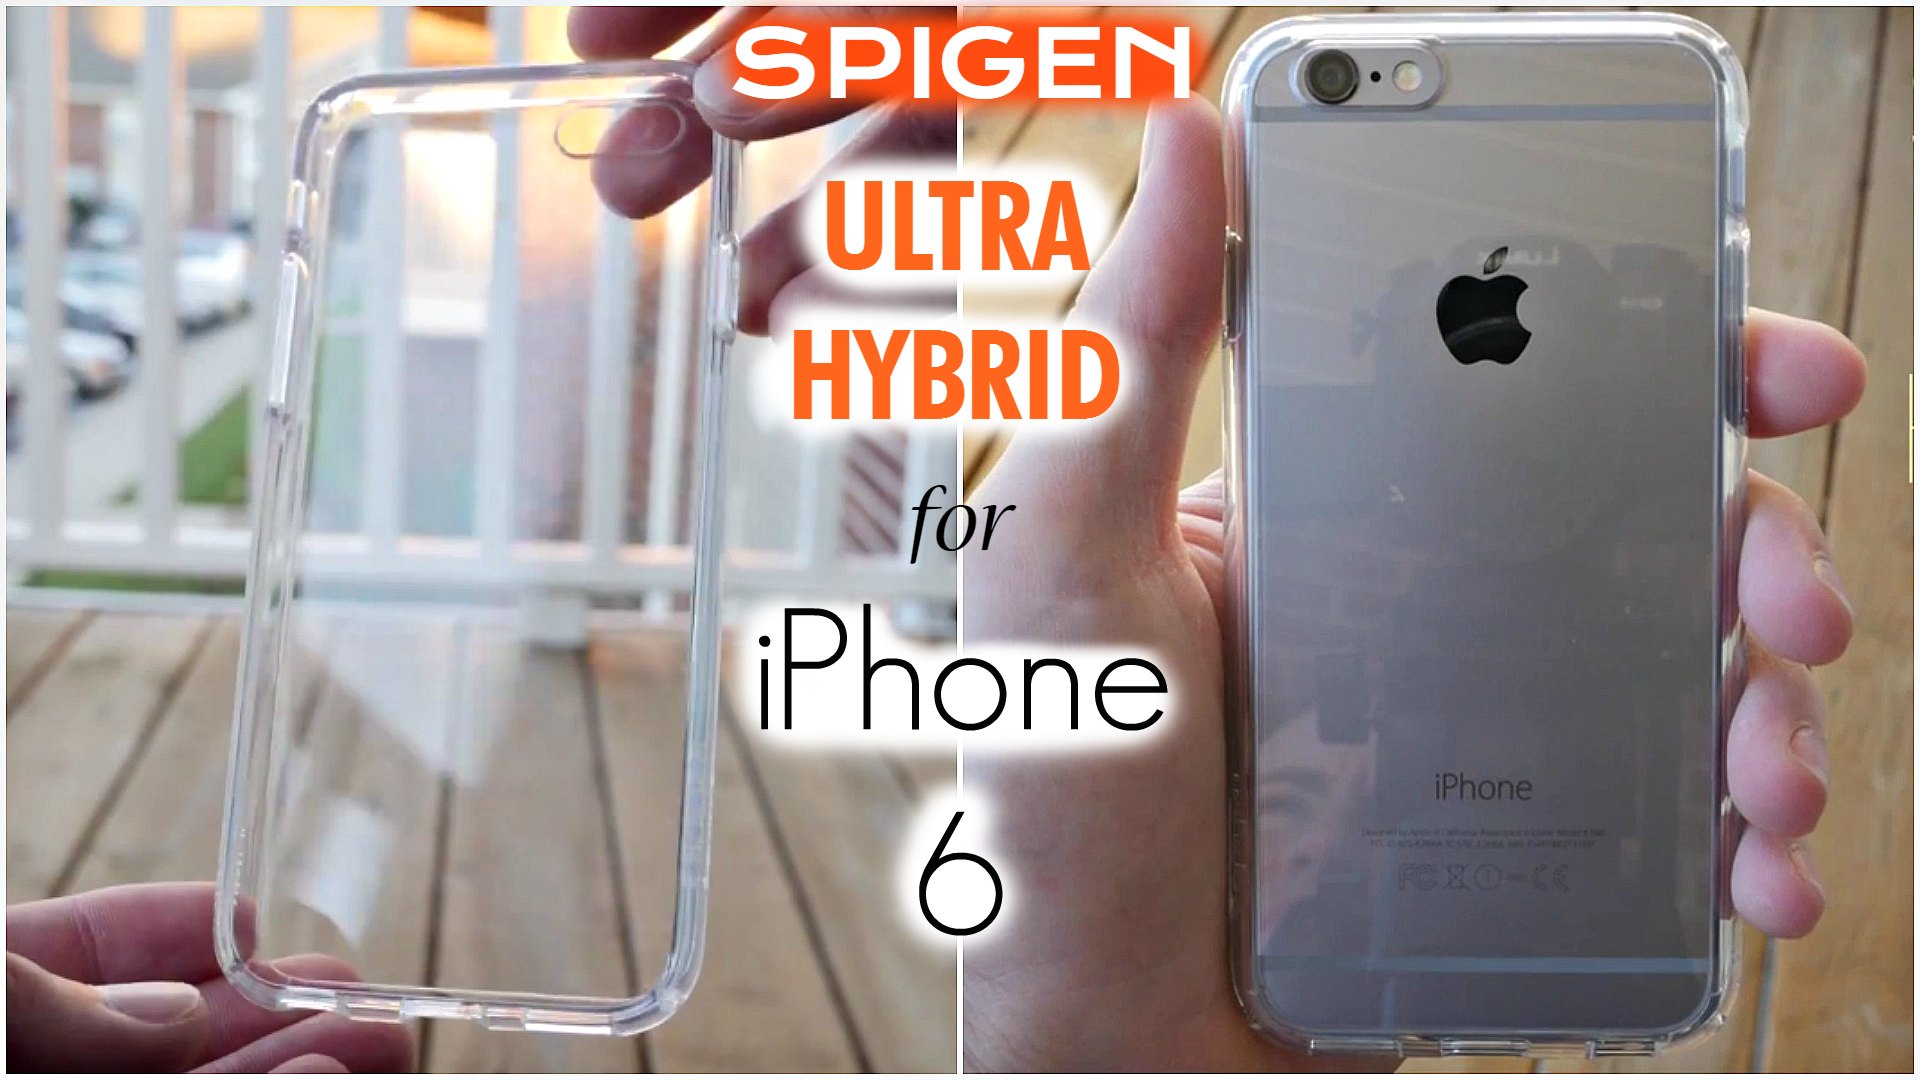
The reason I bought the Spigen Ultra Hybrid for my iPhone 6 is because I had the same exact case for my 5s and I loved it. My 5s is still in perfect condition thanks to that case so let’s go over the best features of this new Spigen Ultra Hybrid for the iPhone 6. It’s called a Hybrid because it’s a perfect blend of a slim bumper and a full enclosed case, so you get good overall protection for your iPhone while keeping it slim and not adding much bulkiness. This case has a transparent back and this is the crystal clear model where the bumper is clear too, but they do have other colors available for the bumper. I love having a clear back because it shows off that nice iPhone design while keeping it protected at the same time. Now if you get this case please remember to peel off the clear protective film on the inside and outside of the case. A lot people don’t realize that there are 2 clear sheets on this case and they think that the case is scratched, but really it’s just the clear film that needs to be removed. Once the 2 sheets are removed the case is crystal clear with no scratches. It’s made of a soft yet strong thermoplastic polyurethane so it’s flexible enough to be able to put the phone in easily but also durable enough to provide good protection. It has Air Cushion Technology on the corners of the case so if you drop your phone the air cushion absorbs most of the impact in order to keep your phone safe. It raises up just enough on the front so you can lay your phone face-down on a surface and not worry about it scratching the screen. It also has the same feature on the back where the 4 corners are slightly raised so you don’t scratch or smudge the clear back panel of the case when you move it around on a surface. It has all the precise cutouts for the headphone jack, microphone, lightning port, speakers, and vibrate switch. The volume buttons and power button are protected and have embossed symbols so you can feel where they are. The buttons are pretty easy to press and you can feel and hear when they are pressed which is nice. The cutouts for the lightning port and headphone jack are actually big enough to support most third party accessories like certain headphones or docks. The grip is pretty good too, and it does feel nice in the hands. As far as the protection goes, it handles small to medium drops very well, just like the previous version. So if you’re not careless with your phone for the most part but you have the occasional drop when getting out of your car or walking like I do, this case will provide good enough protection for that. Overall, this case is perfect for people who want something slim that offers good protection while showing off the back of the iPhone 6. Also it’s a lot cheaper than the Apple case. This is my primary case and it is highly recommended. I hope this video helped you out and helps you find your perfect iPhone 6 case!

By Andy Slye

iPhone 6 Unboxing & Hands-On

Transcript:

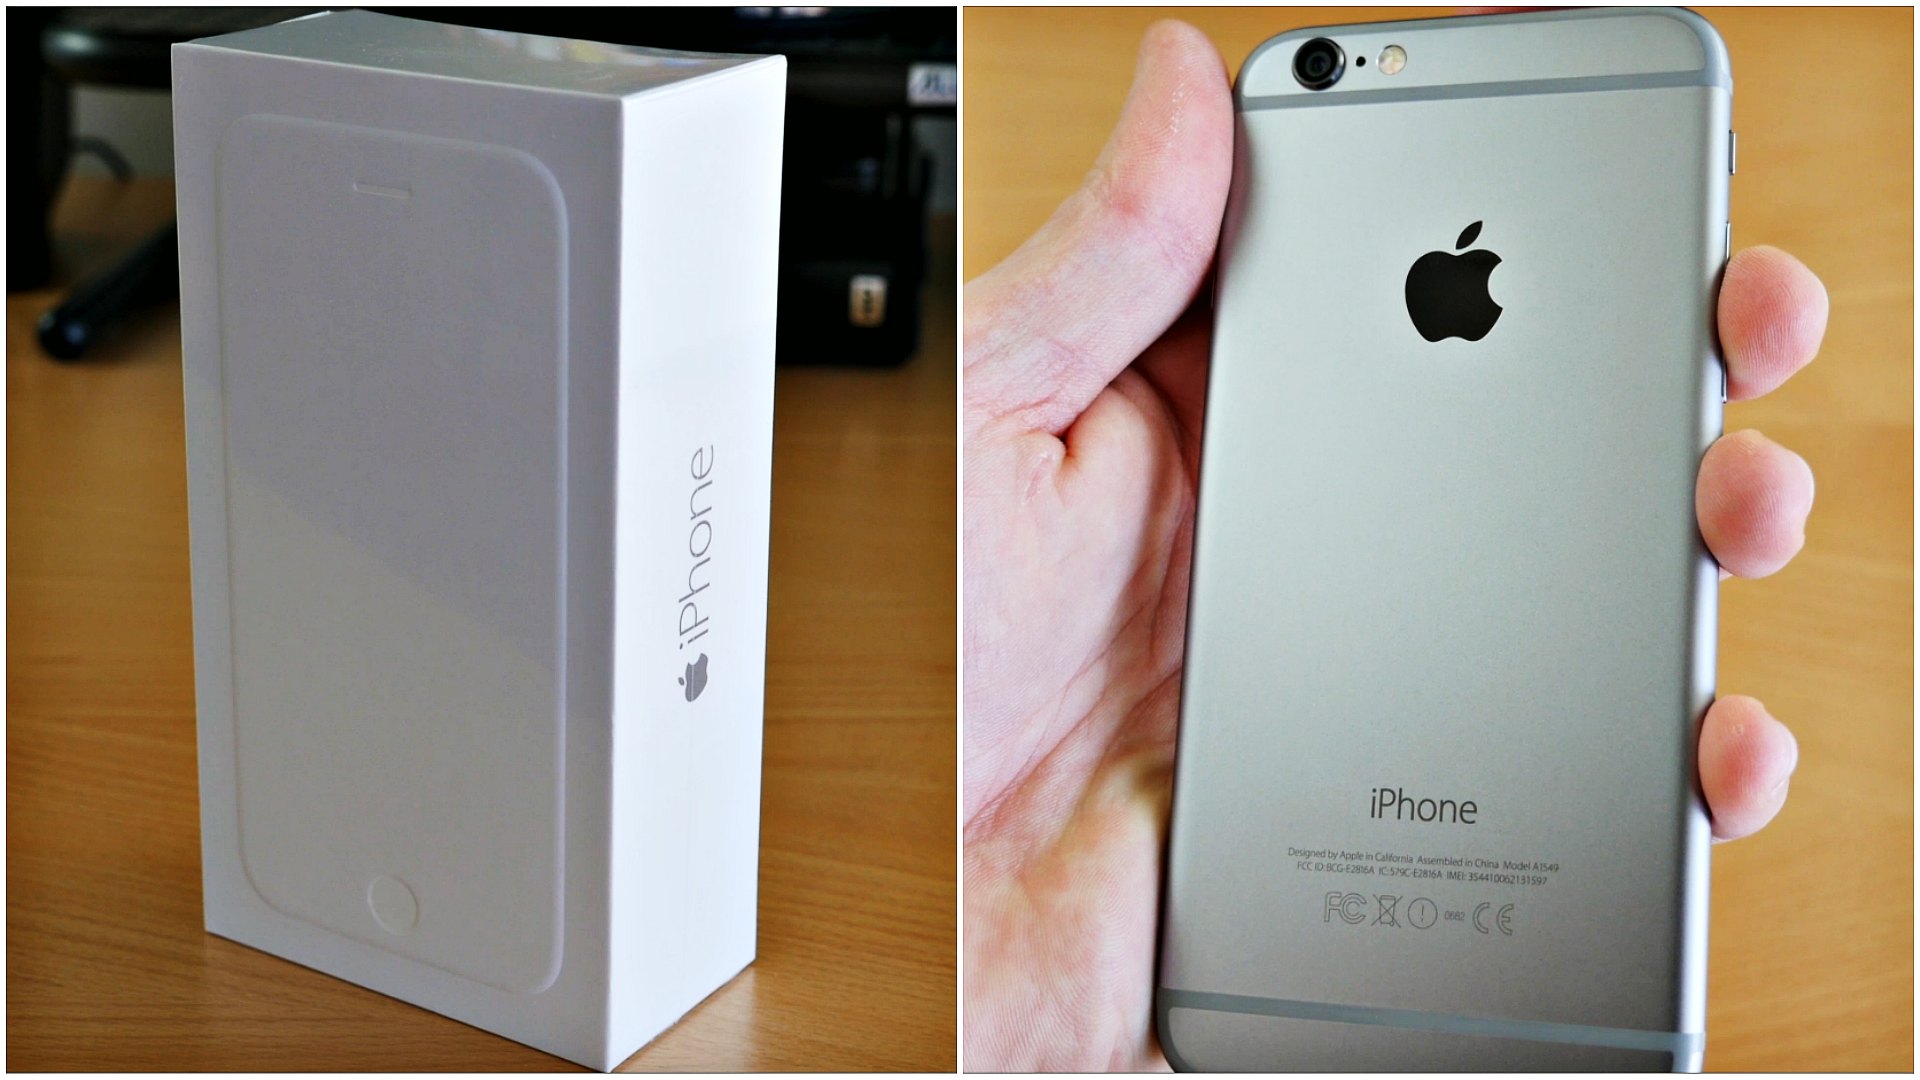
Hey guys what’s up? It’s Andy with MyTechMethods and this is my full iPhone 6 unboxing video. This is the iPhone 6, the brand new iPhone 6 not the 6 plus. And this is the unlocked T-Mobile version 64 GB space gray model. And let’s get right into this unboxing. I got my handy dandy Andy knife. We’re gonna see what kind of damage we can do to this box so let’s go ahead and slice it open here and we’ll see what the iPhone 6 looks like, give it a first look and hands-on with it. And listen to that plastic. Oh yeah sounds great. Love unboxing phones. That’s my favorite thing in the world. Alright let’s open this box and there we go. We got the new iPhone 6 right there, and we’re gonna pull the little plastic tab to pull it out of the box and there you go. Here’s a quick look at the iPhone 6 and we’re gonna go around the phone and just point out the basics. There’s a quick look at the back, got the Apple logo and of course it says iPhone at the bottom. And let’s take a look at the bottom of the phone. Of course we got the headphones jack, the microphone, the lightning connector, and the speakers. And there is the touch ID home button on the front. And there’s the vibrate switch and the volume rockers up-and-down, same that hasn’t changed. And the top, the power button is now on the side. So there’s nothing on the top and the power button is on the side along with the SIM card slot. There is the back of the phone and the new camera. As you can see it sticks out just a little bit on this new iPhone 6 so we’ll see how that works out. So let’s go ahead and take the plastic off this. This may be the best part of the unboxing right here. Nice and slow, there we go. Alright now we got the iPhone 6 naked, no plastic and it does look beautiful. The rounded edges are, I like the rounded edges so there’s a quick look at the back again. And we’re gonna power this up in a second. First let’s go over the rest of the contents that are in the iPhone 6 box. It shouldn’t be too much of a difference. Of course we got the quick start guide for the iPhone 6, and we have some more information on the iPhone. And we have the 2 big Apple stickers if you don’t have those already. And we got the power adapter along with the lightning to USB cable and the Apple ear buds, which probably won’t get used. Probably stay in the box. Alright put that to the side, and we’ll power the iPhone 6 on and get a closer look at it when it’s turned on and booted up into iOS. And I’m gonna speed this up just a little bit for the sake of this video. And here is the hello screen. You can set up your iPhone pretty quickly and now we are booted into iOS 8 on the new iPhone 6. And here’s a closer look. This is my iPhone 6 compared to my iPhone 5s. And you can see it’s a little bit of a difference, not that much bigger but it’s a noticeable difference. And there’s the back of it and you can see the iPhone 6 has a newer design on the back. And there is a closer look to see how thin the iPhone 6 is compared to the iPhone 5s which is pretty thin. So that was my quick unboxing of the new iPhone 6. Make sure you give this video a thumbs up and subscribe to this channel if you haven’t already because I will be coming out with my full iPhone 6 review here very soon. So thank you so much for watching. Keep having fun out there. I’ll talk to you later.

By Andy Slye

« Older posts Newer posts »

© 2024 My Tech Methods

Theme by Anders NorenUp ↑