Author: Andy (Page 2 of 21)
If you’re a follower of mine you know that I’m a big fan of Parallels Desktop for the Mac because I’ve already done two videos in the past on how to use Parallels to install Windows on your Mac.
Now that Parallels 10 is available I wanted to do a video showing you my top 7 favorite features of Parallels as it relates to IT professionals who use Mac OS X.
If you work in information technology like me and you use a Mac then Parallels is definitely one of the best apps you can have because it allows you to virtually run other operating systems inside your Mac without rebooting. Let’s get into this list.
1. OS Options
Not only can you run Windows 7, 8, and 8.1 with Parallels but you can also run Linux distros, Google Chrome OS, and even older versions of Mac OS X like Mavericks. It can handle all of those operating systems which is nice for scalability and machine diversity. I love being able to run both Windows 8.1 and Ubuntu on my Mac.
2. Fast Installation
Parallels makes the installation process of a virtual machine quick and simple. It has preset installation options that allow the machine to be set up within minutes. It doesn’t get much easier than this. This is also why I recommend it to non-IT folks too because it’s that darn easy.
3. Sandboxing
A virtual machine functions as a non-production machine that you can use to test certain installations or updates before releasing them to production machines. This is extremely important to have because certain software changes can affect other software and break a system’s configuration. Using a Parallels virtual machine is not only cost efficient but it lets you avoid breaking a user’s production machine by testing it first without any consequences.
4. Snapshots
With Parallels you can take snapshots or system images at any time in case you need to revert back to a particular system state with just the click of a button. For example, if you just did a clean install of Windows along with all the Microsoft updates you can then take a snapshot of the current system state. That snapshot will be saved. Then you can do whatever you want inside of that Windows virtual machine. You can install all kinds of applications, risk getting viruses, test whatever you need to test, and then revert back to that clean install snapshot whenever you want.
5. Multiple Viewpoints
Since you’re running two separate systems simultaneously you can have two different viewpoints for working or troubleshooting. For example, your Parallels virtual machine can be connected to a VPN while your Mac will still be on an external network connection so you can see from both perspectives. This comes in handy when you need to be able to have these two different angles but you only have one computer to do it on.
6. Seamless Sharing
You can easily share folders, files, text, and pictures between your Mac and the virtual machine. Instead of having to email files to yourself or upload them to Dropbox then download them on the virtual machine, with Parallels it’s all done through copy/paste or drag-and-drop. Plus, the default installation of Windows is set up by mirroring your existing folders on your Mac to your new virtual machine. That means all your current folders and files will be accessible on both operating systems.
7. Easy Switching
Most IT professionals use Mac laptops so that means you’ll have the trackpad which allows you to use quick three-finger swipe gestures to switch between the Mac and the virtual machine. This little feature will enhance your workflow and boost your productivity, and trust me you’ll never want to go back. The swipe gestures will get you hooked very quickly.
So those were my top 7 Parallels features for IT professionals using Mac OS X. I highly recommend this app. It’s one that I use on all my Macs, and it helps me get the best of all the OS worlds on one machine.
Click here to get your free trial of Parallels 10 so you can take advantage of these awesome features. Thanks to the Parallels team for sponsoring this post!
By Andy Slye
Video Transcript:
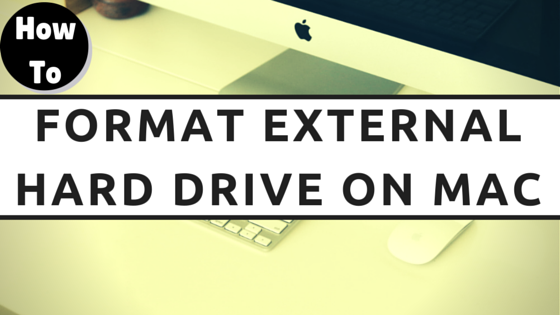
Hey guys it’s Andy, and in this quick video tutorial I’m going to show you how to format an external hard drive on a Mac. So if you’re on a Mac, and you want to format an external hard drive, maybe you want to back up your Mac using Time Machine or another backup program. Or you just want to use an external hard drive on your Mac exclusively this is how you’ll format it so that the Mac can read it. So the first thing you want to do is connect the external hard drive to your Mac. And you may need to power it on if that’s an option. But once it’s powered on and connected it will show up on the desktop of your Mac. Mine is called Untitled. Yours may be called something else, but once you see it you know that it’s connected. Next thing you want to do is go to Spotlight search. You can click the magnifying glass in the top right or you can hit Command Space. It’ll bring up the Spotlight search and just search Disk Utility and then hit Enter. It’ll bring up the Disk Utility and this is where you’re going to partition and format the external hard drive. On the list here you’re going to select the hard drive. You’ll see it’s got two options. You got the Untitled and then you got the main disk. Click on the one above it right here, the one above the name. And then once you have that selected you’ll see an option to partition that hard drive so click on Partition. Then you want to click on Partition Layout and choose 1 Partition. Then give it a name over here so name it whatever you’d like if you want to name it like Backup. I’m just going to name mine Wet Socks just because I want to. Then right here on the Format you’re going to make sure that the format selected is the Mac OS Extended Journaled. That’s what you want okay. And here’s a warning before you partition this drive. This will erase any current data that’s on the external drive. So make sure that you don’t need any of the data that’s on the external drive because this will erase it. And one last thing before we apply it is click the Options button and make sure that the GUID partition table is selected. And then hit OK. Now we can apply it and when you apply it it’s going to format your external hard drive and wipe it and erase it. Make sure you’re ready for that and then hit Apply. And it’ll ask you are you sure you want to partition the disk. Partitioning the disk will delete all the data on this disk. And we want to go ahead and partition. It should be fairly quick. Mine did it within a few seconds, depending on your hard drive size and your computer speed it might vary. But it should be fairly quick, and when it’s done you should see the new name over here on the left hand side. Once you see that new name that you just named it you are good to go. It is now been formatted for Mac OS X operating system, and there it is right there on my desktop with the new name. When I go into it there is no data on it and it’s ready to be used with Time Machine or any other backup program like Super Duper. And I actually did a video over how to backup your Mac using Time Machine. I will leave that link right here. You can click on that and check that out. Thank you so much for watching. If this helped you out make sure you give it a thumbs up and leave comment down below if you have any questions about it. And subscribe to this channel for more Mac videos in the future. I will talk to you guys in the next video.
Which Mac should you buy? MacBook Buyer’s Guide 2015
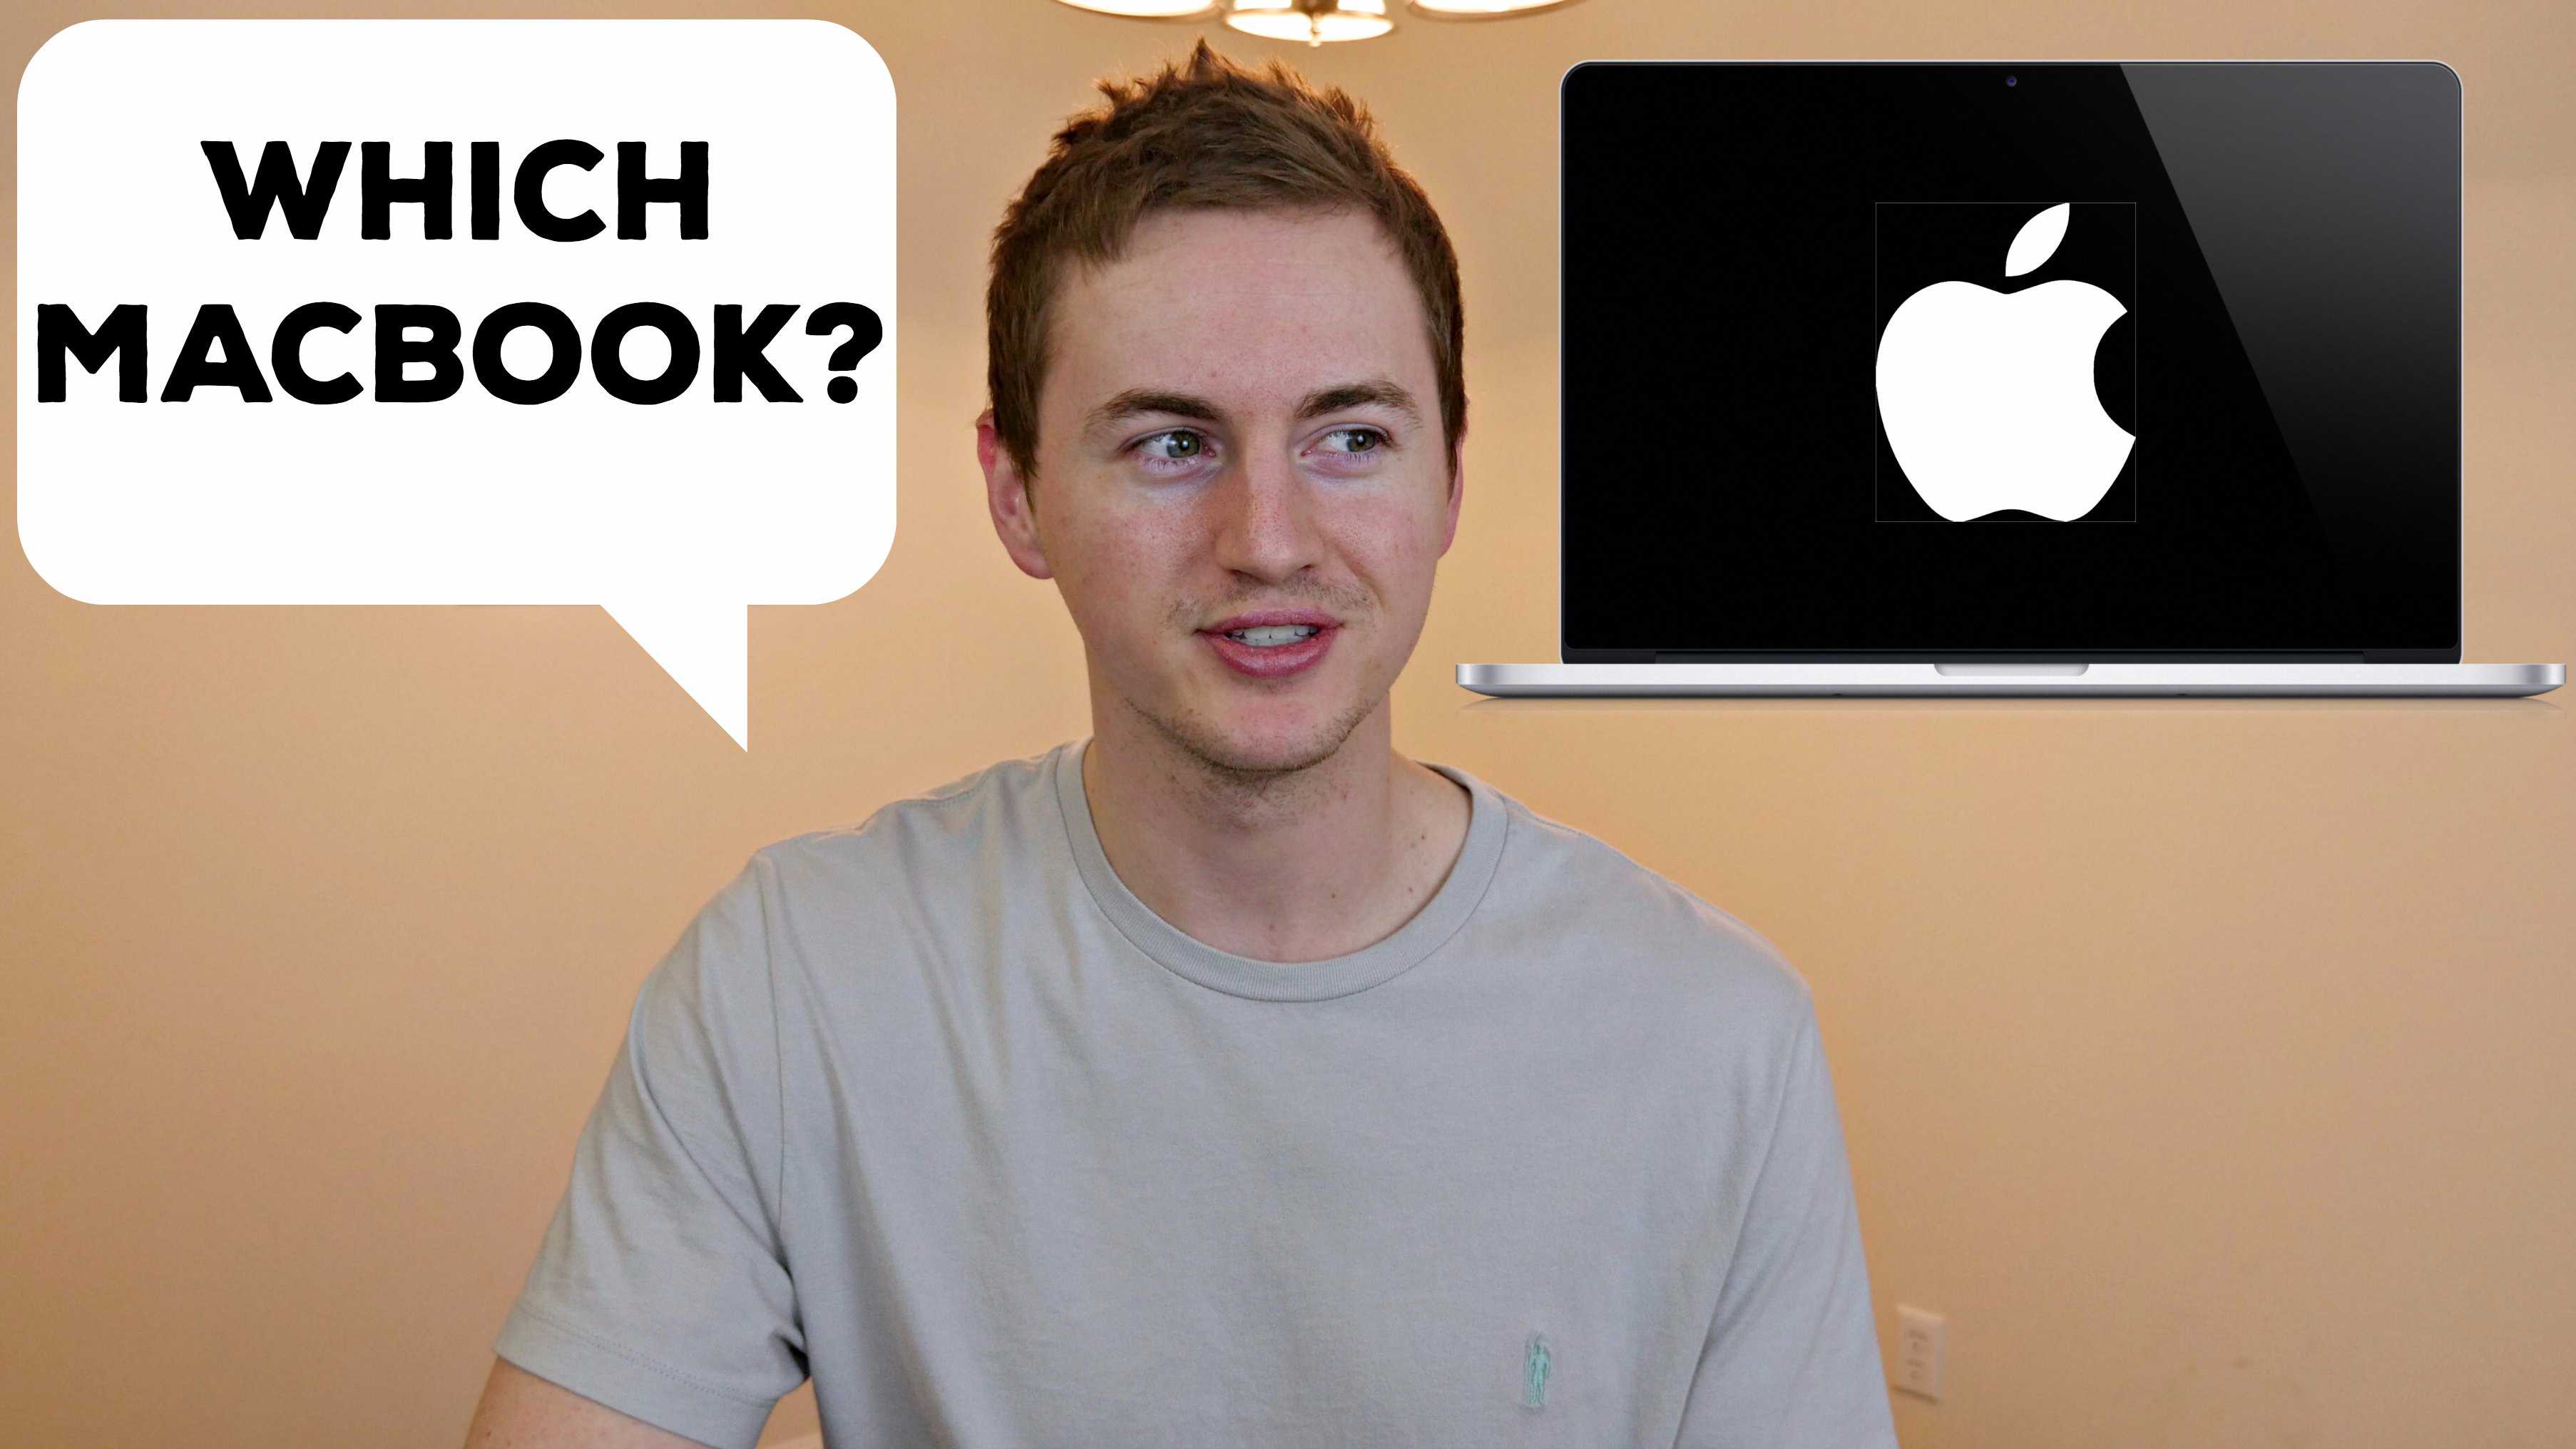
Since I’m a Mac user and I’ve reviewed many Apple products I decided to make a Mac Buyer’s Guide video to help you decide which MacBook would be the best for you.
3 MacBook Models
MacBook, MacBook Air, and MacBook Pro
- Brand new; available in April 2015; Base model starts at $1299
- 1st MacBook to be available in silver, gold, and space gray (like iPads and iPhones)
- 12” IPS Retina display with 3 million pixels
- Intel Core M mobile processor
- 8GB of RAM and at least 256GB of flash storage
The MacBook is for you if you
- Love having the newest Apple features (Force Touch Trackpad and new butterfly mechanism keyboard)
- Care about looks more than performance (sexy; Retina display; colors)
- Want something ultra portable & mobile; Apple’s thinnest & lightest laptop (2 lbs & 9 hours battery life)
- Running basic applications like web browsing, email, productivity software, and nothing too CPU intensive (has a mobile processor)
- Don’t use USB drives or other external devices often such as SD cards, cameras, charging phone/tablet, connecting to a monitor (has only 1 USB-C port for charging/input/output)
- Don’t Skype/FaceTime much and don’t need to record HD videos with the webcam (only 480p)
- Want something that resembles an iPad
- Most of your digital life is all wireless and on the cloud
- Have the budget for it (expensive for what you get)
- Comes in 2 sizes: 11” starting at $899 and 13” starting at $999
- Does not have an IPS Retina display
- 4GB of RAM (can be upgraded to 8GB) and 128GB flash storage (can be upgraded to 256GB)
- 5th-generation Intel Core i5 dual-core processor (can be upgraded to i7)
MacBook Air is for you if you
- Want a small, lightweight and thin laptop
- Are always on the go (great for students and travelers)
- Don’t mind having a non-HD display
- Care about battery life more than anything (13″ gets up to 12 hours; longest battery life of any Apple laptop)
- Run typical everyday applications and even do some light photo/video editing
- Still need access to Thunderbolt & USB ports and an HD webcam (720p)
- Comes in 2 sizes: 13″ starting at $1299 or 15″ starting at $1999
- Both models have IPS Retina displays (13″ has over 4 million pixels; 15″ has over 5 million pixels)
- 13″ comes with 8GB RAM (can be upgraded to 16); 15″ comes with 16GB RAM standard
- 13″ has 128GB flash storage (can be upgraded to 256GB or 512GB); 15″ comes with 256GB flash storage (can be upgraded to 512GB)
- 13″ comes with 5h-gen Core i5 dual-core processor (can be upgraded to i7)
- 15″ comes with 4th-gen Core i7 quad-core processor
MacBook Pro is for you if you
- Want the best performance and fastest speed out of all the Apple laptops
- Run CPU-intensive or graphics-intensive applications such as gaming, HD video editing, 3D modeling, CAD, virtual machines, Photoshop
- Don’t mind having a heavier laptop compared to the other MacBook models
- Want a desktop replacement
- Need as many ports as possible (HDMI, Thunderbolt, USB, SD)
13″ or 15?
Get the 13″ if you want long battery life, the new Force Touch Trackpad, and fastest read/write SSD speed.
Get the 15″ if you want the bigger display and the best processor/graphics performance.
