Videos by Andy Slye

Author: Andy (Page 10 of 21)

Best Headphones for Running & Working Out

Best headphones for running & working out
Motorola S305 Bluetooth review
Click here to buy on Amazon

This is my review of the best headphones for running and working out. This is just my personal opinion, but they are the Motorola S305 Bluetooth headphones. Of course you need a device with Bluetooth capability to use these. But the Bluetooth feature is a huge part of why these are the best for working out because once you get rid of the cords and wires you’ll never want to go back to a wired headset ever. The Motorola S305 Bluetooth headphones are very affordable. You can get them on Amazon for a great deal, and I’ve been using this exact same Bluetooth headset for almost 3 years now. Never had a problem with it. That’s why I can recommend it as the best headphones for running and working out.

Let’s go over what I love about these headphones. Of course I love the wireless aspect. Since these are Bluetooth headphones they do run on a built-in battery that is rechargeable. It comes with a charger. I’ve never had a problem with the battery life. I only have to charge them about once a week. I get about 5 to 6 hours of use per charge. I’ve had these for over 2 years, and the battery life is as long as it was when I first got them. They charge very quickly too.

The sound quality on these is fairly good for the size. These are quite small. Of course they’re not professional studio quality headphones. They’re made for durability and portability. You’re not going to get extreme high-quality studio sound from these headphones, but they are good enough for working out. They get really loud. I’ve never even reached the full loudness on these things. You will not have a problem with it not being loud enough when you’re in a noisy gym.

These headphones are fairly comfortable. They have a snug fit. They’re not going to shake or rattle or fall off easily when you’re running or doing any type of high intensity activity. I usually wear them for an hour and a half each use, and they stay pretty comfortable.

They also have a built in microphone and controls on the headset. This includes a power button, volume buttons, play and pause buttons, call answer button, and skip buttons. All the controls are on the right side of the headset. If you are listening to music on your phone and somebody calls in it goes directly to the headphones and you can talk directly into the built-in microphone without having to hold your phone up close to your mouth. You can also control your music from the headphones with the buttons.

These headphones are extremely durable. During my ownership I’ve thrown them across the basketball gym floor many times. They still work perfectly to this day. They are lightweight and flexible. You can bend them with ease. I’m not a very sweaty guy, but I’ve read other reviews on these headphones and they said that it handles sweat pretty well. The foam on the headphones seem durable too. Mine are still intact.

So if you’re looking for the best headphones for running and working out I do recommend the Motorola S305 Bluetooth headphones. I hope you enjoyed the review. Get a pair of these. They’re extremely affordable and they do make working out and running easier and more fun!

By Andy Slye

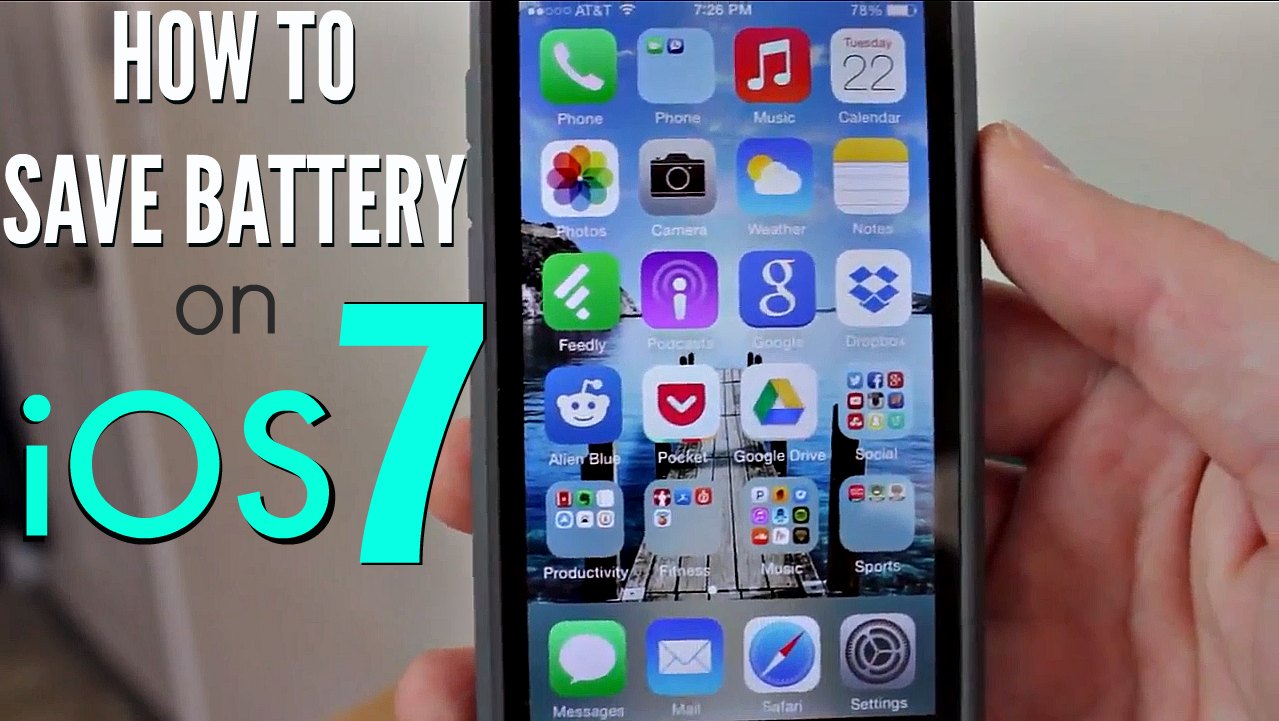
How to Save Battery on iOS 7

In this video I’ll show you how to save battery on iOS 7. All of these tips apply to any iOS 7 device: iPhone, iPod, and iPad

Tip 1: End all background running apps once a day. To do this all you have to do is is double tap the home button and swipe up on each app to end the background process. This will save battery when you’re not using it.

Tip 2: Enable airplane mode when you’re not using the network or the cellular data on your device. So normally when I go to bed I just swipe up to enable airplane mode by tapping on the airplane icon. It shuts off all data connections and saves battery life.

Tip 3: Enable auto brightness or just lower your brightness level overall on your device. Go to settings then go to wallpapers and brightness and you can enable auto brightness if it’s not already enabled. Also you can just turn down your overall brightness there using the scroll bar. Keep auto brightness enabled to extend battery life on your iPhone, iPod or iPad.

Tip 4: Disable Bluetooth and Airdrop if you’re not using those features.

Tip 5: Disable any unnecessary notifications in your notification center. Go to Settings then Notification Center and disable any of these that you do not need notifications for. You can choose to disable all of them or just certain ones depending on which app it is so you can customize it to your liking.

Tip 6: Disable unnecessary location services. So in Settings go to privacy and then location services you can choose to turn location services on but only turn it on for certain apps. I disabled location services for any app that does not need it. A lot of these apps don’t need your location information. That’ll save battery life for sure.

Tip 7: Disable unnecessary system services. Scroll to the bottom and tap on system services and disable these three options: diagnostics and usage, location-based iAds, and popular near me. These three apps are basically unnecessary for the majority of iPhone users so turn those off. Also turn off frequent locations.

Tip 8: Limit ad tracking. Under Settings go back to privacy and at the bottom you see an advertising tab. Tap on that and make sure that your limit ad tracking is enabled. You want to limit the ad tracking that your iPhone is doing in the background.

Tip 9: Disable Diagnostics & Usage reports. Go into Settings go to General go to About scroll to the bottom and go to diagnostics and usage and make sure that the “Don’t send” is checked. If you want to send that stuff and be a good citizen you can leave it on “Automatically send” but if you want to maximize your battery life you can change that.

Tip 10: Reduce motion. If you don’t care about the parallax 3D effects on the background and the transition effects for the app’s closing and opening go to Settings go to General, Accessibility go down to Reduce Motion.

Tip 11: Disable background app refresh. Go into settings then general and then tap on background app refresh. Disable it for all apps or enable it and then enable certain apps like I have. I turned off background app refresh for apps that I do not want to update in the background. That’ll save battery life especially when you have a lot of apps open at the same time.

Tip 12: Disable automatic updates by going into Settings go to the iTunes and App Store option. Here you can disable automatic downloads and automatic updates for music and apps. Also you can disable cellular data so it doesn’t use your cell data to do automatic downloads.

Tip 13: Configure Spotlight search settings. Go to Settings then go to General tap on spotlight search and here you can disable spotlight search for any app that you want. You can customize this list for any app that you do not need spotlight search for. Uncheck it and spotlight search will not index that app which will save battery life.

That is how to save battery life on iOS 7. I hope you enjoyed the tips. If you have any other tips that I didn’t cover or I missed just leave a comment below. Make sure you subscribe to my YouTube channel. Thanks for watching!

By Andy Slye

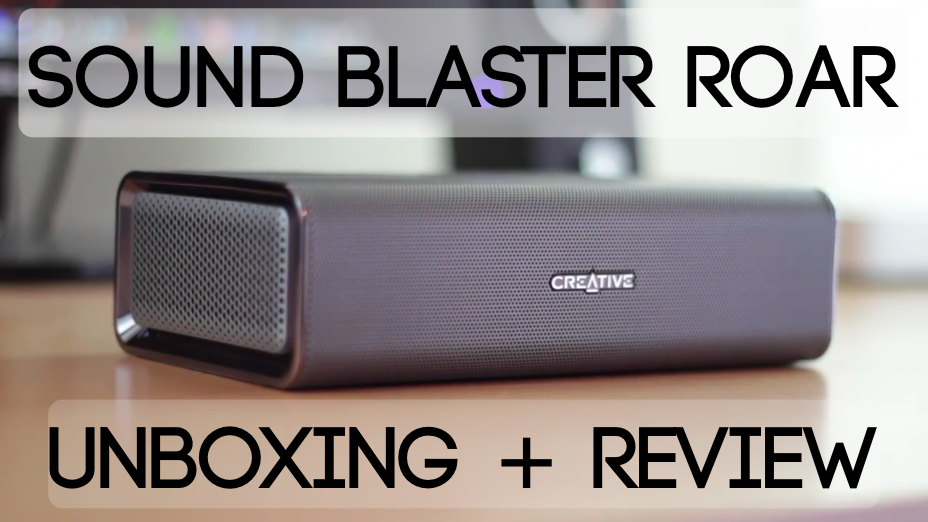
Sound Blaster Roar Portable Wireless Speaker Review

Click here to check out the Sound Blaster Roar Wireless Speaker

Video Transcript:

What’s up guys, Andy with MyTechMethods.com here with a review of the Sound Blaster Roar SR20 portable wireless speaker from Creative. Now this just isn’t your ordinary portable wireless speaker because this produces some amazing sound quality for its size and you can even replace your home stereo sound system with this thing. That’s how good this thing is so at any point during this video if you wanna find out more info I will leave the link to this speaker in the description below so you can check that out. Now let’s go into the review and unboxing of this sound blaster roar SR20 portable wireless speaker. It has a ton of features so let’s just go over the contents of the box real quick. Of course it comes with a quick start guide, comes with a wall charger for power. It also comes with some power adapters for the power and a USB cable so you can connect it to your PC or Mac. And of course we have the SR20 sound blaster roar itself. The sound blaster roar is very compact. It’s about the size of a small thick book and it weighs 2.4 pounds so it’s very small, very portable, but it does put out some amazing sound quality. It’s made of this sleek metallic material on the front and around the frame. The back has a rubbery type silicone feel to it which feels really nice. It’s made of high quality material that looks very durable. From the days I’ve had it and used it I feel like the quality will keep it in good condition for years to come. This is a portable wireless speaker so you can play audio wirelessly but before we get into all of the other features of this speaker let’s take a look at what it sounds like when I connect my iPhone 5s via Bluetooth to the speaker and play audio like that. I don’t have an NFC enabled device but this does have NFC capability so if you have an NFC device you can do that. But right now we’re just going to listen to the Bluetooth connection. So that was just a quick example of the audio playback with the sound blaster roar SR20, and this thing has some great audio quality because it has 2 amps instead of just the normal 1. The 2 amplifiers in it allows it to produce some amazingly powerful and balanced lows, mids, and highs. This speaker also has 5 drivers: 2 passive drivers on the side that produce the bass, 2 in the front that produce the highs, and 1 on top that produces the mids and bass. This allows it to give a very powerful well-balanced audio playback that will fill up an entire room. That is probably the best feature about this speaker. It can fill up a whole room very easily and when it’s playing in a room you can’t really tell where the speaker’s located. You can’t really tell where the sound is coming from. That’s how good of a job that this speaker does at filling up a whole room with high quality audio. On the top of the speaker you have some controls. You have volume up and volume down buttons as well as the on and off switch and the Bluetooth multi-function button. Also the Roar button where it gets its name from. The Roar button will boost your audio and increase the loudness and depth so you can fill up a big room with a lot of people in it. If you need to increase the volume by just a little bit that Roar button will do the trick. There’s also a 360 degree voice pick up microphone inside the Sound Blaster Roar which makes it very suitable for speaker phone or teleconferencing. It also has an integrated micro SD slot on the back so you can play audio directly from a micro SD card without having to connect the speaker to a smart phone or PC or Mac. So if you have a micro SD card with music on it you can insert it into the sound blaster roar and you can control it from the back. It has controls on the back where you can control it. It has a play/pause button, skip buttons, as well as repeat and shuffle buttons. It has a voice recorder as long as you have a micro SD card in the back you can record your voice directly onto that card. You can even record phone calls. This speaker’s designed to have a low center of gravity so when you have it playing at a loud volume it’s not going to shake or rattle. It also has 2 long rubber feet at the bottom. It has a built-in lithium-ion battery which will play music for up to 8 hours and also it will charge your phone or tablet. It has a USB port so you can plug in your smartphone and it will charge your smart phone or tablet. It has a very loud siren that you may need in certain situations. It also has this cool feature called Bedtime mode which when you enable Bedtime mode it will gradually decrease the volume of the audio for 15 or 30 minutes, whichever you set it for. So when you’re going to bed if you like to listen to music or an audiobook it’ll gradually decrease the volume over a period of time and shut itself off automatically which is pretty cool. It also has a life saver mode which will play random chimes every few minutes so if you’re listening to it while you’re doing homework or even in the car it will keep you awake and alert. It has a couple of high-quality codecs for Bluetooth support so when you’re playing music or audio through the Bluetooth connection it sounds almost as good as a wired connection. There’s also a carrying case that you can buy separately which improves the portability of the speaker. The speaker slides right in there so that’s pretty cool. So that wraps up my full review of the Creative Sound Blaster Roar SR20 portable wireless speaker. Enjoy!

By Andy Slye

Best Free Mac Apps 2014

Best Free Mac Apps of 2014

Click here to check out the updated list for 2016

In no particular order, here are my favorite free apps for Mac OS X:

Caffeine: Lightweight app that runs in the background and prevents your Mac from going into sleep mode

Google Chrome: Lightweight and fast web browser from Google

Mozilla Firefox: Web browser that has a plethora of useful add-ons

Transmission: Lightweight bit torrent client

Google Drive: Store up to 15GB of your stuff online for free, access from anywhere, and collaborate with others

Dropbox: Lets you take your photos, documents, and videos anywhere and share them easily

BetterTouchTool: Gives you the ability to customize trackpad gestures, keyboard shortcuts, and window snapping

HandBrake: Converts video files

SmartConverter: Converts video and audio files

VirtualBox: Virtual machine manager that lets you install and run Windows, Linux, or any other OS virtually

LibreOffice: Free office suite

Evernote: Cloud-synced app that helps you remember ideas by utilizing virtual notes and notebooks

Skitch: Photo-editing app that adds annotations, shapes, and text to images and screenshots

VLC Media Player: Media player that plays nearly an audio and video file

Sublime Text: Sophisticated text editor for code documents

FileZilla: Easy-to-use FTP client

Flux: Automatically adjusts your computer screen according to the time of day

Alfred: Productivity app that saves you time in searching your local computer and the web

Unarchiver: Archive utility that extracts any zipped or archived file

AppCleaner: Lightweight app that thoroughly uninstalls unwanted apps along with their junk files

SuperDuper: Backup and recovery application

SelfControl: Productivity app that allows you to block time-wasting websites for an allocated time

CloudApp: Easy way to quickly share screenshots

Wunderlist: Cloud app that manages your lists

Skype: Messaging and internet calling app

Plex: Personal media manager that works great alongside a Smart TV or Roku for the ultimate movie and TV show streaming set-up

Spotify: Music streaming service

TeamViewer: Remote control your computer from anywhere

Burn: Simple disc burning app

Gimp: Open source photo editor that is similar to Photoshop

Pocket: Web service that lets you easily store blog articles and web pages offline in an easy-to-read format

ClipMenu: Clipboard manager

What’s your favorite free Mac app?

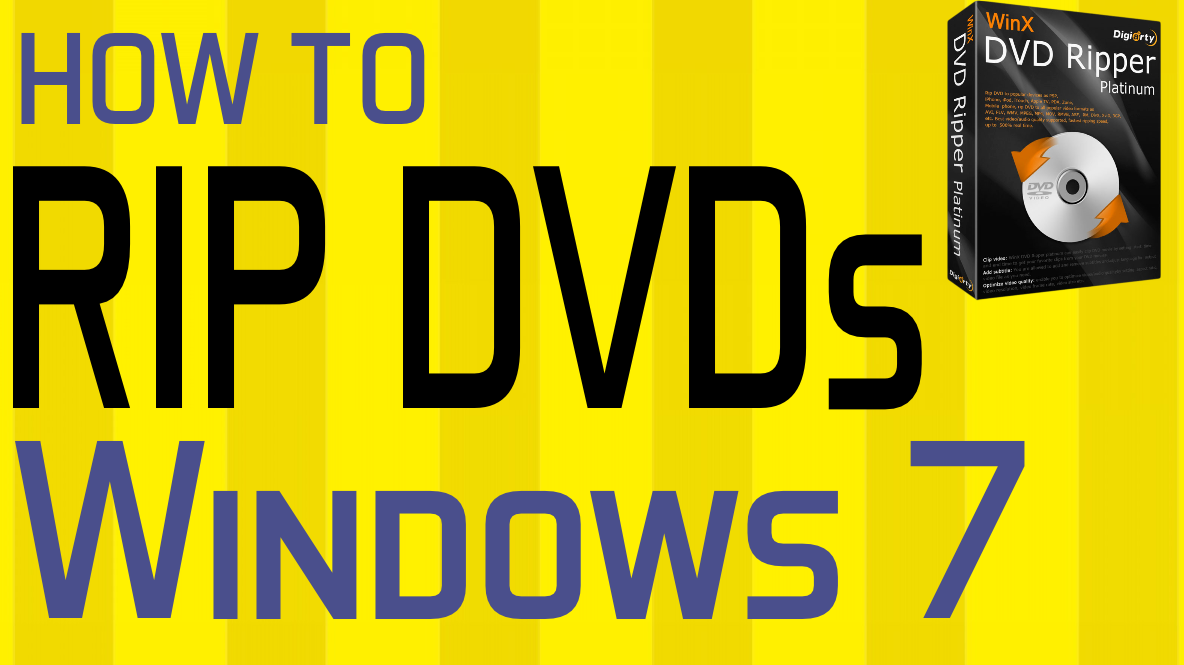
How to Rip a DVD on Windows 7 – Best Way!

In this video I’m going to show you how to rip a DVD to your Windows 7 computer using WinX DVD Ripper Platinum. This is my favorite program to rip and copy DVDs to my computer, and you can download it by visiting the link in the description below. And once you download it to your computer you can run the installer file. So just double-click on it. Click Run. Yes. You’re going to install it. Just hit Next. I accept, next, next, and install it on your computer. Just hit next, next, install, and it will install on your computer. And when you click Finish the program should open up or you can open it up from your desktop over here by clicking on it. Alright now once you have Winx DVD Ripper Platinum open next thing you want to do is insert the DVD movie disc into your DVD drive on your Windows 7 computer. Once it’s loaded in there just click this disc button on the top left of the program. It will pull up this window right here, the source DVD disc. You just choose your movie here. Most likely it’ll already be in there by default. Click okay. It’ll load the DVD into the program, and then you’ll see this output profile window here. And this is what you want the video format to be copied in. Most likely you’re going to be using a PC general video and just use the recommended MP4 video. That’s the best recommendation, but one of the best features about this program is the different profiles that it offers when you’re copying the DVD. So if you know you’re going to put it on a device later you can choose that particular device. So you got iPhone, you can go down to iPhone and just choose your recommended option for that. Same thing with Android tablet, Android smartphone. But if you just want to rip it to your computer and leave it there PC general video and the MP4 recommended option is what you want to do. So once you choose your outfit profile format, just click Okay. And here it’ll show you the DVD right here and show you all the titles. Title 1 is automatically selected. That’s the main movie file so if you want to just copy the main movie file it’s already selected there for you. If you want to copy any of the other chapters or extras you can select these as well. And down here at the bottom this is shows you where the DVD will be ripped or copied to when it’s copied to your computer. This is the folder. You can go in here and change. Click browser you can change the folder. Mine’s going to end up on my desktop which is okay with me. And now you are ready to rip the DVD to your computer so just hit that run button in the bottom right. If you’re using the free trial version it’ll only copy the first five minutes just to show you it works. To copy the full movie and to copy unlimited DVDs you can purchase a registration code for the software, and you can get a special discount on the software if you click that Register button from the program itself. Alright so when the copy is complete it should bring up the folder that it copied the DVD into, and there is my video file right there. So that is how to rip any DVD on a Windows 7 computer. So I hope this helped you out. Again the link is in the description below. You will definitely love this program.

By Andy Slye

« Older posts Newer posts »

© 2024 My Tech Methods

Theme by Anders NorenUp ↑