Videos by Andy Slye

Author: Andy Slye (Page 37 of 40)

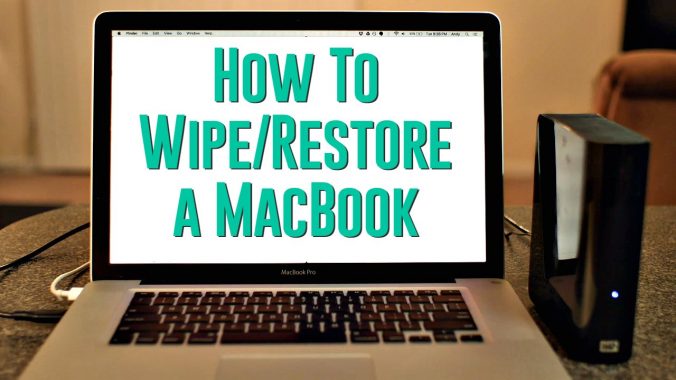
How to Wipe & Restore a MacBook Pro/Air to Sell

How to wipe a MacBook Pro/Air and restore to sell on eBay or give away.
3TB WD External Hard Drive: http://amzn.to/1CbqyC3
How to backup a Mac with Time Machine: https://youtu.be/cqmPi3fnl4E

There are some things you need to do before you sell your Mac in order to wipe your personal data off securely and reinstall OS X. You’ll want to back up your computer, sign out of your Apple accounts, erase the hard drive, and restore OS X. This video shows you the steps you should follow.

If you already have your new Mac, you can use Apple’s Migration Assistant to move your files over. However, I don’t have my new Mac yet so I’ll start with the backup.

1. Create a backup
Connect an external hard drive to your Mac (or you can use a Cloud storage solution if you have enough space available) and backup all your important data such as photos, music, videos, documents, etc.

2. Sign out of Apple services
Open iTunes. From the menu bar at the top of your computer screen, choose Store, Deauthorize This Computer. When prompted, enter your Apple ID and password. Then click Deauthorize. While still in iTunes go to Store, Sign Out. Next sign out of iCloud. If you use Find My Mac or other iCloud features on your Mac, you should first archive or make copies of your iCloud data. After that, choose Apple Menu, System Preferences, click iCloud, and then deselect the Find My Mac checkbox. In System Preferences, click iCloud, and then click the Sign Out button. When you sign out of iCloud, you’re asked whether you want to remove iCloud data from your Mac. Your iCloud data will remain on any other devices that are using the same Apple ID. If you’re using OS X Mountain Lion or later, sign out of iMessage by going to the Messages app, choose Preferences, Accounts. Select your iMessage account, then click Sign Out.

3. Erase your Mac hard drive and reinstall OS X
If you’re transferring your Mac to a new owner, you might want to erase your built-in startup disk before reinstalling OS X. Before you erase and reinstall, make sure you have backed up your important files. If you’re using a MacBook, MacBook Air, or MacBook Pro, make sure the power adapter is connected and plugged in while performing these steps.
You can use these steps to erase the files on your startup disk and install a new copy of OS X:
Before you begin, make sure your Mac is connected to the Internet.
Restart your Mac. Immediately hold down the Command and R keys after you hear the startup sound to start up in OS X Recovery.
When the Recovery window appears, select Disk Utility then click Continue.
Select the indented volume name of your startup disk from the left side of the Disk Utility window, then click the Erase tab.
If you want to securely erase the drive, click Security Options. Select an erase method, then click OK.
From the Format pop-up menu, select Mac OS Extended (Journaled). Type a name for your disk, then click Erase.
After the drive is erased, close the Disk Utility window.
If you’re not connected to the Internet, choose a network from the Wi-Fi menu.
Select the option to Reinstall OS X.
Click Continue and follow the onscreen instructions to reinstall OS X.
After you reformat your hard drive and reinstall OS X, the computer restarts to a Welcome screen and asks you to choose a country or region. If you want to leave the Mac in an out-of-box state, don’t continue with the setup of your system. Instead, press Command-Q to shut down the Mac. When the new owner turns on the Mac, the Setup Assistant will guide them through the setup process.
 

DJI Phantom 4 Review + Test Footage (4K)

This is the DJI Phantom 4, and it’s the best drone out right now especially for beginners. It’s not cheap but I think it’s worth every single penny. Why, you ask? Well simply put this thing is sleek, it’s high quality, it’s intelligent, it takes amazing videos and photos, and most importantly it’s so much fun. If you stick around to the end of the video you’ll get to see some of its best features in action and when you see the footage it can take you’ll most certainly want one for yourself.
When you first unbox the Phantom 4 you’ll see that it comes with a foam carrying case that has a built-in latch which is really convenient. In the case you’ll find the Phantom 4 itself, the remote controller, 8 propeller blades, the battery, the battery charger, quick start guides and some various cables. It also comes with a 16GB micro SD card to get you started.
You’ll first notice the simple design when installing the propeller blades which are very easy to put on, you just push and twist. It’s also nice that the battery charger can charge the remote controller and the drone battery at the same time. At 100% charge the new Phantom 4 can fly for almost 28 minutes which is 25% longer than the Phantom 3. Now, just to be safe I only fly mine for about 20-25 minutes each time, but the Phantom 4 is a “smart” drone so it will warn you when the battery is low and it can land itself if the battery reaches a critical low level.
The build quality of the Phantom 4 is pretty stunning. It feels solid but looks carefully polished. It’s not too heavy, and I was glad to find out I was able to carry it easily by gripping the top with just one hand.
Of course the most important physical feature of the Phantom 4 is the high performance camera. It has a newly designed lens and can capture 4K ultra HD videos at 30fps and 1080p full HD videos at 120fps for slow motion shots. It can also capture 12MP raw photos. So if the camera is Batman, that means the gimbal is Robin. The 3-axis gimbal has a specially designed u-frame structure that stabilizes the camera at all times giving you smooth cinematic video footage even in strong winds which you’ll see during the 2nd half of this video. Now when you get your Phantom 4 I highly recommend getting these ND filters for the camera. These allow you to record at a slower shutter speed in bright conditions which will be necessary if you’re trying to get a more cinematic film look. The Amazon link for these filters will be in the description below.
The Phantom 4 body is only half of the main package. The other half is the remote controller which is very easy to get used to if you’ve ever played video games. Basically the left stick moves the drone up, down, or turns it. The right stick moves the drone forward, backward, left, or right. The back of the controller allows you to switch between the multiple flight modes and do other things like control the camera tilt. The two antennas allow you to control the drone up to 3.1 miles away while still seeing the live preview on your smartphone or tablet.
The controller has an adjustable clasp that holds your tablet or smartphone in place. The required device can be any of the supported Android devices or any Apple device with iOS 8 or later. My only complaint is that I wish it did not require a cable going from the device to the controller. I was hoping it would connect via Bluetooth. Other than that the free DJI Go app is the only thing left to get you up and flying.
With the dual satellite positioning system and enhanced Vision Positioning System, flying the Phantom 4 is super easy. It will automatically avoid obstacles using its new sensors and GPS technology so beginners can start flying quickly with the new Intelligent Flight modes. But if you’re an experienced flyer on the other hand, the incredibly fast Sport Mode will get you excited.
« Older posts Newer posts »

© 2024 My Tech Methods

Theme by Anders NorenUp ↑