Video Transcript:
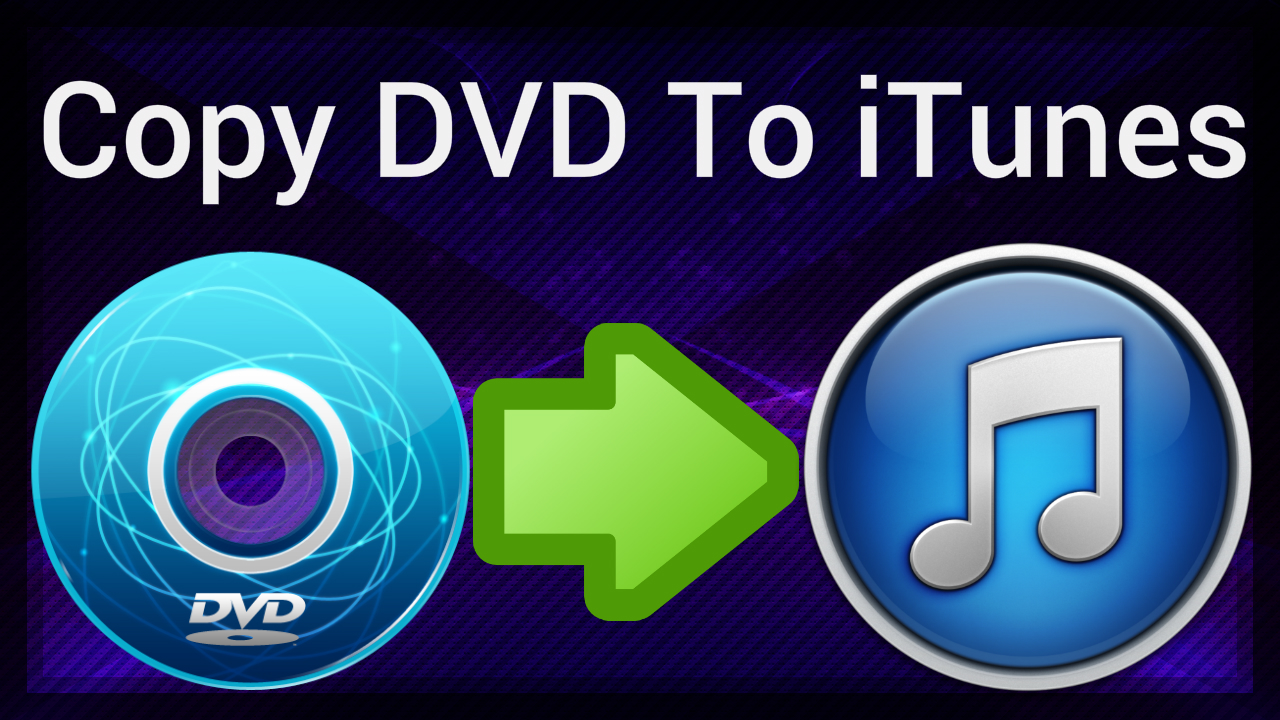
Hey everybody what’s up? This is a quick video on how to copy any DVD to iTunes so you can put them on any device – your iPhone, iPad, iPod, Android tablet, Android smart phone, or just keep them in iTunes. This is a fantastic piece of software that I’m using. It’s called MacX DVD Ripper Pro. And if you click the annotated link at the top of this video it will take you to their site where you can download it and buy it at a discounted price. I highly recommend it. It’s very awesome. You’ll get your use out of it so go ahead and do that right now.
Once you have it downloaded and installed, start it up. It’ll bring you to this main screen here and most people are just going to load the DVD disc so if you click this DVD button it’ll load your DVD disc that is in your DVD drive right now. Or you can click this Load DVD folder if you already have a folder on your computer. Or if you have the ISO image you can click this ISO button. Most people are, like I said, are going to be using the DVD button so click that.
And here the Source DVD disc window pops up. It’ll show you what’s loaded into your drive right now. It’ll show the main title of the movie here in this box. You’ll just hit OK. Alright and here it is. It’ll pop up the output profile window and here is where you can select what output format that you want your movie to be in depending on what device you’re going to put it on. So I can choose anything from an Apple device, iPhone, iPod, iPad, all kinds of stuff, Android tablet to Android smart phone, and even YouTube video and PC General, all kinds of stuff. So right now I’m just going to choose iPhone. It gives you these recommended settings which is really awesome because you won’t have to go in here and change any of the settings. It’s already chosen for you. It gives you the best quality option and it gives you, even gives you the option to choose older models which is pretty cool. So I’m just going to leave mine on iPhone 5. Click Done.
And here it is. It automatically detects the main movie title. It’s got a check right here. You can see how it’s the longest. This is the duration so it’s an hour and six. That’s the main movie. If you just want to copy the main movie it automatically selects it for you and you just hit Run. But if you want to select any of the extras, if the DVD has any extras you can go ahead and select any of these here. You can select them all if you want to and you can go ahead and click Run.
That’s pretty easy. That’s as simple as it is. I will show you what the settings look like if you want to go in here and change some of these. Basically the default audio language we’ll just leave that at English obviously. And then you can choose this Open Output Folder that’s by default. And you can actually check this Add MP4 files to iTunes library after conversion. What this does is it automatically adds the video movie to your iTunes so you don’t have to do it manually after it’s converted, after it’s copied to your Mac. And you can actually choose this Shut down computer after conversion if you’d like. And here you can choose the default location of where the backed up copy of the DVD video goes onto your computer. I just have mine set to the desktop by default. You can change it to whatever you’d like. So now, yeah we’ll just hit Run and let it copy the DVD to your Mac.
And there it is folks, simple as that. The output folder will pop up. Your movie will be there. If you want to put it into iTunes, just open up iTunes and you can drag and drop this movie in there and then once it loads there it is. And you can load that onto your iPhone, your iPod, iPad by syncing up your iDevice to your computer via the USB cable and it’ll sync onto your device. So go get that program now it’s called MacX DVD Ripper Pro and again the link is on the top of this video, and the link is also in the info section below this video so you can click on it there too. So go get that, highly recommended program by me. And as always if you enjoyed this, if it helped you out please subscribe to my channel. Leave a comment and let me know if it helped you out or if you have any suggestions. And give this video a like, a thumbs-up. That’s it for today folks. I will talk to you guys and girls later. Bye.