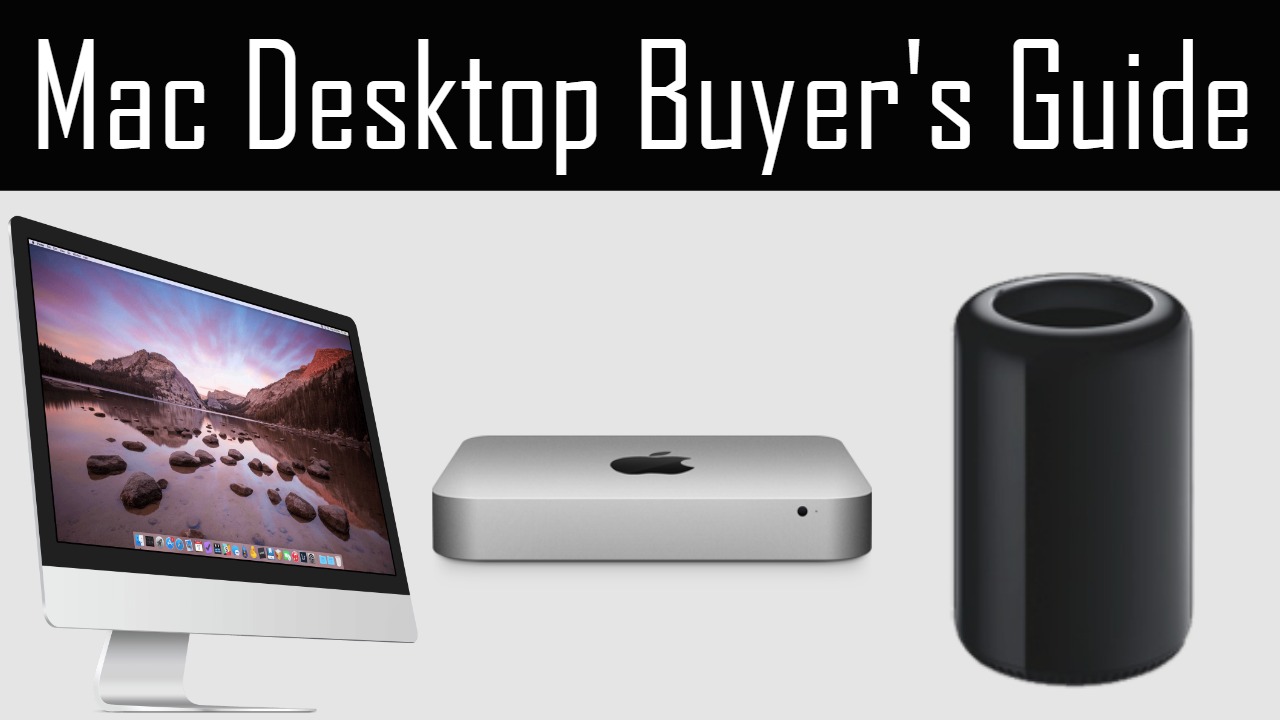
The Mac Mini is the entry-level Mac desktop. It’s the cheapest and most suitable for people on a tight budget who already own a monitor, keyboard, mouse. It doesn’t come with any accessories. I own a Mac Mini and it’s worked out great for me. Powerful and fast for such a compact machine. I highly recommend getting a fusion or SSD. Avoid 5400 RPM hard drives.
Mac Mini starts at $499, $699, and $999
Dual-core i5 processor, configurable to dual-core i7
500GB HD, 1TB fusion drive, or 256/512/1TB SSD on highest model
4GB RAM configurable to 16GB
Good amount of ports
Built-in wifi
Last update was October 2014 so new version should be coming soon.
Can’t replace RAM (unless you get older 2012 version from Apple Refurbished).
iMac
The iMac is Apple’s all-in-one desktop and probably their most popular desktop model. It comes with Magic Mouse 2, Magic keyboard, and a lightning cable. Best for users who want a more powerful and simple setup than a Mini and who don’t already own an HD monitor. The all-in-one setup looks cleaner and less cluttered on a desk. Incredible Retina screens. Overall a beautiful computer/monitor combo.
Starts at $1099 for non-Retina (still full 1080p HD display)
Cheapest 21.5″ Retina starts at $1499 (4K)
Cheapest 27” Retina starts at $1799 (5K)
Ultra thin; just updated October 2015
Mac Pro
The Mac Pro is Apple’s top-of-the-line desktop. The most powerful and the most expensive. Recommended for power users – people who need the fastest and most powerful Mac computer who have a very large budget (can be configured to nearly $10,000). It has a unique design that may look weird to some people but is very sleek. Con: for the high price you don’t even get a keyboard/mouse 🙁
Starting at $2999 for quad-core and $3999 for 6-core
Intel Xeon processors
At least 12GB RAM
At least 256GB flash storage
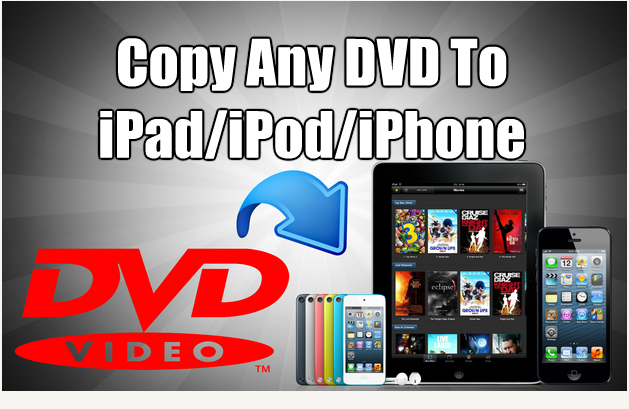
MacX DVD Ripper Pro, in my opinion, is the best and easiest way to rip or copy DVD movies to your Mac if you’re planning to put those movies on your iOS device later. It’s very simple to use. It can copy a DVD in just a few clicks. It’s extremely fast and saves you a ton of time because there’s no need for additional converter programs and you don’t have to configure any settings. It will automatically copy the DVD in the best video quality that is compatible with your device so it fits perfectly on the screen. And it comes with free lifetime updates so you know you’re always able to copy the latest movies when they come out.
Next you’ll load your movie disc into your DVD drive and open MacX DVD Ripper Pro. Once it’s opened you’ll click the DVD button in the top left and choose OK. Once the output profile window pops up you’ll select Apple device then choose iPhone, iPad or iPod depending on what device you have. Then select the model of your device and click Done.
It will automatically select the main movie file for you. Then you can select the folder where you’d like the movie to be copied to. So you can click Browse then click Run and it will start to copy the DVD.
Once it’s finished the window will pop up with your video in it. Now you’ll just open up iTunes and browse to the folder and drag and drop the video file into iTunes. And when it’s done copying you’ll sync your iPad, iPod or iPhone with iTunes via the USB cable.
Now once your device shows up in iTunes you’ll click on it then click the Movies section. Then select sync movies, click apply, and your iOS device will sync & copy the DVD movie. And now when you open up the Videos app on your device your movie will be in there. Easy! That’s my review on MacX DVD Ripper Pro from MacXDVD.com. Hope you enjoyed!
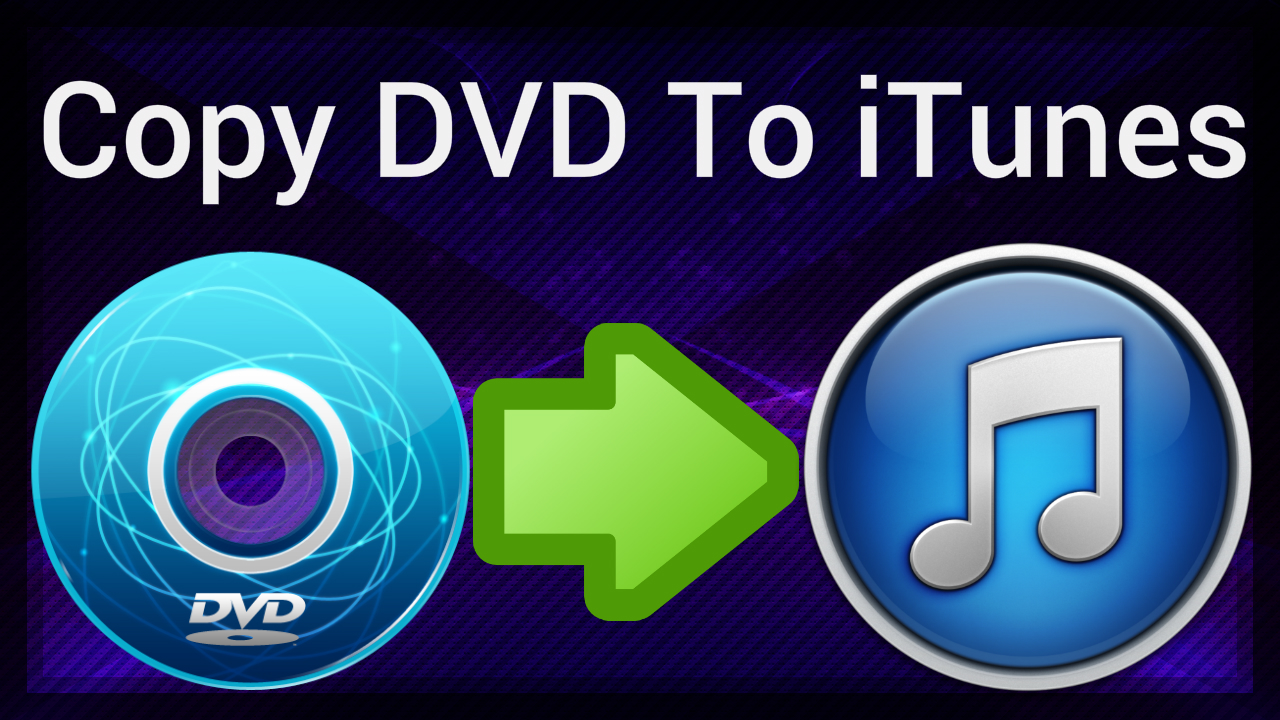
Hey everybody what’s up? This is a quick video on how to copy any DVD to iTunes so you can put them on any device – your iPhone, iPad, iPod, Android tablet, Android smart phone, or just keep them in iTunes. This is a fantastic piece of software that I’m using. It’s called MacX DVD Ripper Pro. And if you click the annotated link at the top of this video it will take you to their site where you can download it and buy it at a discounted price. I highly recommend it. It’s very awesome. You’ll get your use out of it so go ahead and do that right now.
Once you have it downloaded and installed, start it up. It’ll bring you to this main screen here and most people are just going to load the DVD disc so if you click this DVD button it’ll load your DVD disc that is in your DVD drive right now. Or you can click this Load DVD folder if you already have a folder on your computer. Or if you have the ISO image you can click this ISO button. Most people are, like I said, are going to be using the DVD button so click that.
And here the Source DVD disc window pops up. It’ll show you what’s loaded into your drive right now. It’ll show the main title of the movie here in this box. You’ll just hit OK. Alright and here it is. It’ll pop up the output profile window and here is where you can select what output format that you want your movie to be in depending on what device you’re going to put it on. So I can choose anything from an Apple device, iPhone, iPod, iPad, all kinds of stuff, Android tablet to Android smart phone, and even YouTube video and PC General, all kinds of stuff. So right now I’m just going to choose iPhone. It gives you these recommended settings which is really awesome because you won’t have to go in here and change any of the settings. It’s already chosen for you. It gives you the best quality option and it gives you, even gives you the option to choose older models which is pretty cool. So I’m just going to leave mine on iPhone 5. Click Done.
And here it is. It automatically detects the main movie title. It’s got a check right here. You can see how it’s the longest. This is the duration so it’s an hour and six. That’s the main movie. If you just want to copy the main movie it automatically selects it for you and you just hit Run. But if you want to select any of the extras, if the DVD has any extras you can go ahead and select any of these here. You can select them all if you want to and you can go ahead and click Run.
That’s pretty easy. That’s as simple as it is. I will show you what the settings look like if you want to go in here and change some of these. Basically the default audio language we’ll just leave that at English obviously. And then you can choose this Open Output Folder that’s by default. And you can actually check this Add MP4 files to iTunes library after conversion. What this does is it automatically adds the video movie to your iTunes so you don’t have to do it manually after it’s converted, after it’s copied to your Mac. And you can actually choose this Shut down computer after conversion if you’d like. And here you can choose the default location of where the backed up copy of the DVD video goes onto your computer. I just have mine set to the desktop by default. You can change it to whatever you’d like. So now, yeah we’ll just hit Run and let it copy the DVD to your Mac.
And there it is folks, simple as that. The output folder will pop up. Your movie will be there. If you want to put it into iTunes, just open up iTunes and you can drag and drop this movie in there and then once it loads there it is. And you can load that onto your iPhone, your iPod, iPad by syncing up your iDevice to your computer via the USB cable and it’ll sync onto your device. So go get that program now it’s called MacX DVD Ripper Pro and again the link is on the top of this video, and the link is also in the info section below this video so you can click on it there too. So go get that, highly recommended program by me. And as always if you enjoyed this, if it helped you out please subscribe to my channel. Leave a comment and let me know if it helped you out or if you have any suggestions. And give this video a like, a thumbs-up. That’s it for today folks. I will talk to you guys and girls later. Bye.
Hey what’s up everybody? Today I’m going to be giving you my top six tips on how to get the cheapest iPhone plan possible. Stay tuned.
Ok so my first tip is to get the cheapest calling or voice plan that will fit your needs and stay within your budget. A lot of people don’t use or even need unlimited calling plan or voice minutes. With all the rollover minutes these days I promise you, I’ve been an iPhone customer for four years and I’ve never come close to using all my voice minutes. I don’t know, maybe people just don’t like to call me. No but seriously the majority of people these days can get by with the minimum voice minutes. You don’t need unlimited minutes. Now if you’re that type of user, you know Grandma’s going to be calling you every night then yeah you’ll have to get that. But for the majority of people only stick to the cheapest calling plan which is forty bucks a month for 450 minutes.
Okay so tip #2 is basically the same concept as tip number one except it’s dealing with data. Just get the minimum amount of data that you need to get by. Now I believe the minimum data plan that you can get is 300 megabytes for $20/month. Now again, most people can get by with 300 megabytes, and here are a few ways to do that. Set you phone to use WiFi as much as possible, whenever you can. That way you’re not using your cellular data to watch YouTube videos, stream music from Pandora, or download apps. Those three things will use up the most data, and you’re going to want to be on Wi-Fi when you’re doing that. Also be careful of what apps are using what. Some apps like to download data in the background. They like to use your location services and track you by GPS. That will use a lot of data and it will actually lower your battery life so keep that in mind. So those are some ways that you can cut down on your data usage so that you are able to get the minimum data plan.
Okay so tip #3 is to not get a texting plan. You probably think I’m crazy but with an iPhone, it comes with iMessage which is Apple’s own service for sending messages throughout any iOS device, whether it be from an iPhone to an iPad vice versa. Anything that is made by Apple that has iMessage installed will send it over iMessage instead of using your SMS plan. It’s built in right into the SMS app. If you go into it and it turns blue instead of green, that means it’s using the iMessage instead of the regular SMS. Now this will allow you to send text, video, pictures, anything over iMessage using data and even using wireless once you’re on WiFi. So it will use Wi-Fi. It won’t use your data. Now this feature works great when you’re texting other people with iPhones, but what about if you got to text a person with an Android or another smartphone? Well this is where you have to use Google Voice, and I love Google voice. I’ve been using it for over three years now. It has saved me a ton of money. Basically what it does is you sign up for Google Voice, it’s free if you have a Gmail account. Go to Google.com/voice. And you get to pick a new number, any number that you want, a standard US number. And that number will get forwarded to your iPhone and you will be able to get text messages and send text messages to anybody you want using that number. So what I do is I usually give out my Google Voice number to people that do not have iPhones and they text that number and I can text for free with that. And my contacts with iPhones I can send them free text messages through iMessage so that way it completely cuts out my texting plan. I save $20/month and you can also do that too. It’s super easy and it’s awesome. I love it so check those out. It’s Apple iMessage and Google Voice.
Tip #4 – Decline a warranty. Do not buy an extra warranty. I promise with a little bit of carefulness and a case for your iPhone you will avoid 99 percent of the problems that you might potentially have. I’ve dropped my phone hundreds of times and all I got’s like a $10 case on it and my iPhone is still in mint condition. You’ll be able to save a hundred bucks by not getting the warranty. My only advice to you is to not drop it in the toilet.
Tip #5 is to buy an older version of the iPhone. Now I know with Apple it’s always fun to have the latest and greatest but it’s okay to buy the iPhone that came out two years ago. Usually you can get the older iPhone for free with a new two year contract, and it runs the same software as the new iPhone usually. If not you can always jailbreak it. But don’t be afraid to get the old older version of the iPhone. So if you’re looking to save a lot more money upfront you can you can do that by getting the older version of the iPhone.
And last but not least tip #6 is to try to find an employer or student discount. I know personally I have a discount that gets me 15% off so don’t, don’t miss out on that. Check with your work, check with your school. With a simple Google search you’ll probably be able to find a discount for you that you can use. It will save you money each and every month. Do not pass that up.
So those are my six tips on how to save tons, tons of money over the course of two years. You can save money by doing these things no matter what wireless carrier you’re on. So try these out and I hope this helps so that we can all continue to watch YouTube wherever we are for less money. If you like this video, if you enjoyed it please Subscribe. Please hit the Like button and comment and tell me if any of these tips work for you or if you’re going to use any of these tips or if you’re already using some of these tips. I’ll be talking to you guys and girls later. Keep having fun out there. I’m out.
1) Lower the brightness
2) Reboot at least once a week
3) Turn off WiFi/3G when you are not using them
4) Remove background processes each night
5) Change Email Push/Fetch settings
6) Turn off Push notifications and remove unnecessary apps from Notification Center
7) Turn off Spotlight Search indexing
8) Delete unused apps that are taking up a lot of space
9) Turn off Location Services for unnecessary apps
10) Disable iCloud
Video Transcript:
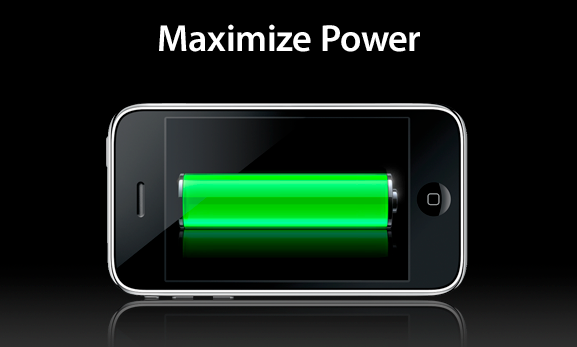
In this video I’m gonna show you the top 10 tips on how to improve your iPhone speed and battery performance. Let’s get right into it.
The first tip is lower your brightness on your screen by going to settings, brightness, and you can scroll this wheel from right to left depending on how bright you want the screen. I usually leave mine right at the 50% mark, halfway. Also leave auto brightness on so the iPhone automatically dims itself when you’re in low light situations.
Next tip is to restart your iPhone at least once a week and to do this you will find the iPhone power button at the top of the iPhone, hold it down for about five seconds. It’ll prompt you to slide to power off then slide the slider to power the phone off. Wait about 15 seconds and then you can power the phone again.
Turn off Wi-Fi and 3G cellular data if you’re not using them by going to settings, Wi-Fi and turn Wi-Fi off in here. To turn off cellular data go back, hit general and then hit network. Here you can turn off cellular data. It will turn off 3G signals and you can turn off data roaming.
Each night before you go to bed remove all apps that are running in the background. To do this you will double tap the home button and then press and hold an icon and then hit the red delete button on all the icons on the bottom bar until they’re all removed. Then tap the home button again.
Change your e-mail settings to check less frequently by going to settings. Scroll down to mail and if fetch new data is set to push you can change that to fetch every 15 minutes, every 30 minutes, hourly or manually. I found that 15 minutes works pretty well.
Change your push notifications settings by going into settings, notifications, and here you can change every apps individual notification settings. If you don’t need an app to notify you, you can turn the notification settings off for that particular app. The fewer apps that are in this list the better your iPhone will perform.
Turn off spotlight indexing by going to settings, general, spotlight search. Here you can uncheck any app that you don’t usually use that often and it will remove it from the spotlight index. This will speed up your iPhone tremendously.
Delete any unnecessary app that ís taking up space by going into settings, general, and then hit usage. Here you’ll see a list of apps that are taking up the most space. If there’s an app in this list that you don’t use anymore go ahead and delete it.
There are a lot of apps out there that turn on location services by default when they don’t really need it in the first place. To clean this list up a bit, go to settings, location services, and here you’ll see a list of apps that have location services turned on or off. If you know an app can function 100% correctly without location services turned on, go ahead and turn it off for that app.
Turn off iCloud and its services by going into settings then iCloud. Here you’ll see a list of services offered in iCloud. I personally have everything turned off except find my iPhone. You can also disable the storage and backup feature by clicking storage and backup and turning iCloud backup off.
And that’s it, those are the ten tips. If you have any more I’d be happy to hear them. Go ahead and leave a comment or if you enjoyed this video go ahead and click the Like button. I really appreciate it. Thanks for watching everybody.