Click here to get Parallels for Mac
Click here to get Windows on Amazon
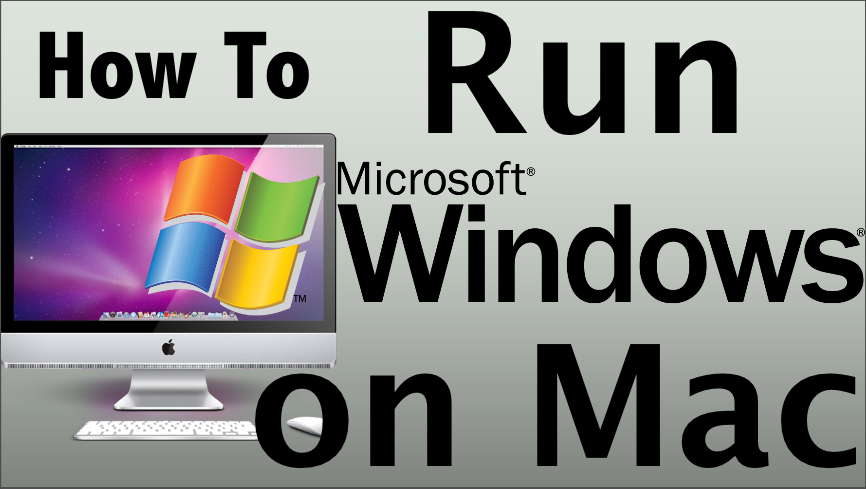
In this video I’ll be showing you how to run Windows on your Mac using Parallels. This is a virtualization program for your Mac and allows you to run Windows virtually so you can run both operating systems at the same time. You don’t have to boot into a separate hard drive or anything like that. So the first thing you want to do is click the links above to get Parallels and a valid Windows install disc.
So once you have Parallels installed you’re going to open it and choose to install Windows from a DVD or image file. If you have a Windows install disc you can insert it into your Mac DVD drive or choose a Windows installation ISO file. Enter the product key for Windows (or skip and activate later). Choose how you want the virtual Windows machine to behave. You can have it run Windows applications without opening up the Windows desktop, or you can have it all in one single virtual program. Choose a name for the virtual machine. Parallels will load the disc or image file, and it will start the Windows set up. Next choose your language, choose Install Now. Select I accept then Next. Choose Custom (Advanced). Choose Disk 0 then click Next.
Here’s an overview of the Parallels virtual machine settings. You can allocate a certain amount of memory to give the virtual machine while it’s running. Also you can allocate the number of CPU cores for the virtual machine, the total size of the virtual hard drive. It’s actually expandable so it expands as it needs to. The Options tab has all kinds of different categories that you can change. Startup and Shutdown, Optimization, Security, Backup, Sharing, Applications, Coherence, Full-Screen, Modality, and Advanced. The Hardware tab shows the hardware your Mac is sharing with the virtual machine: DVD drive, hard drive, network, USB, Bluetooth, iSight camera, etc.
Windows will perform a restart automatically after it gets done installing the first main files then it will complete the installation. Finish setting up Windows by entering a username, password, product key, time zone, recommended settings, and network settings.
When Windows installation is complete you’ll be in the Windows desktop. As you can see it’s running virtually on the Mac so it’s just like Windows in its own application. The mouse integration is seamless as well as the network. It’s bridging the network from the Mac so it already has Internet access. Parallels really makes this an easy setup, and everything is automatically set up through Parallels. It all does it in the background for you. That’s why I think Parallels is the best application that you can use when you want to run Windows on a Mac. Not to mention you can pretty much use all your Mac hardware in the Windows virtual machine. So as you can see you can do anything like you’re running a normal Windows machine, but it’s on a Mac. That is how to install and run Windows on a Mac using Parallels. It’s the absolute best way to do it.